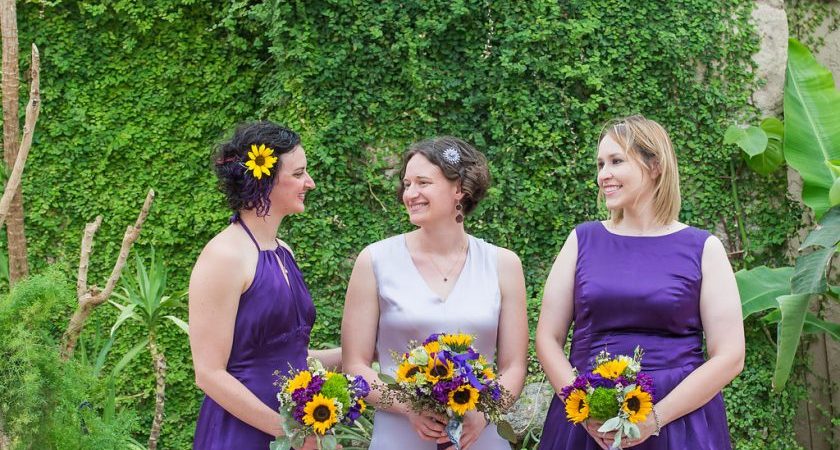
Photo by our wedding photographer, Julie Haider.
In addition to making my wedding dress, I am also making the two bridesmaid dresses. I wanted both the bridesmaids to actually like their dresses, and (hopefully) be able to wear them again. I let each one pick her own pattern. The fabric is a dark purple silk charmeuse from Mood, with matching china silk lining. This was a challenging fabric to work with because it shows every mistake. My wedding dress fabric is actually much easier to work with because it is a more substantial satin.
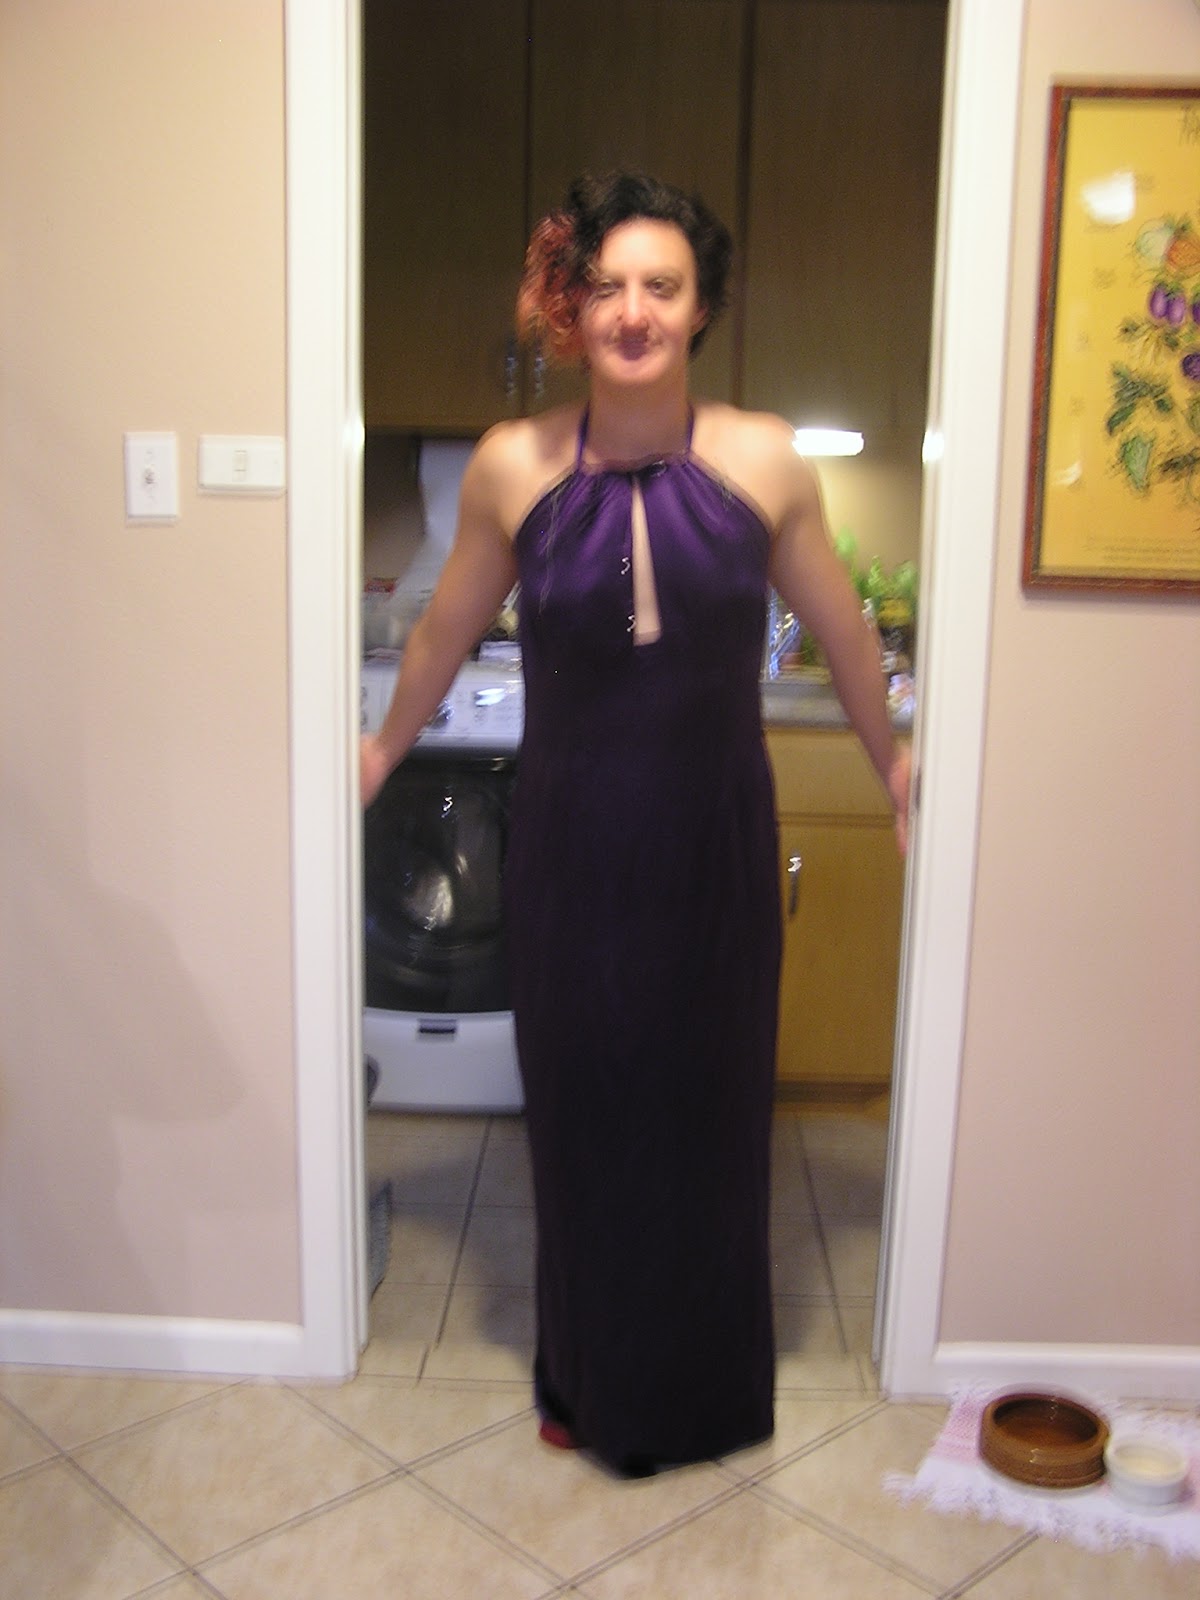 |
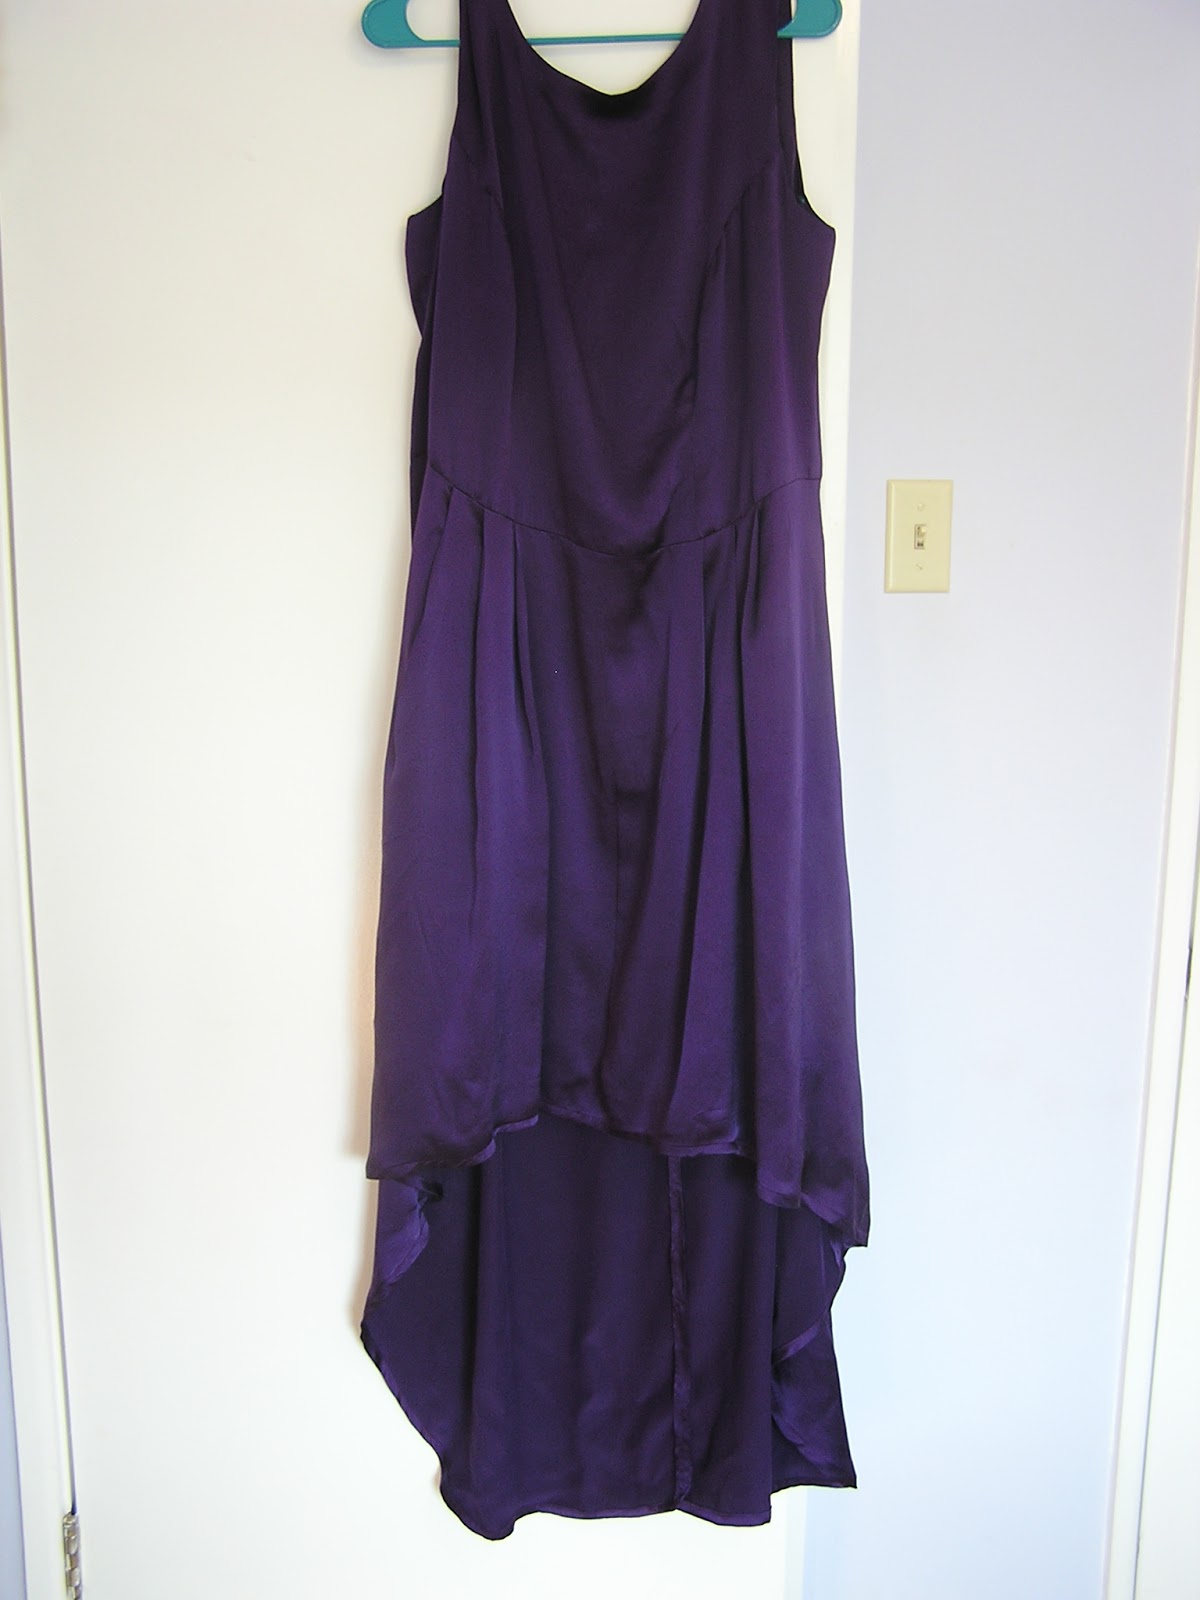
| Sorry for the blurriness– there were no good ones of the front. |
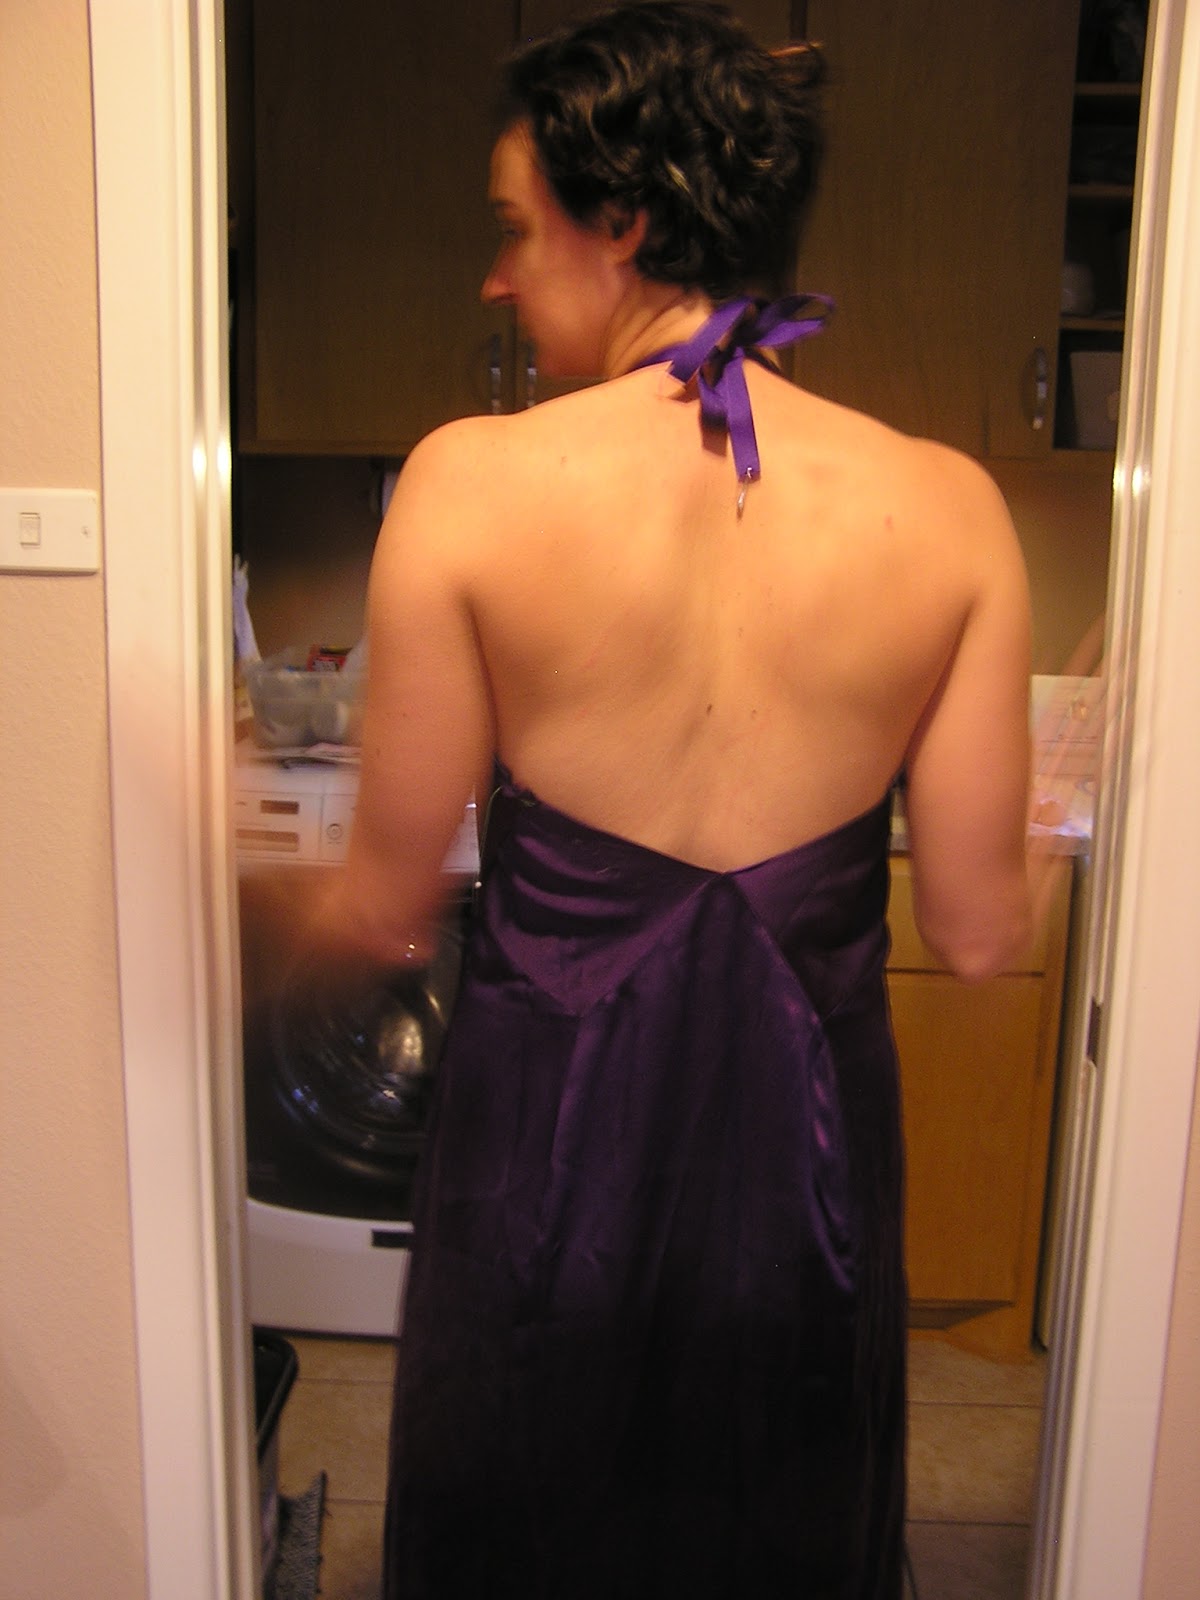
My sister’s dress is Marfy 2306, an older Marfy design. I thought that it would work really well with her figure. I made a couple of changes, eliminating one of squares in the back and changing the straps to a halter tie. I made an initial muslin for her to try on, which fit fairly well. After tweaking, I cut out the real thing. For the first try on, I had everything sewn except for the side seams, which were only basted. Based on the first fitting, I took it in a bit in the bust and added more structure via twill tape at the neckline and some boning at the sides. To make the bodice a little more modest, I used two layers of fashion fabric (instead of lining fabric) and also a layer of cotton flannel.
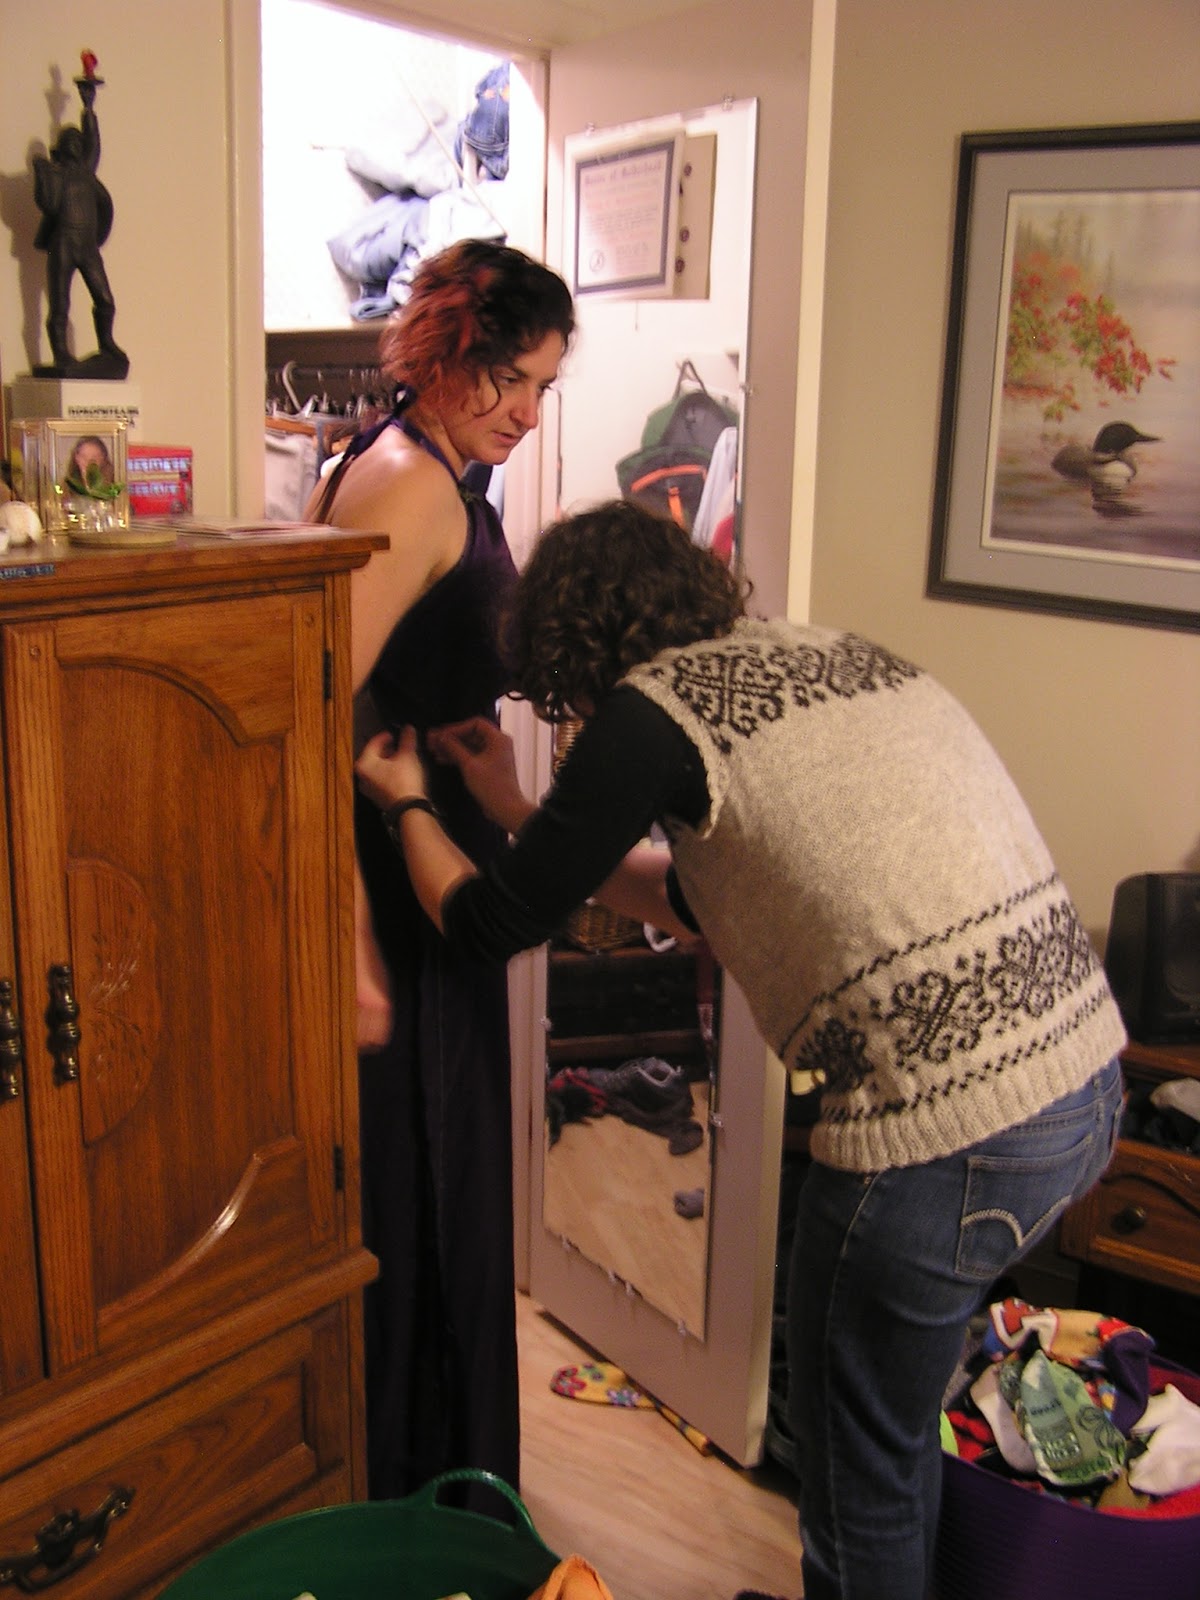 |
| Fitting the bodice |
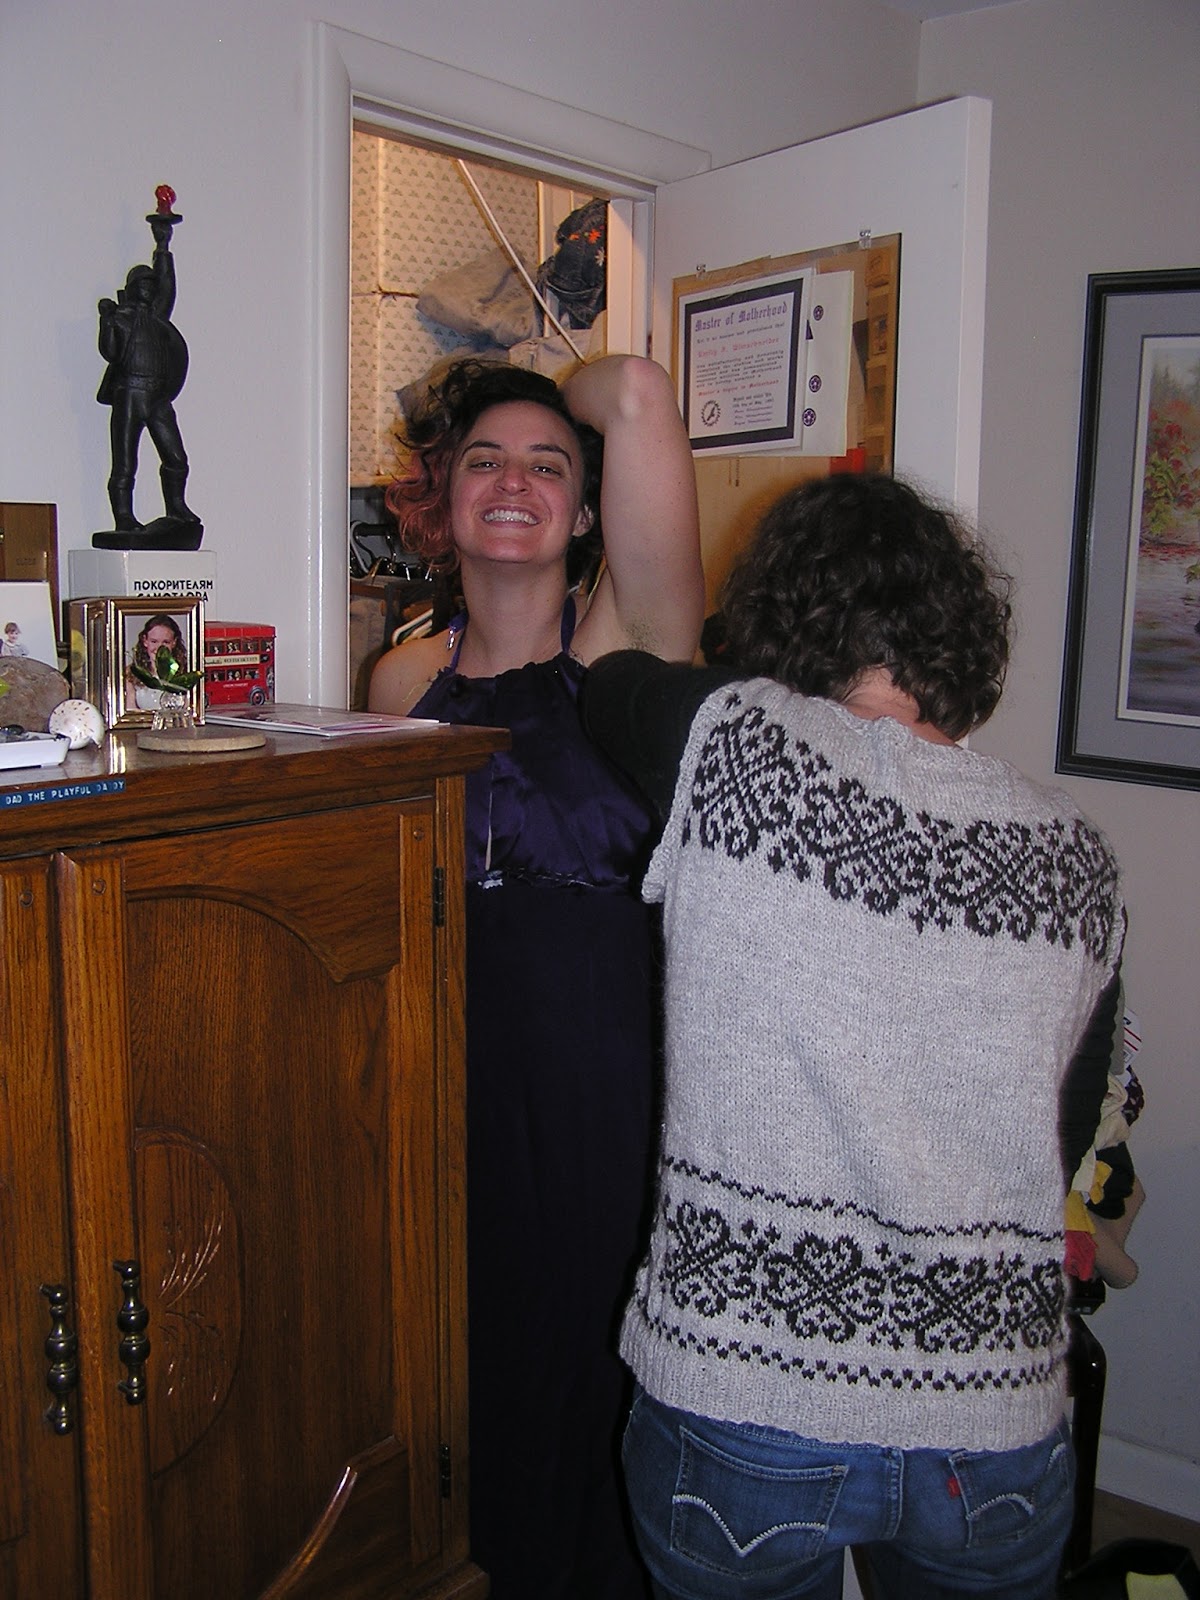 |
| The vest was also knit by me, pre-blog. It is naturally colored alpaca yarn from a local alpaca farm. |
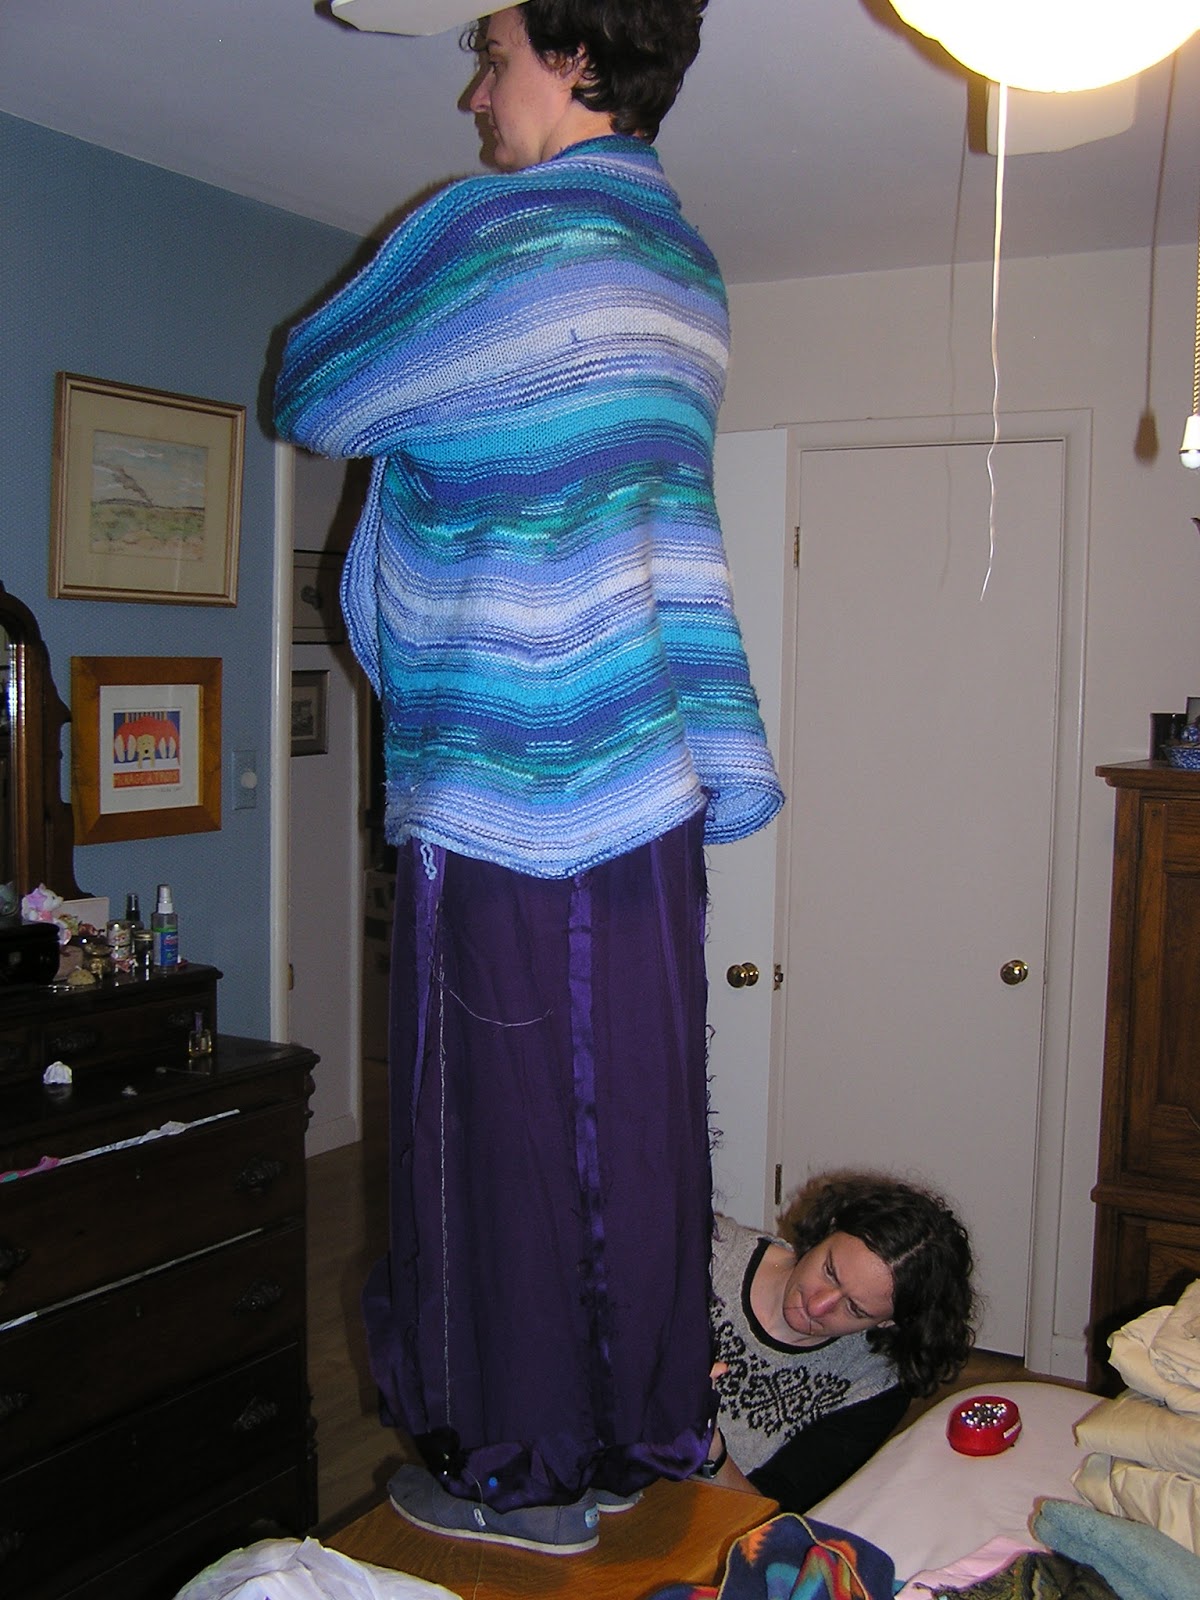 |
| Pinning up the hem; she was getting cold because this isn’t really a winter dress. Her sweater is same “swirl” pattern that I knit for myself in purple. |
 |
| Nice face, Kiri! |
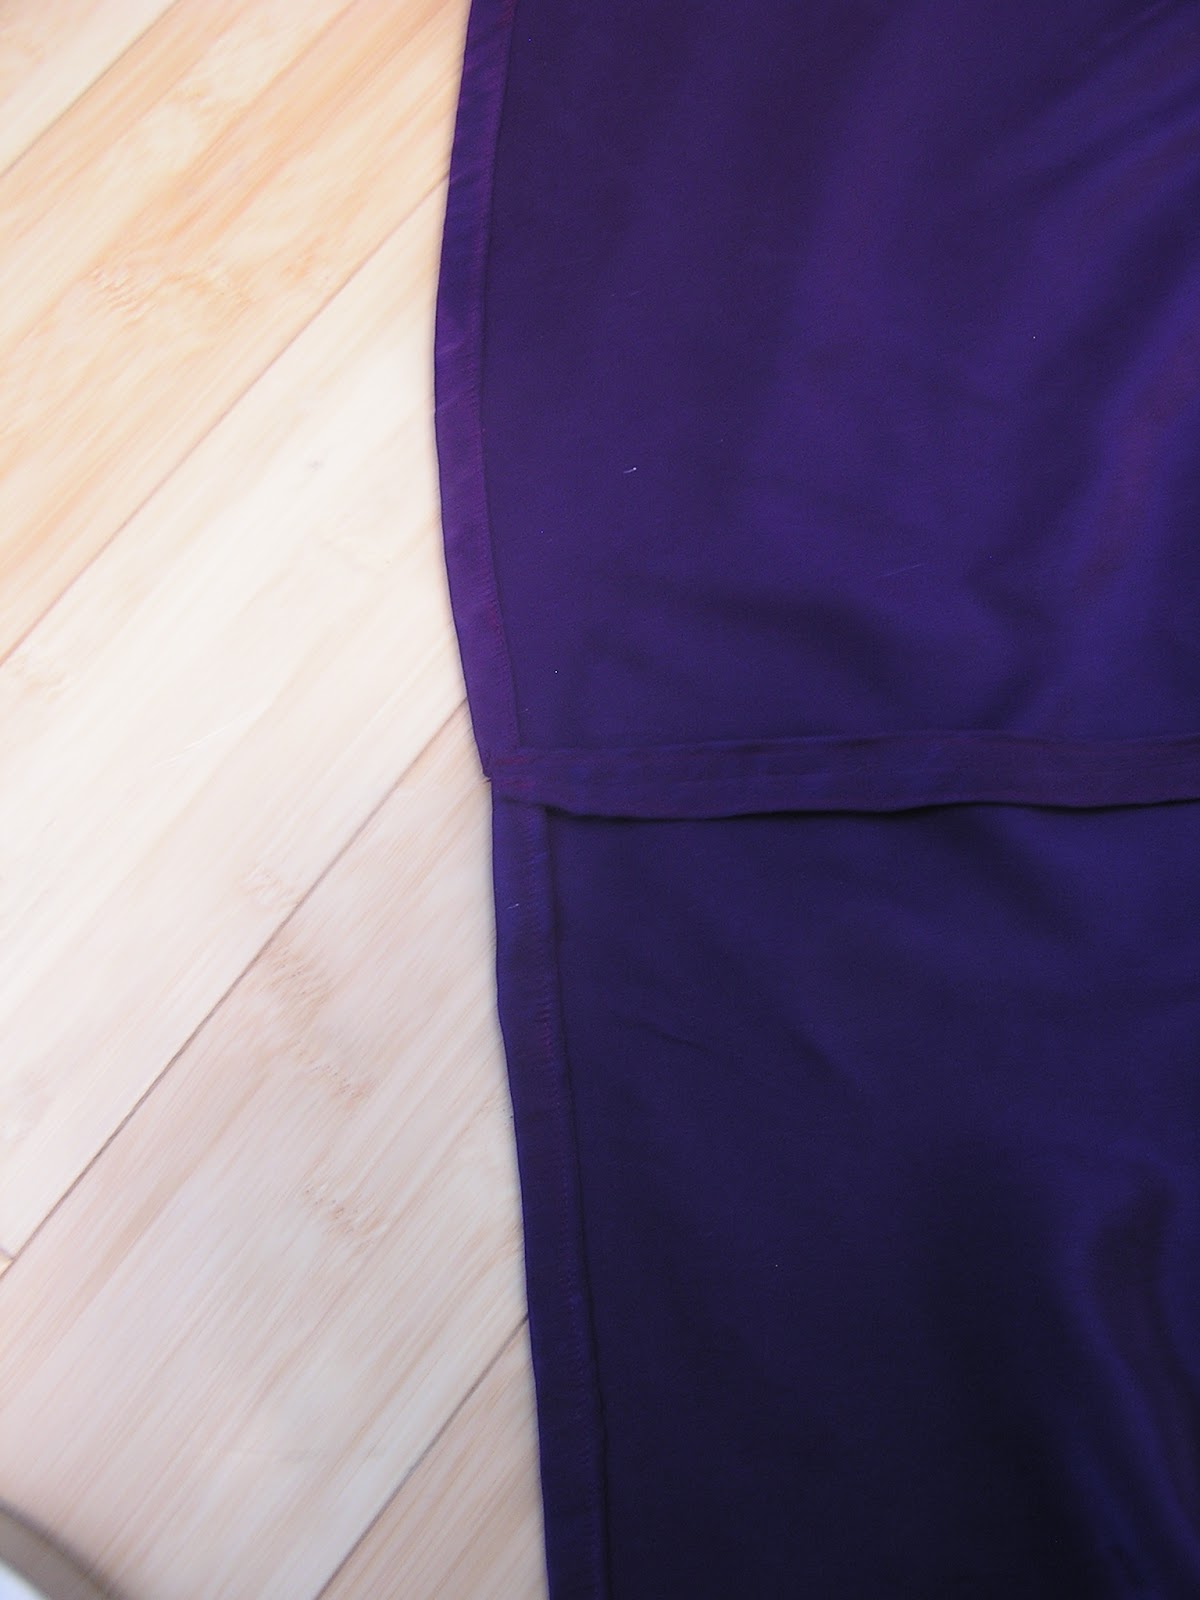
My almost-sister-in-law’s dress is New Look 6341, which is quite a nice little pattern. Although it is fairly simple, the pleats and the back neckline shaping make it a nice take on the princess seam dress. It even has pockets! I might make a version for myself at some point. The biggest change that I made was to add a much more dramatic high-low hem (View D), which I think works really well.

Making this dress required a stretch of my fitting skills. I am used to making clothes for myself, my mom, and my sister, and we are all a very similar size and shape. I had to learn some new fitting adjustments that I had never done before. As a result, I was relieved that the muslin actually fit fairly well on the first try. I mostly had to take in the bodice a bit, which was easy to do given the princess seams.
The construction of the dress was fairly straightforward, I was planning on following this tutorial on completely machine sewing a lining in a sleeveless dress and ignoring the pattern instructions. Then I happened to glance at the directions, and I realized they were basically the same as the tutorial. I was surprised, because a lot of “Big 4” patterns have you finish the lining by hand sewing. The only thing that was different in the tutorial was the recommendation to trim the lining slightly. This helps the lining to roll to the inside. The pattern directions also instruct you how to machine sew the lining to the zipper, something I had never managed to figure out on my own. With a nice design and really smart instructions, I’d say this pattern is definitely a winner.
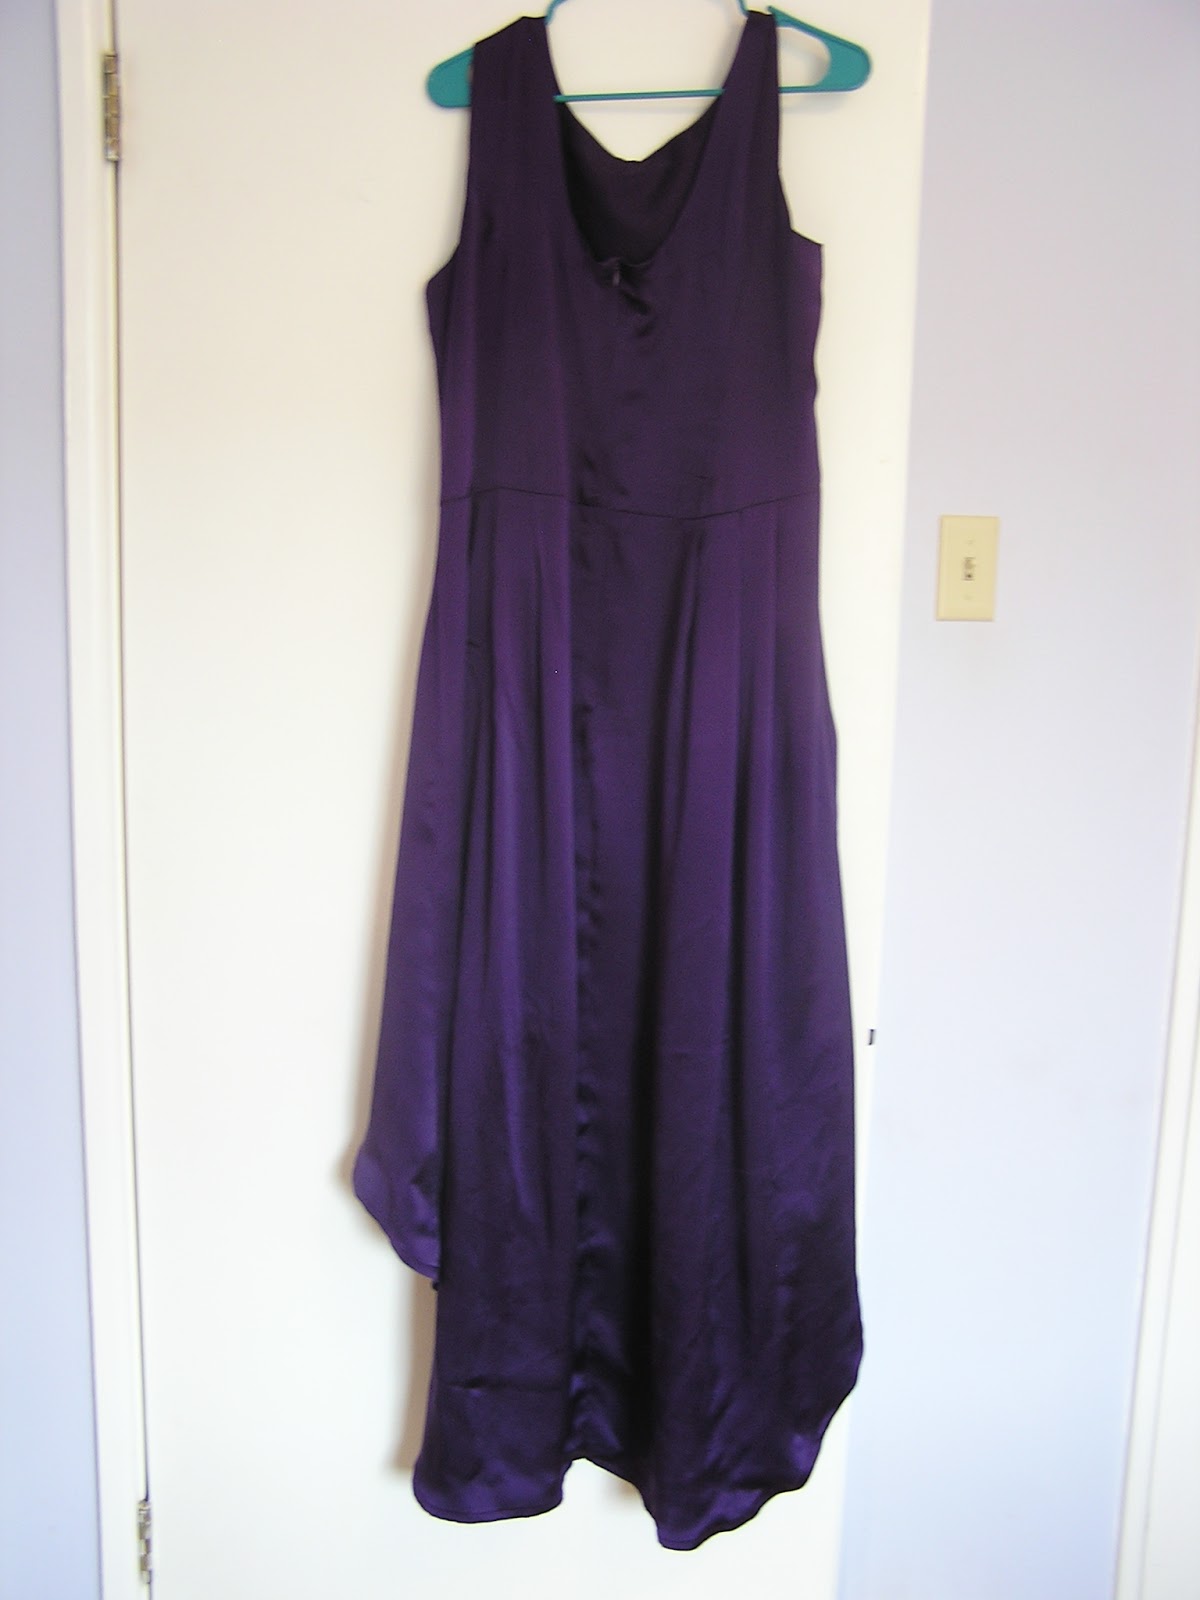
The trickiest part of this dress was the hem. Because of the high-low design, the inside of the skirt shows (I kept the lining short). Therefore, I had to be really meticulous on the hem. I used a basting stitch to help ease the fullness in and to guide the width. This worked pretty well, and I think the hem looks good.
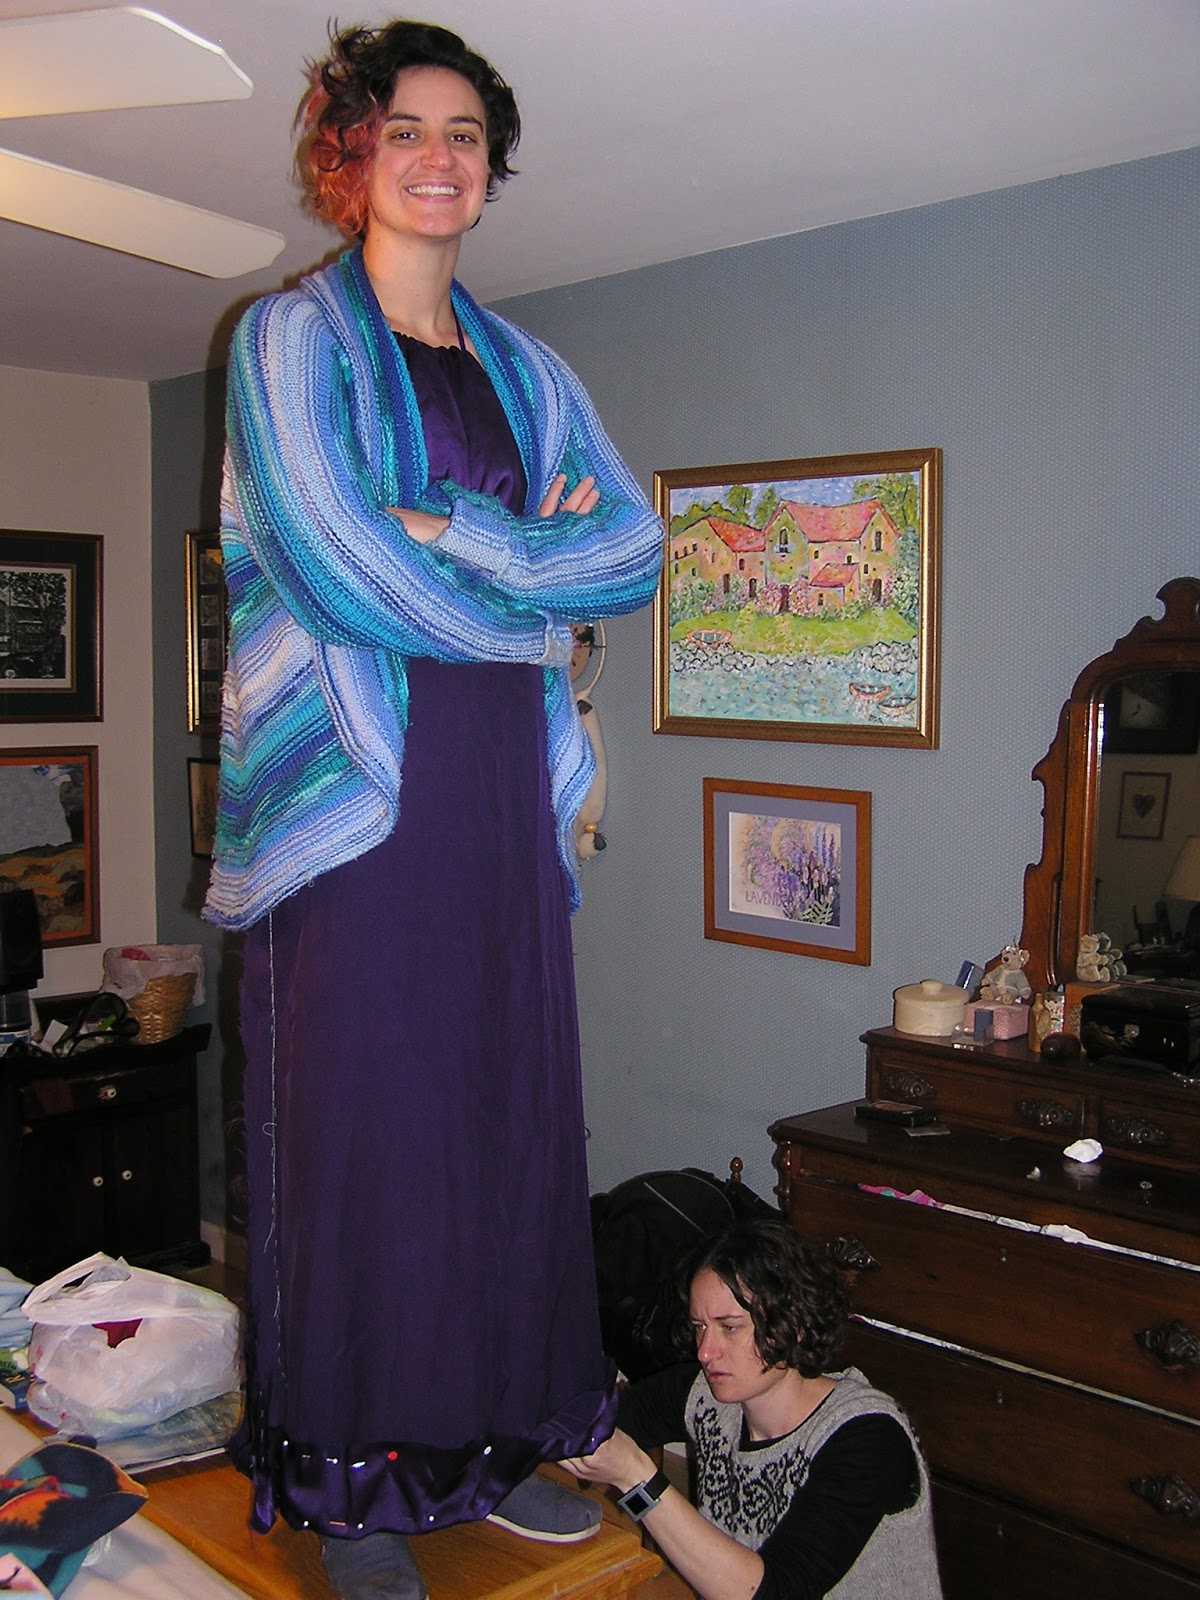
I am so happy these two dresses are sewn! It is a weight off my mind. I hope that the recipients are as happy with them as I am. (Happier than she looks in this picture anyway!)
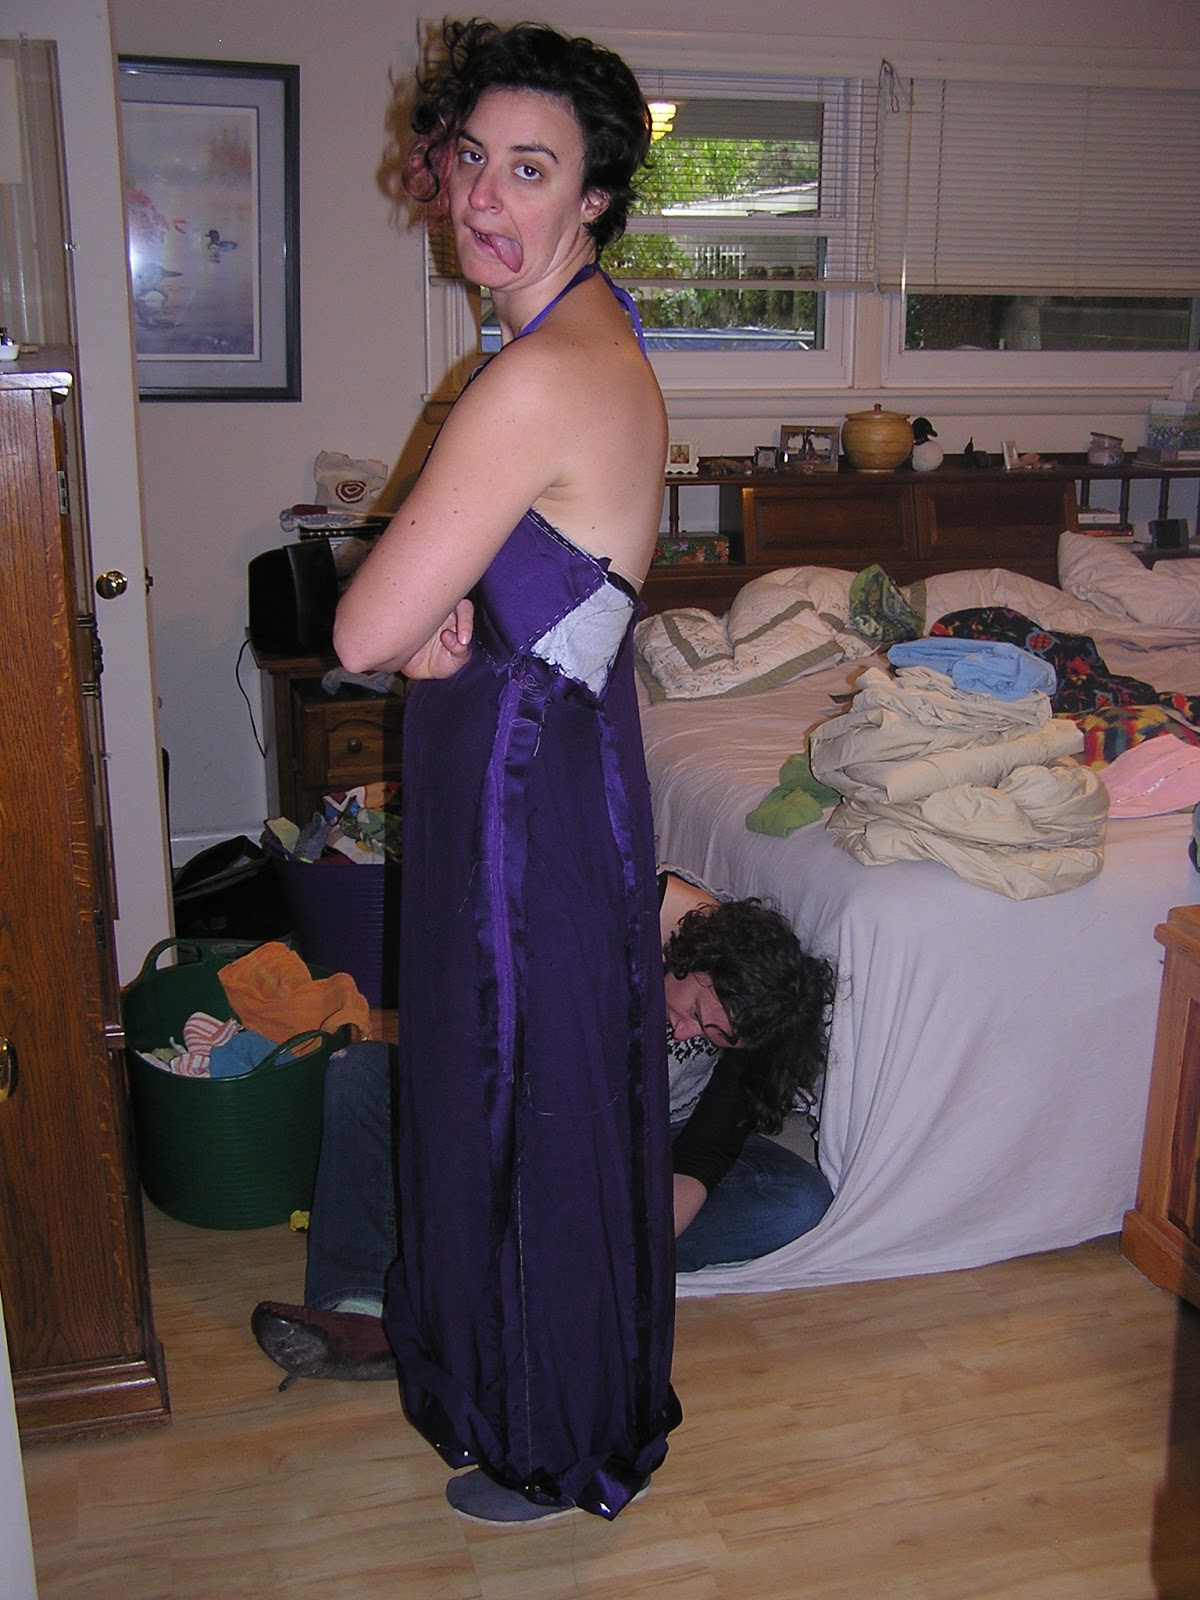 |
| Fitting took kind of a long time; she was a good sport! |