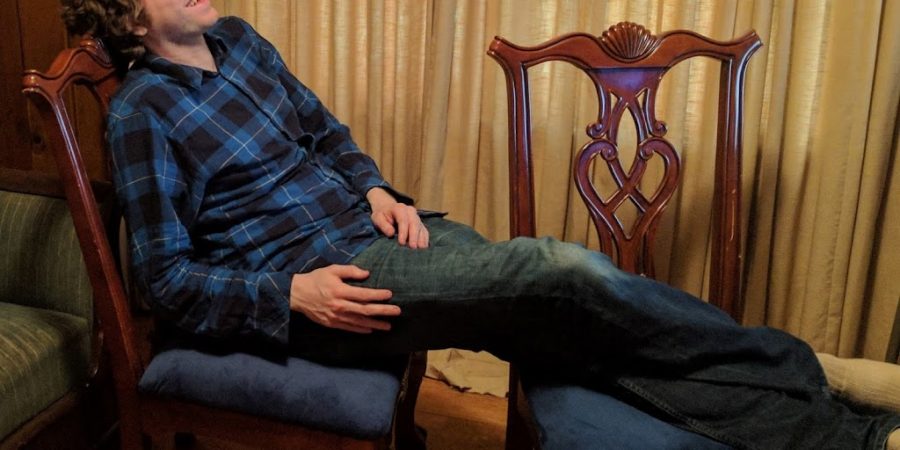
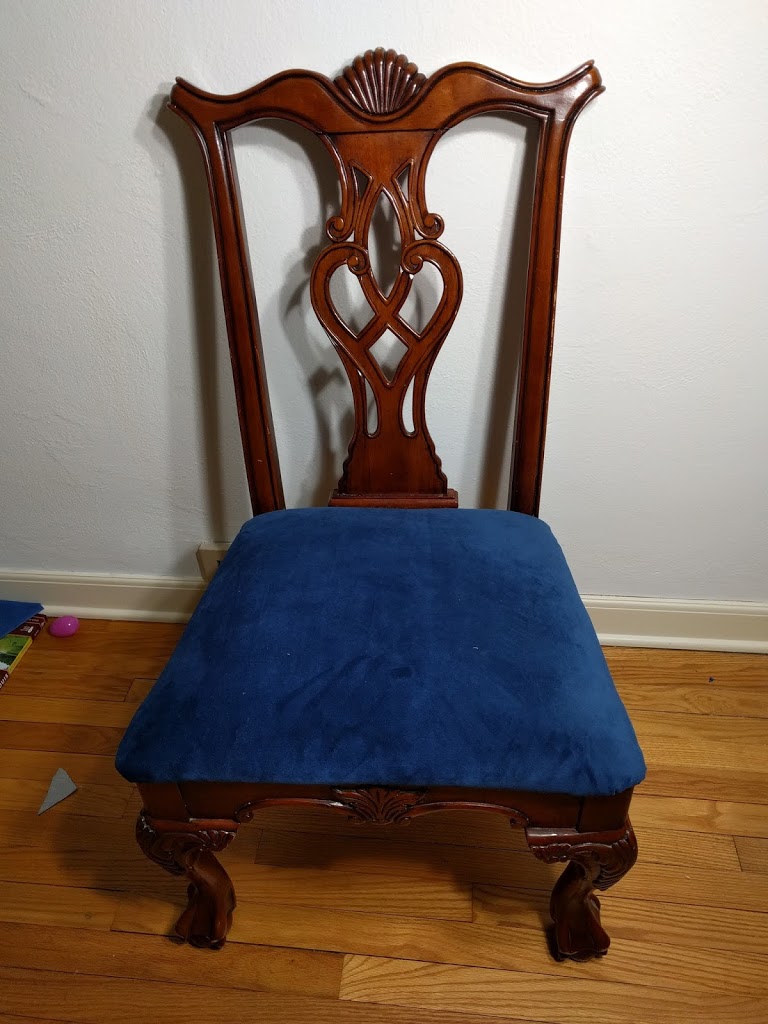
This project is kind of different than what I usually do, and it doesn’t really involve any sewing, so I hope you find it interesting. First, a little background on why I re-did these chairs in the way that I did. Last summer, we found a really good deal on a 19th century couch. (You will be hearing more about this couch later, so I won’t tell the whole saga just yet. You can see a corner of it in the above photo.) The couch needs re-upholstering, and, of course, I’m doing it myself. After some debate, Wade and I decided that we wanted to honor the age of the couch and use horsehair stuffing rather than just buying upholstery foam. My experience with upholstery is really limited. I have covered a couple chairs with new fabric, but that’s about it. The couch is obviously going to be a huge project, so I thought it would be nice to have a smaller project to practice using the horse hair. Enter this chair:

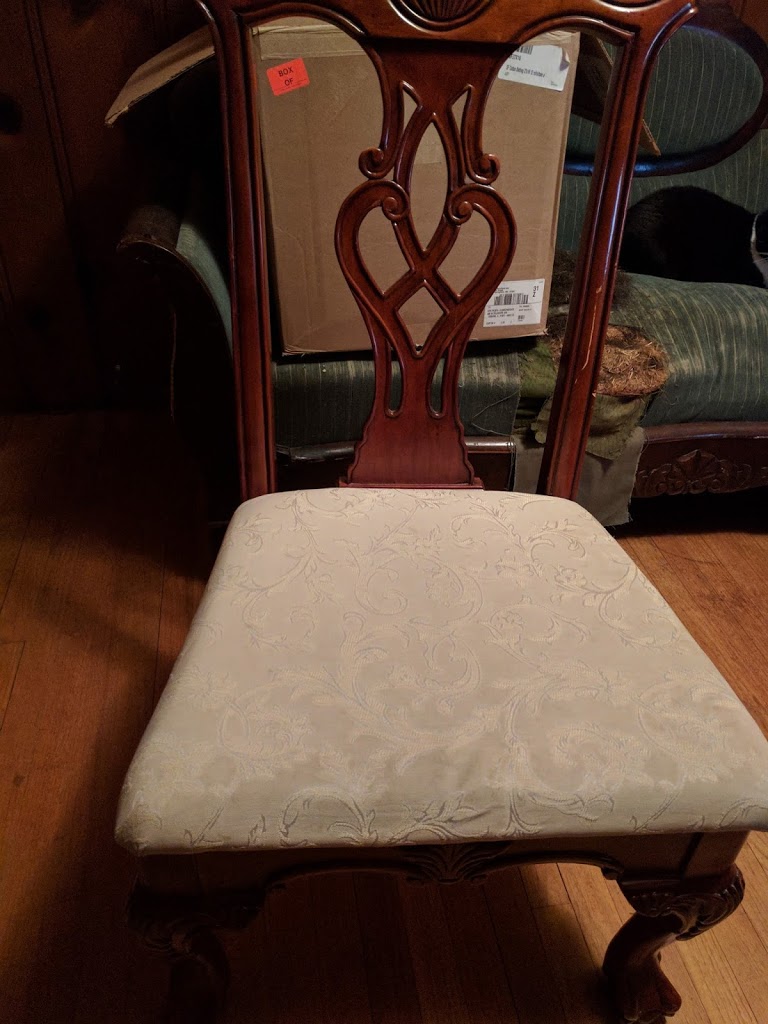
Wade has a pair of these chairs that he uses at his computer desk. The other one was actually much more worn– the fabric was completely worn through and the foam poking out. Since the chairs needed new fabric, I thought they would be a great practice project.
Acquiring the supplies was actually rather difficult. Not many places in the U.S. sell horse hair stuffing as it turns out. (This may have something to do with it not being legal to slaughter horses here; most horse hair comes from slaughtered horses.) We finally found what we needed at www.onlinefabricstore.net, an online store that I had never heard of before. In our research, we learned that most hair stuffing is not pure horse, but is actually a mix of hog and horse, which we were fine with. We ordered
15 pounds of it to get us started. We also ordered a
cotton upholstery batting to go on top. This is like really thick and fluffy quilt batting. I picked up some blue upholstery velvet at a discount fabric store in San Francisco when I visited my sister there in the fall.
 |
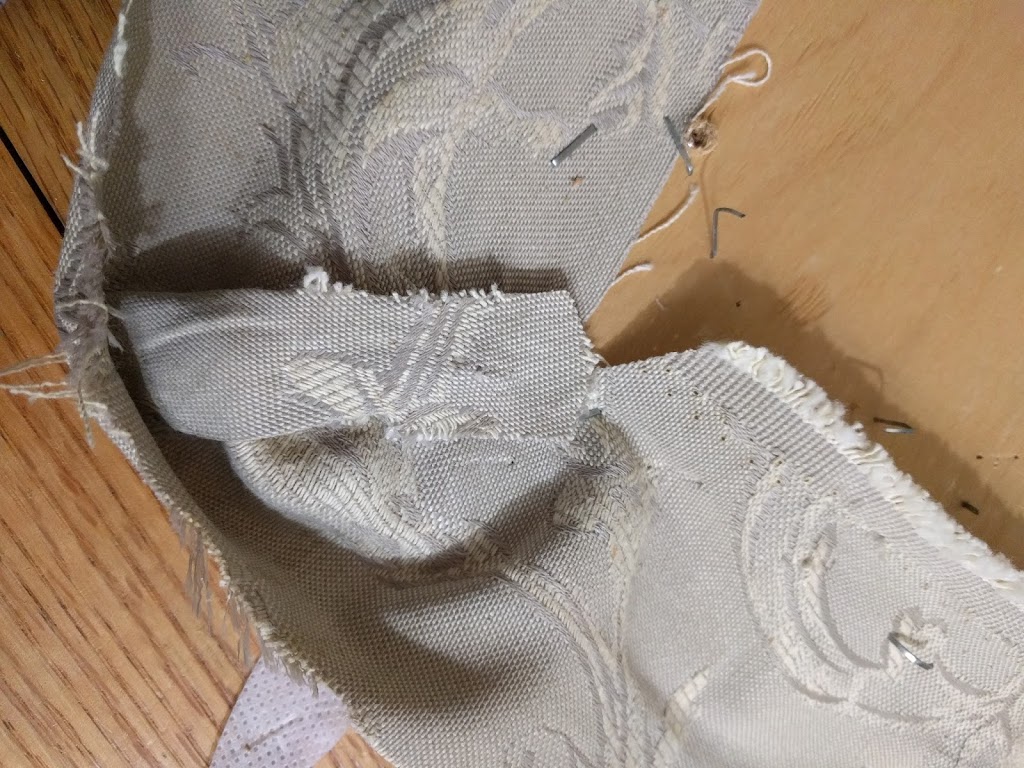
| This is the original corner. |
This chair basically has a board the shape of the seat that the fabric and cushioning is attached to. The board is then screwed onto the chair base. The first step of the process was removing the old fabric, foam, and staples from the board. I found that a staple puller makes the process go much, much faster. I used one of the old pieces of fabric to trace off a pattern for the new seat. The corner is cut as you attach it, so I rounded of the corners instead of tracing it exactly.
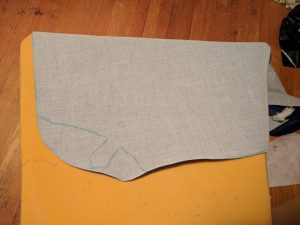 |
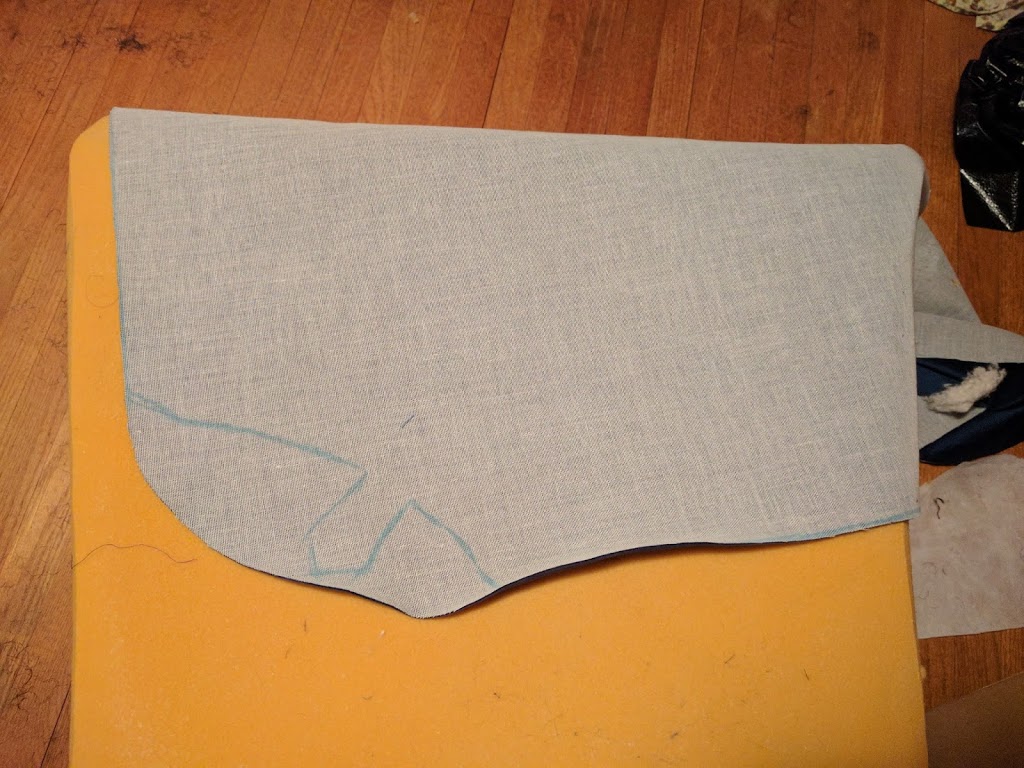
| The new fabric, cut to size. You can see the chalk outline of the older corner. |
 |
| The horse/hog hair stuffing! |
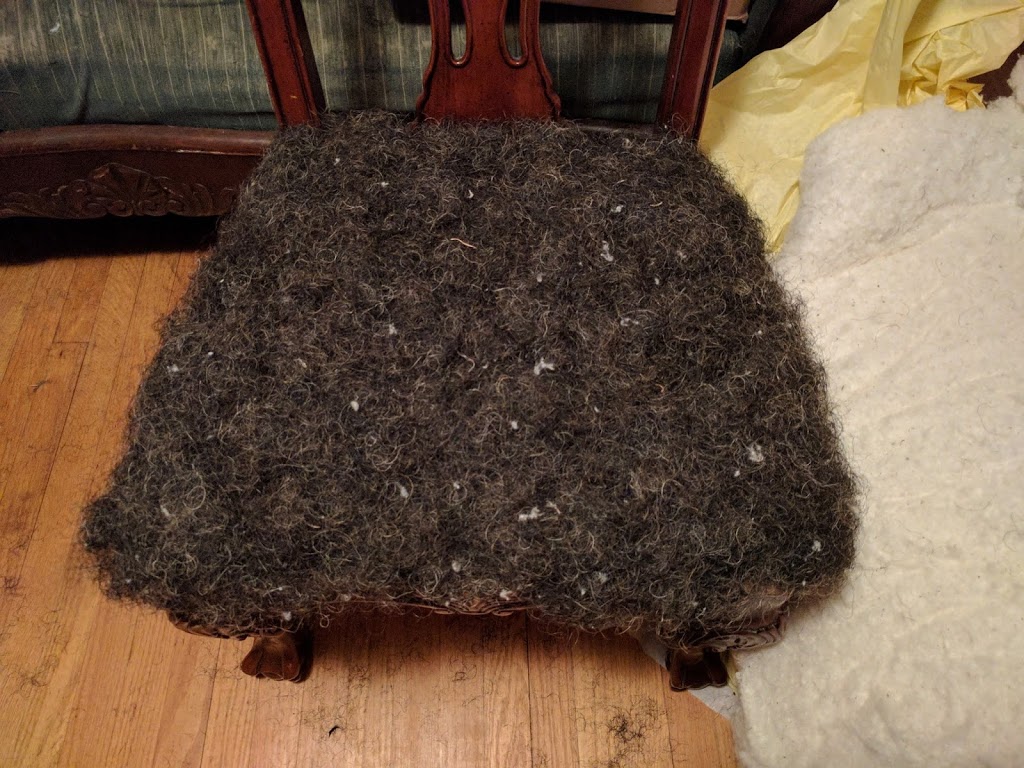
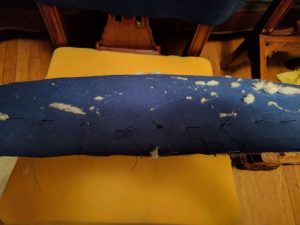
Next, I made a pad of hair stuffing on the board. I had no idea how much to use, so started with a thin layer and kept adding until it felt comfortable. I scrunched the hair together to sort of “felt” it into the desired shape. To hold the hair in place, I covered it with a layer of fabric (just some thin cotton that I had laying around). The fabric is just stapled on using a staple gun. The book I used as a guide said that the front of the cushion should be shaped with back stitches. I tried to do that, but I’m not sure how much effect it had. That is definitely something I will have to learn more about before doing the couch.
 |
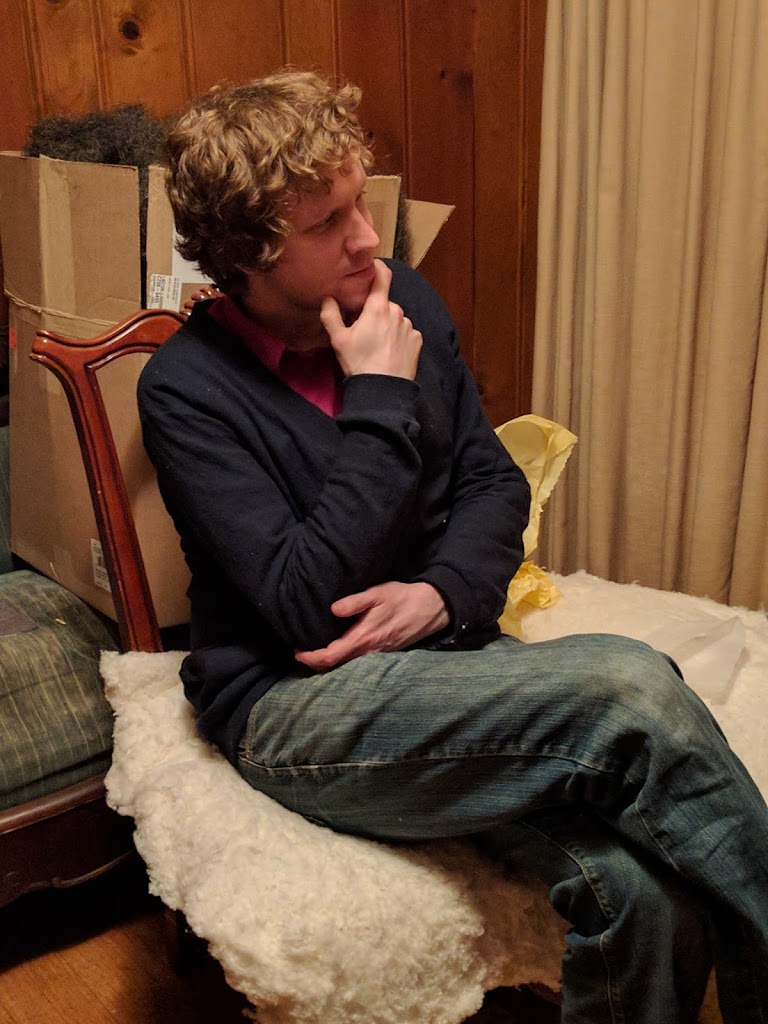
| Wade is contemplating the padding on the chair. |
 |
| My backstitches through the fabric covering the hair. |
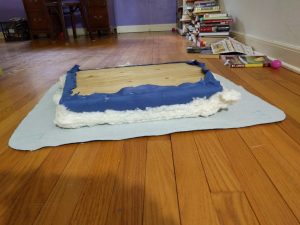 |
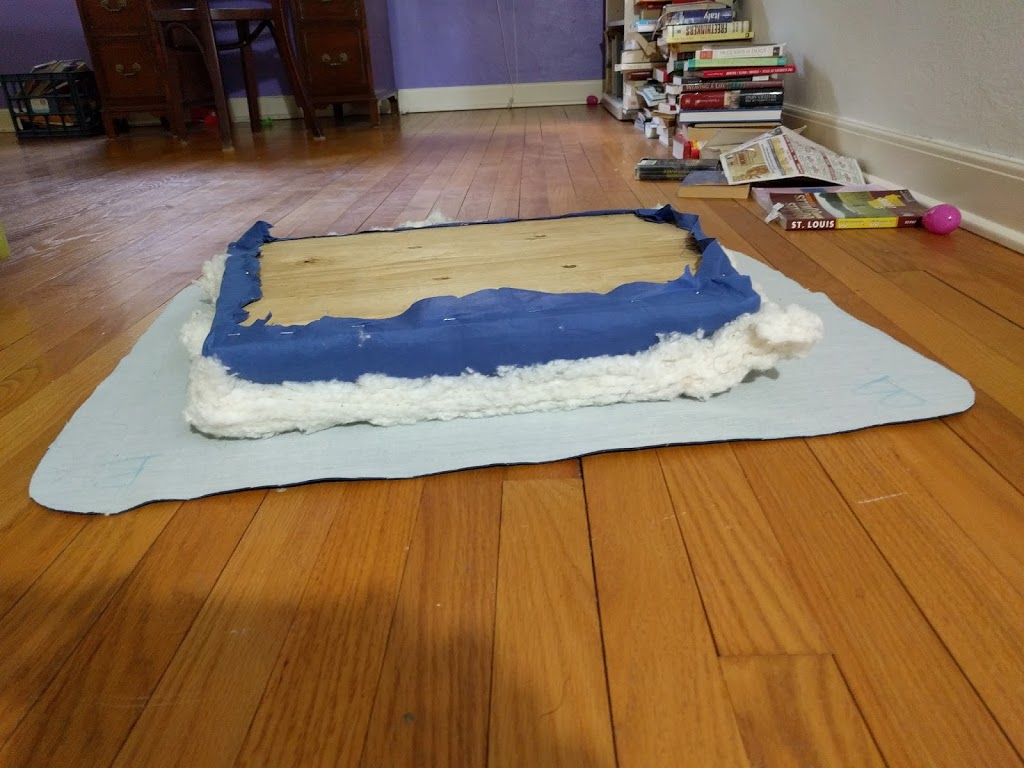
| The stuffing, batting, and fabric, ready for stapling. |
Before putting on the final fabric, I cut a layer of the batting. The upholstery fabric needs to put pulled pretty taught, but other than that the stapling was pretty easy to do. The corners were definitely the trickiest part, as the goal is to have no wrinkles. The release cuts are made to achieve this, but you kind of have to figure it out as you go. Mine are not perfect, but I think they are decent enough.
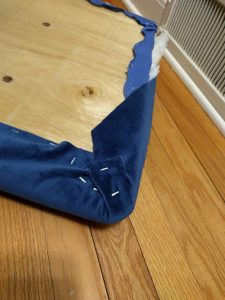 |
| One of the corners |
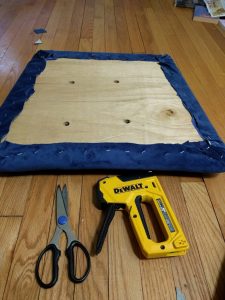 |
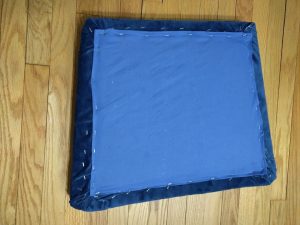
| The finished cushion and my staple gun. |
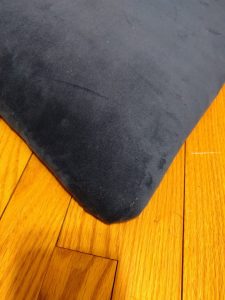 |
| One of the corners from the top. |
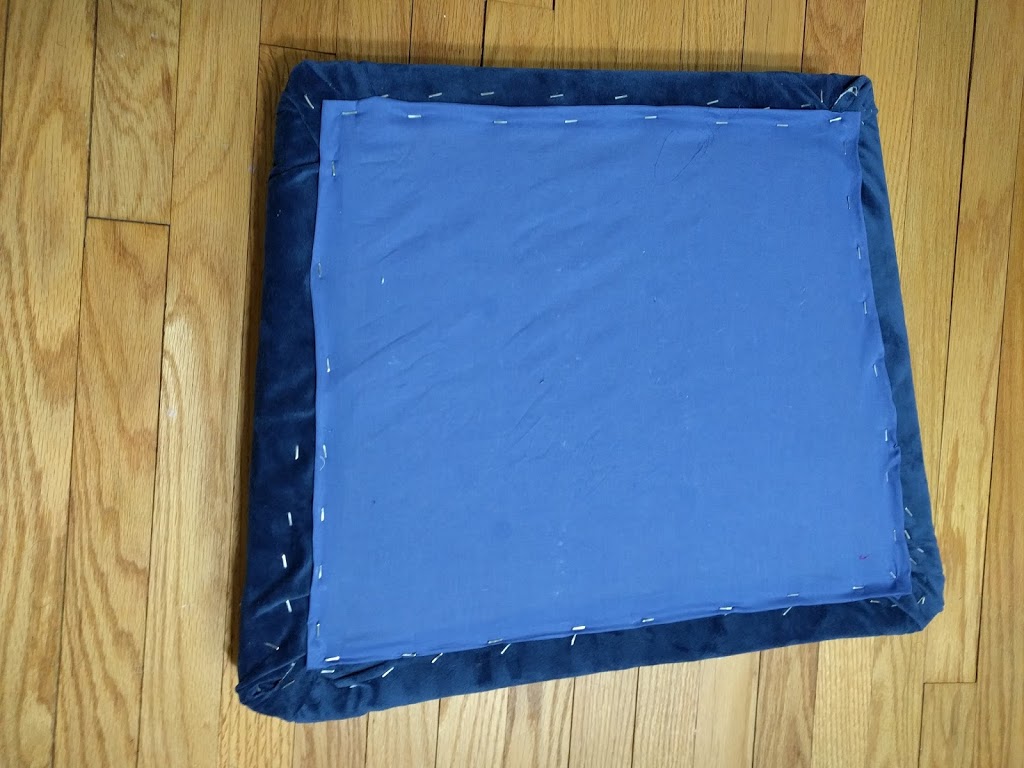
The final step was to put a dust cloth on the bottom. The board has holes in it, and you don’t want the bits of hair to fall through onto the floor. I used another piece of the thin cotton. The edges are just folded over and then stapled.
 |
| So many staples! |
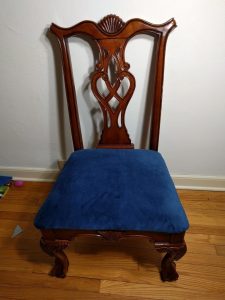 |
| Ta da! |
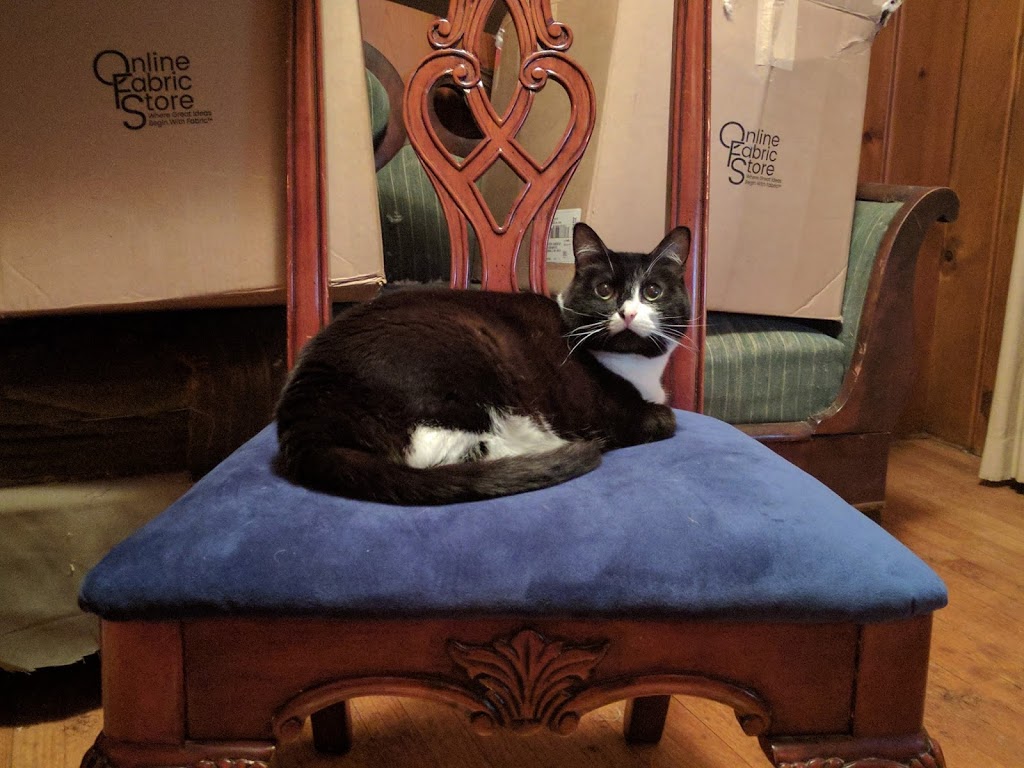
After using the chair for a couple days, Wade decided that it could use just a bit more cushioning. So for the second one, I used more horse hair. We actually weighed the amount we used for the second one, which was 1 lb. Other than that I did the second chair the same way. If you look closely, one of the cushions is slightly more domed, but they don’t look wildly different. This project was an experiment to help me get a feel for working with the hair stuffing, and I think overall it turned out great. I used to hate these chairs, but now I think they look pretty classy. The beautiful Fiona agrees!