More and more, I am drawn to projects that take a long time and involve multiple steps. I think part of that is that you only need so many clothes and most of my wardrobe holes are filled now. I like being able to slow down and really enjoy the process. The creation of this dress started with hand dyeing the fabric and the design is created entirely by hand embroidery, so it definitely was a slow project.
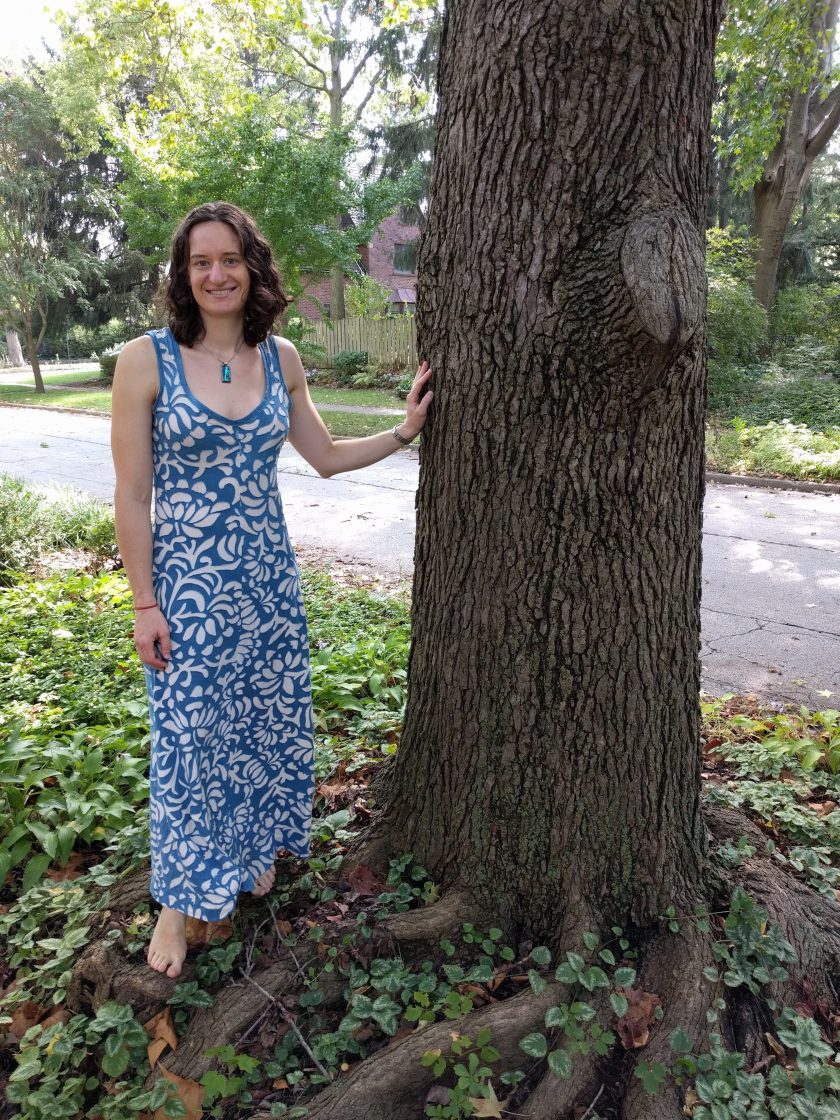
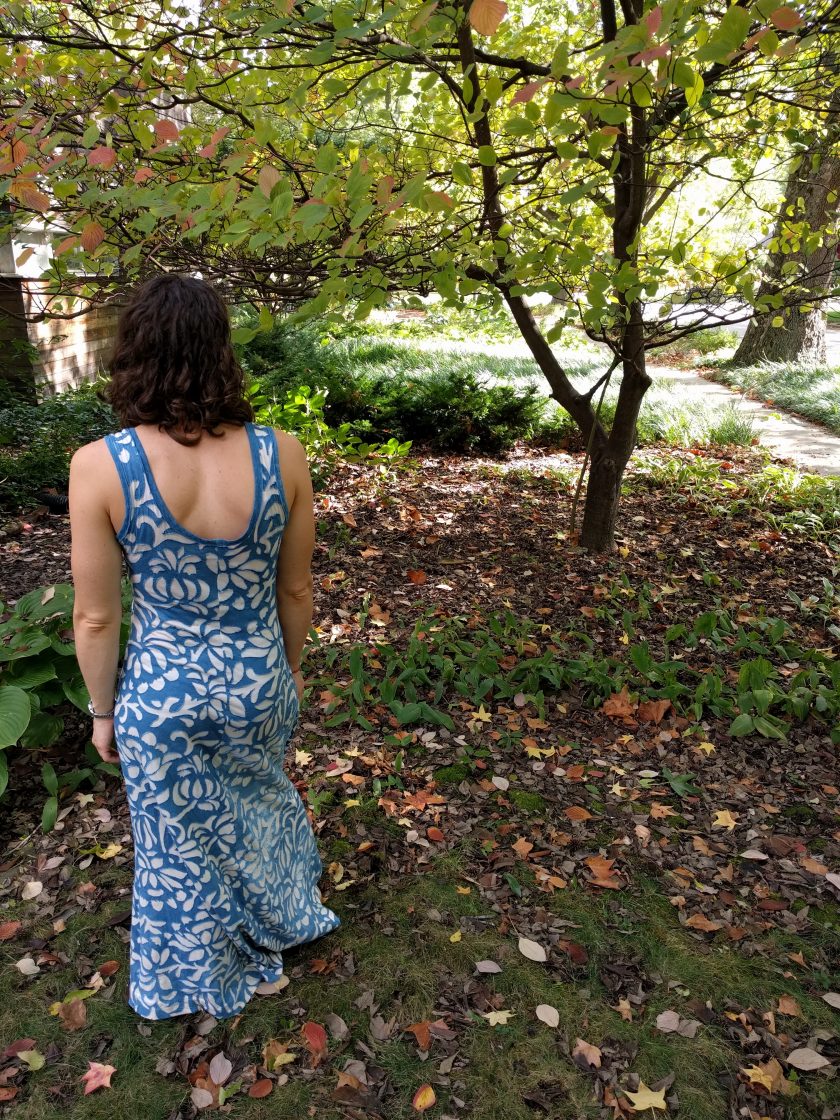
Natalie Chanin is a clothing designer and creator of the brand Alabama Chanin. She started by making clothing out of old t-shirts, and she continues to make clothes exclusively out of cotton jersey. The clothing that she sells is sewn entirely by hand. This obviously makes her clothes quite expensive, but the cool thing is that she also sells books that describe her techniques and provide patterns for both the clothes and the stenciled designs. The book that I have is Alabama Studio Sewing + Design. Ever since I first ran across a top that Handmade by Carolyn made, I knew that I wanted to try making one of these designs myself.
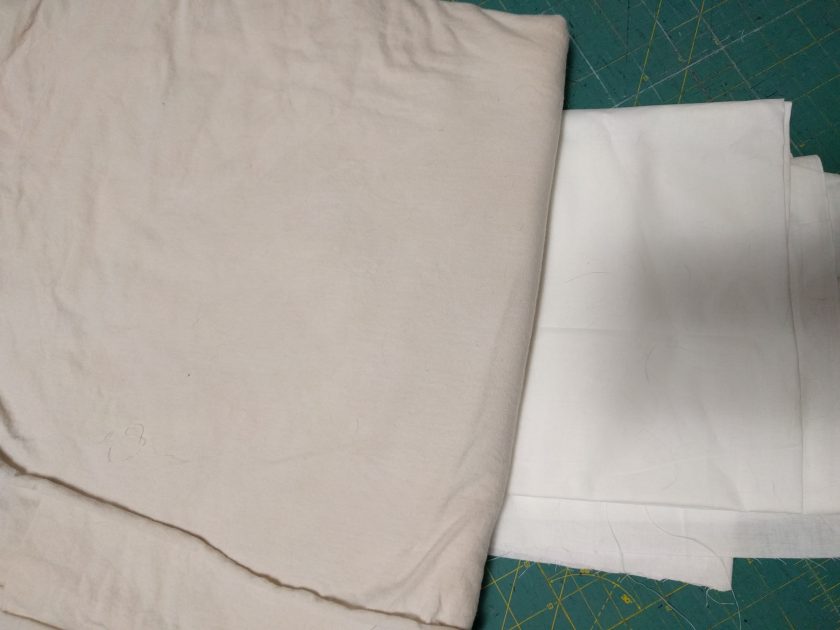
The fabric I used is 100% cotton jersey from Dharma Trading. The design is created using a reverse applique, meaning that two fabrics are stitched together and then the top fabric is cut out to reveal the design. The top, blue fabric was dyed using indigo. For the other fabric, I wanted a light color, but the pure white seemed too harsh against the blue, so I used tea to make it more of a cream color. Once I had the fabric dyed, I cut out the front and back pieces in each of the fabrics, like I normally would.
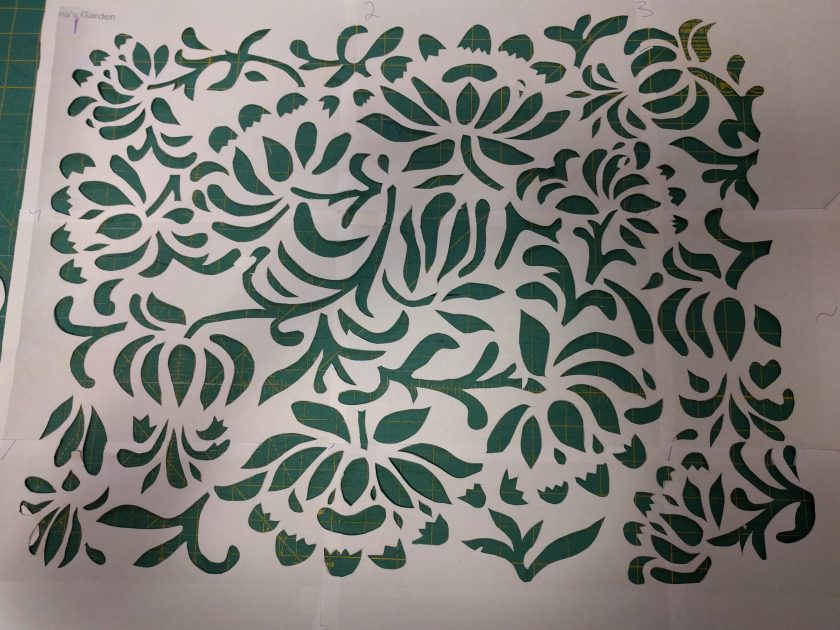
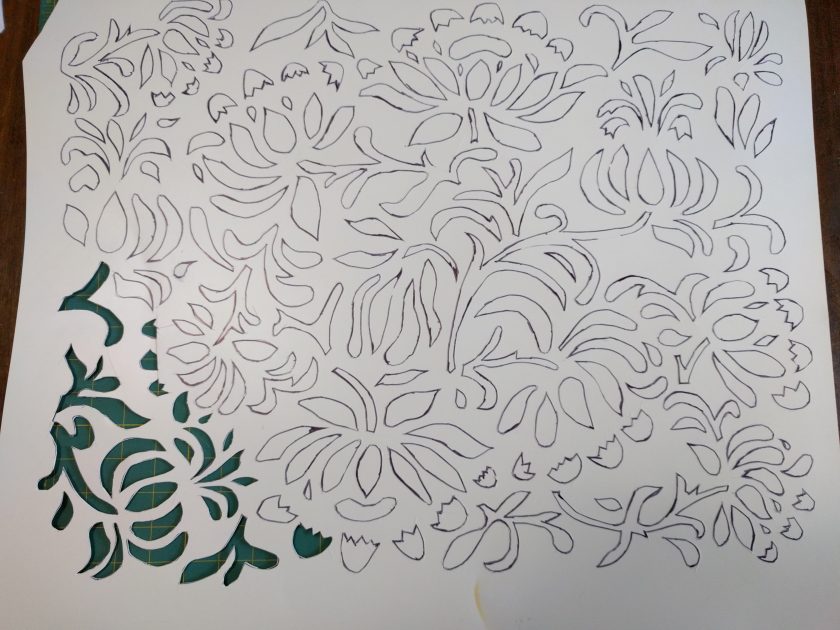
The next steps did not involve any fabric, but rather involved me making the stencil that transfers the design to the fabric. First, I had to scan the design, which is called Anna’s Garden, and then scale it up and print it on multiple sheets of paper. Then, I had to find an appropriate material to make a 20″ x 24″ stencil. I was able to find a sheet of something (the guy wasn’t even sure what it was, it had been there so long) at a local plastics company. In order to transfer the design to the plastic sheet, I cut the design out of the paper with an exacto knife. I then traced the design onto the plastic and cut it out using a heavy duty exacto knife. This was less than ideal as the knife did not cut very effectively and tended to slip. I managed to not cut myself, though, so it all worked out. Once I had the stencil, I had to figure out how to transfer the design.
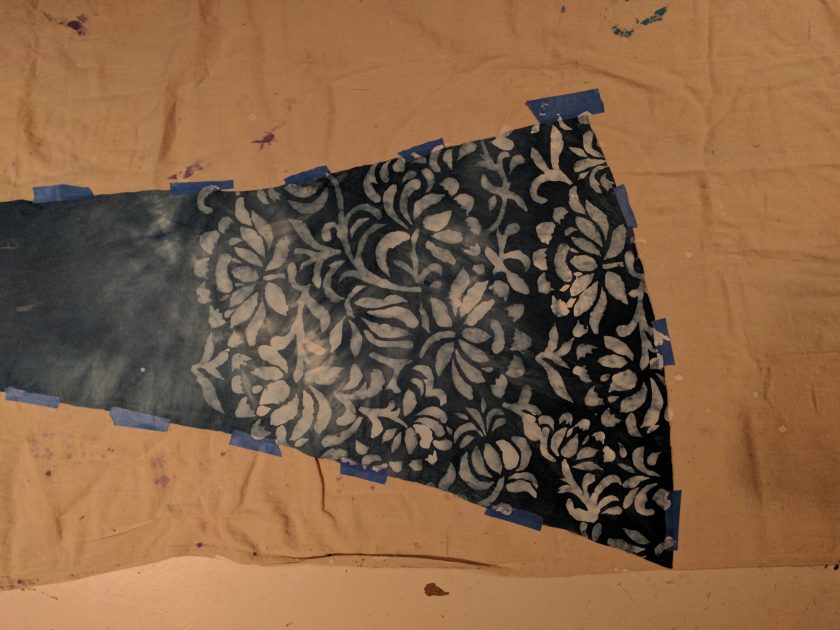
I used white Tulip brand fabric paint because that was what I had on hand. The book recommends that the paint be sprayed on, but I learned that if I made the paint thin enough to not clog up my spray bottle then it bled on the fabric. So, instead of I diluted the paint with a bit of water and dabbed it on with a sponge. I tested the paint on scrap fabric before preceding to the pattern pieces. I taped the pattern pieces directly to a painting drop cloth, which kept the fabric from moving. I did not attempt to pattern match because the front and back seams are curvy and so the pattern wouldn’t match the length of the dress anyway.
Once the paint was dry, I hand basted the stenciled pieces to the backing fabric. In addition to basting the edges, I also ran stitches every foot or so to make sure nothing shifted around as I was handling it. Before beginning the stitching, I wanted to test out different threads. The book recommends Coats and Clark button and craft thread for strength, but it only comes in limited colors. I tried both the cream and the navy version of the button and craft thread, but I felt they had too much contrast with the fabric. I also tried Mara 70 top stitch/buttonhole thread in a color that matched my fabric. That is the one I ended up choosing. The Mara thread is a little thinner than the button and craft thread, but I felt it would still work fine.
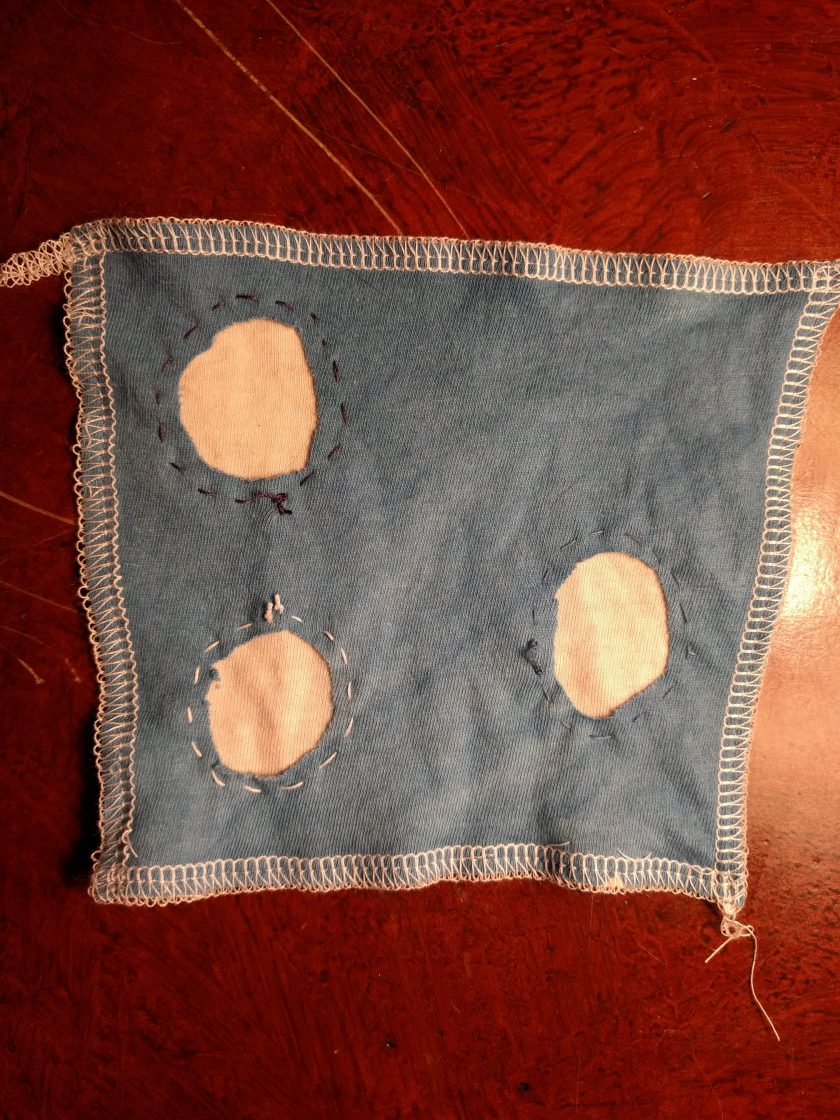
The stitch I used is just a basic running stitch, so the embroidery went faster than I expected. Once I had done a section of stitching, I would go back and cut out the designs. I bought a pair of embroidery scissors to do this; having the proper tool really helped. I left a tiny bit of paint around the edges, partly because some of the paint bled and I wanted it to look consistent. Once all of the stitching and cutting was finished, it was just matter of sewing it together.
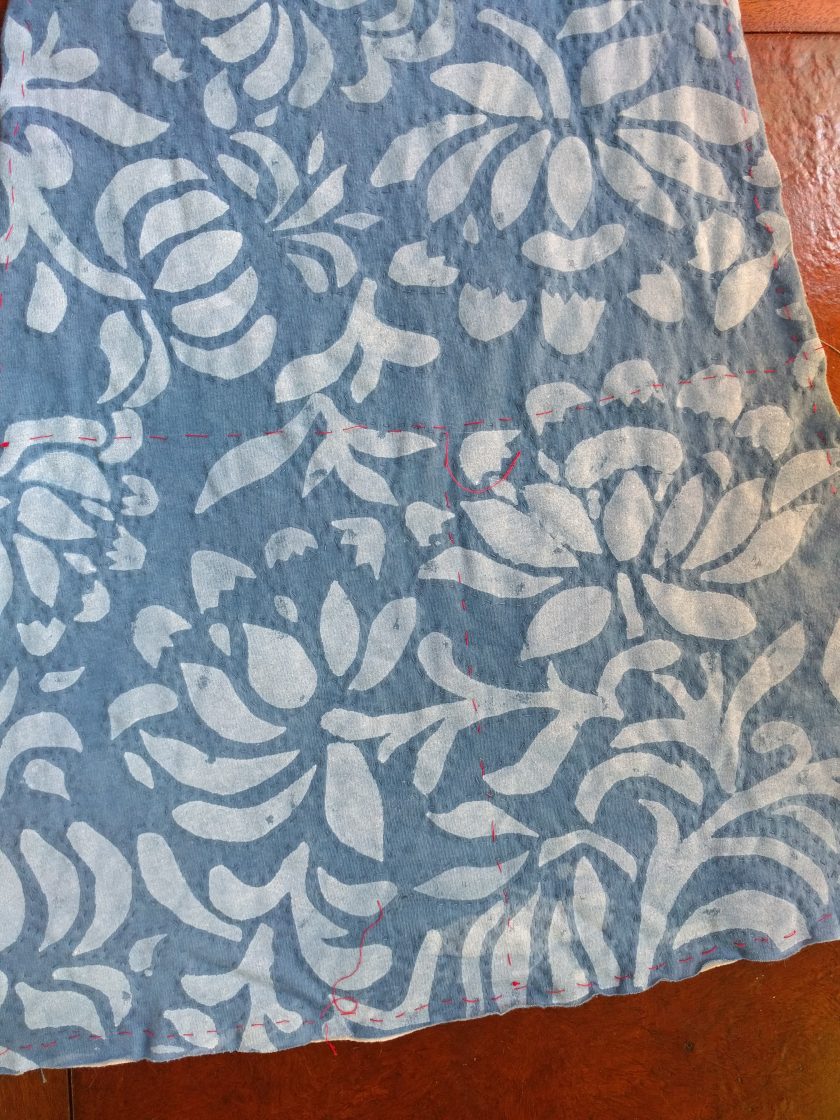
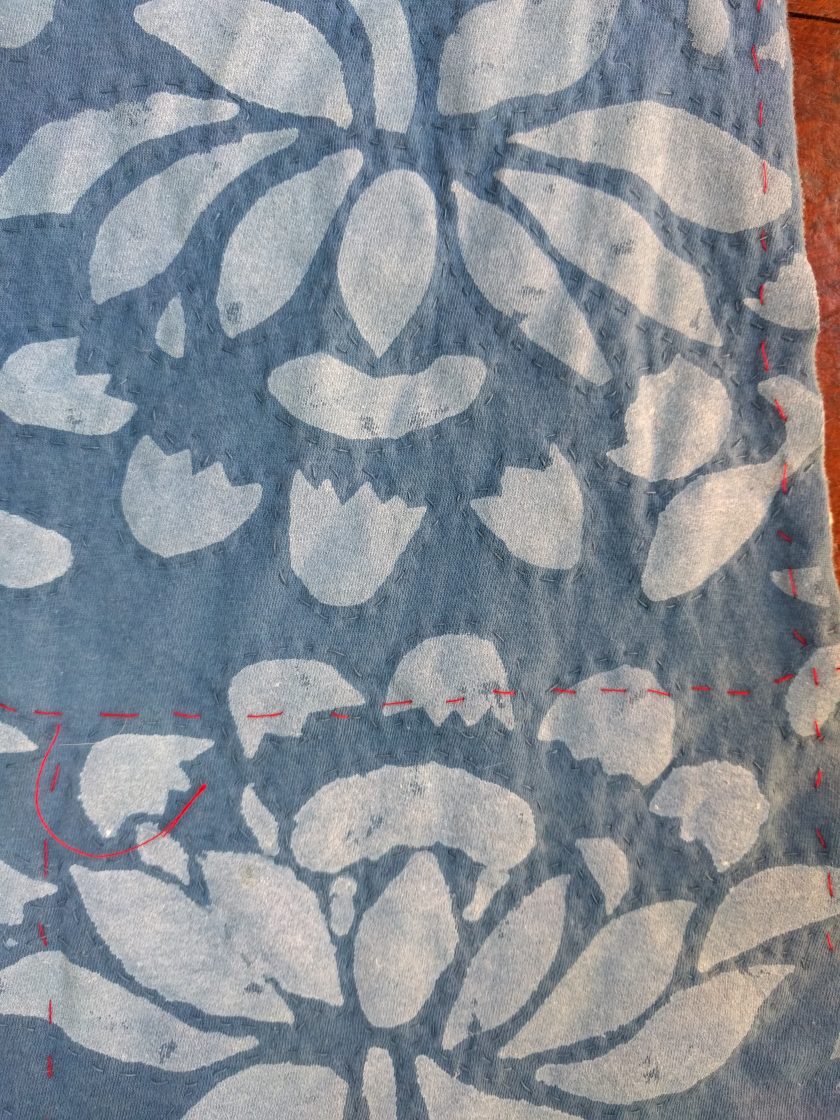
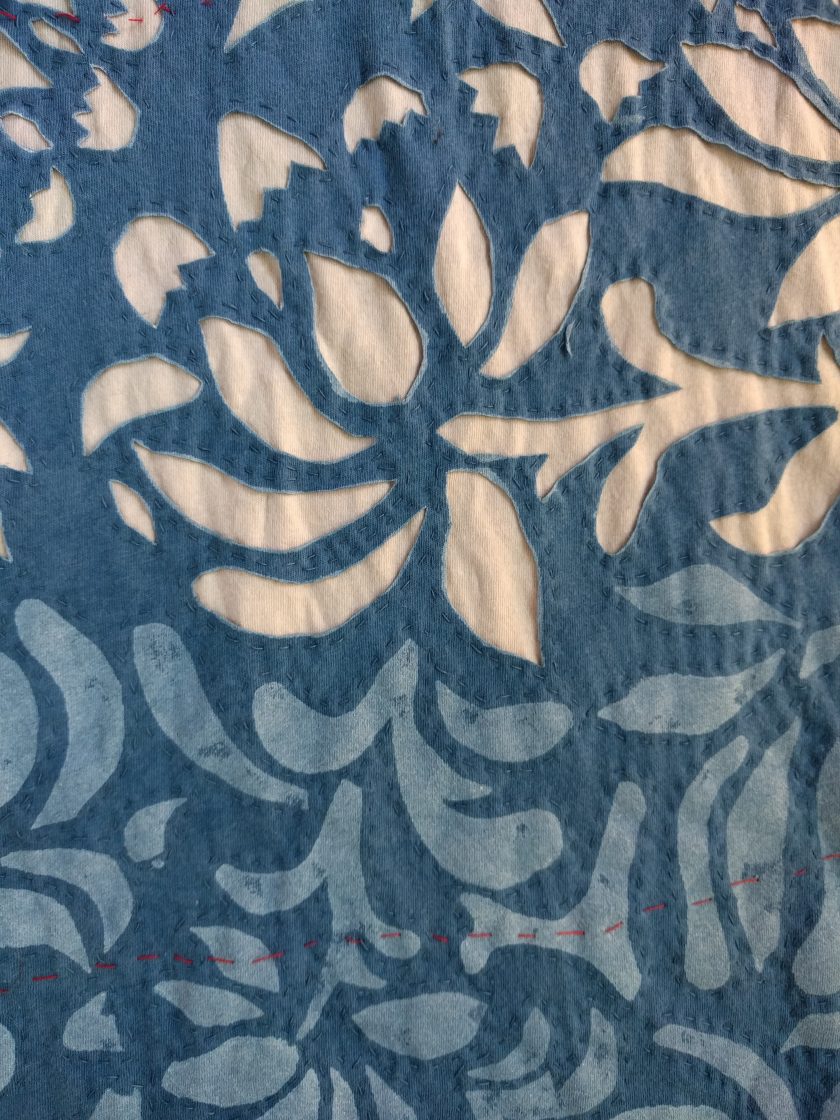
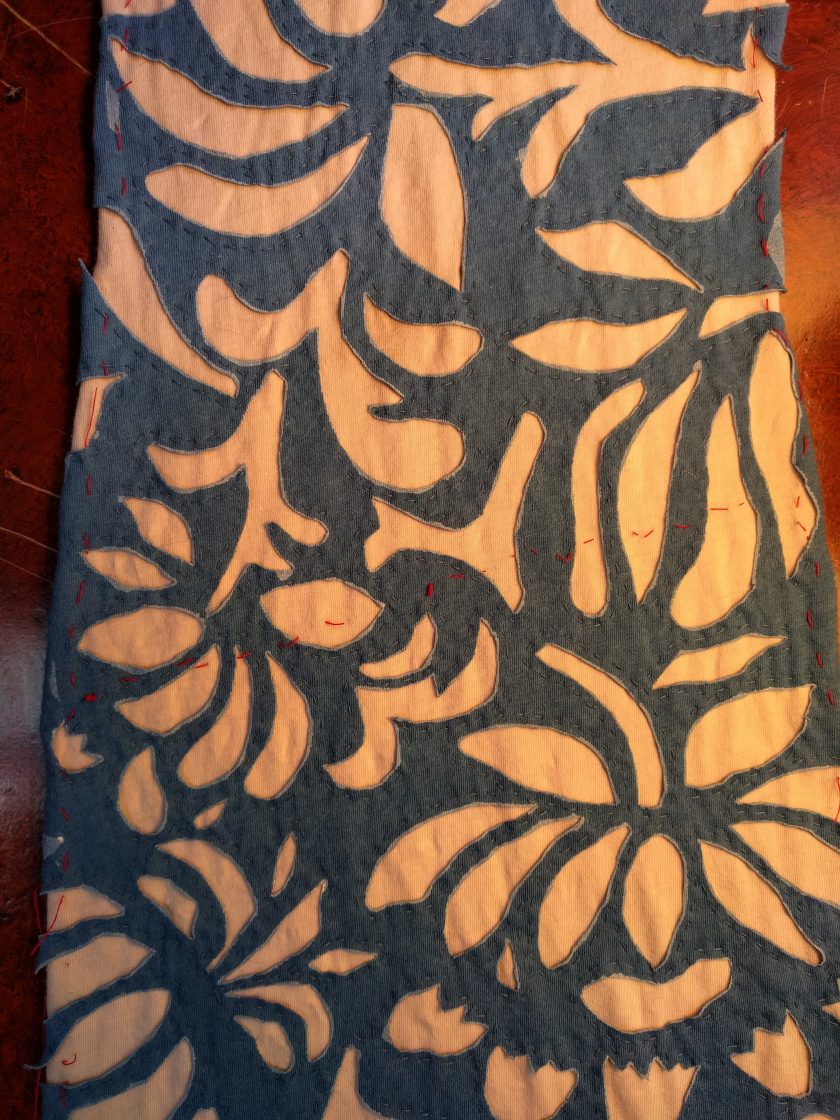
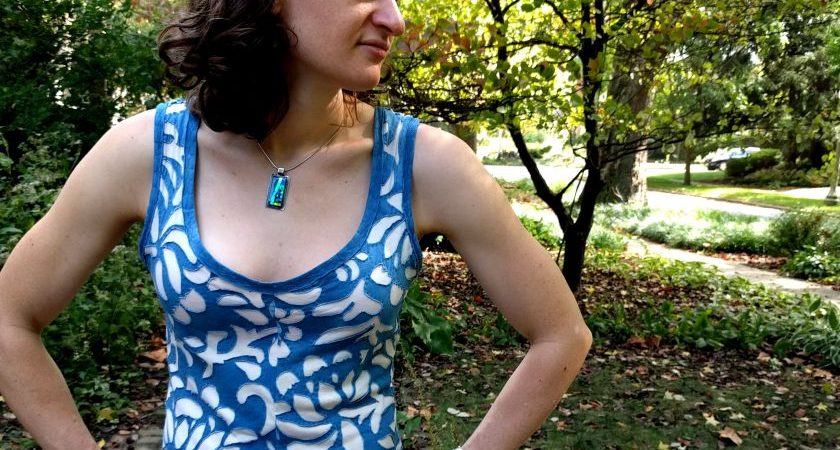
The “real” Alabama Chanin dresses are stitched together by hand. I actually really like serged seams on knits, so I decided not to hand stitch. However, I did hand baste everything so that my seams would be accurate. (The pattern uses only 1/4″ seam allowances.) I also tested and adjusted the tension on my serger to make sure that I had no waviness in the seams. I thought this worked out great. For the hem, I turned up a wide hem and used a blind catchstitch to finish it by hand. (The original dresses actually have raw hems.) The final step was finishing the neck and armholes. The book recommends using a folded over strip and leaving the raw edges, and I decided to follow this method. To attach the strip, I used a double cretan stitch to make it a bit more fancy.
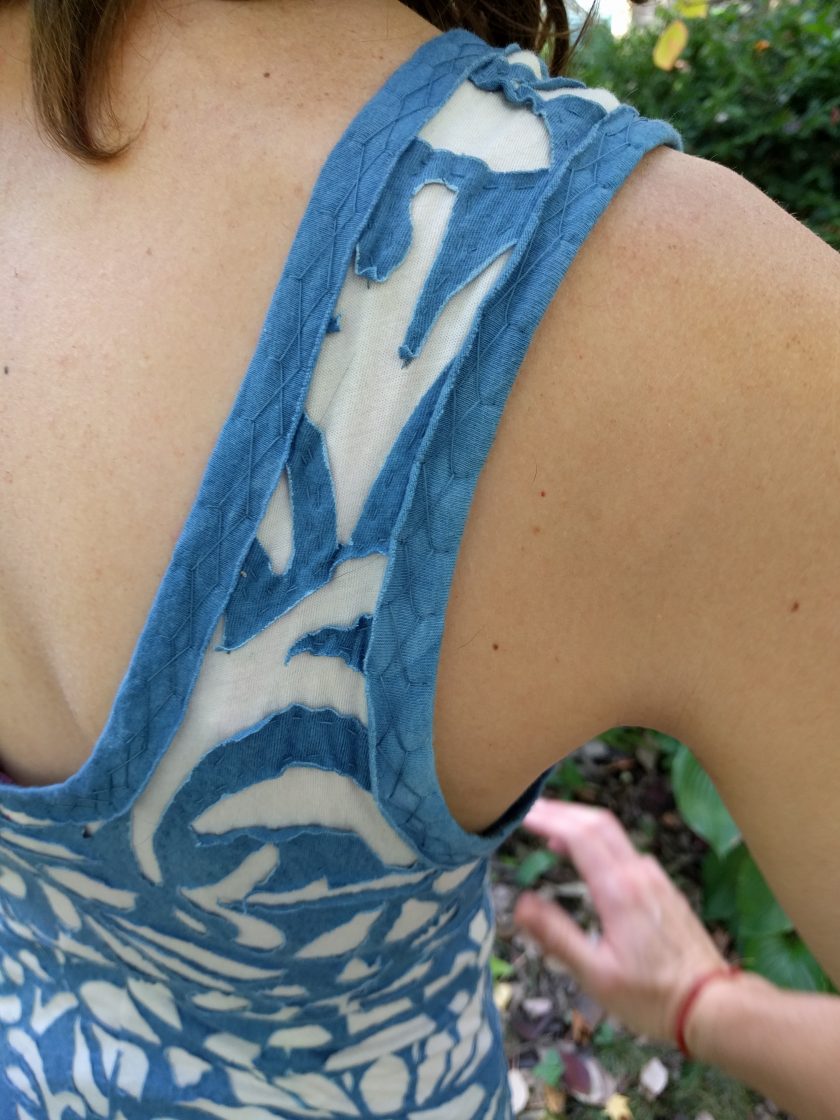
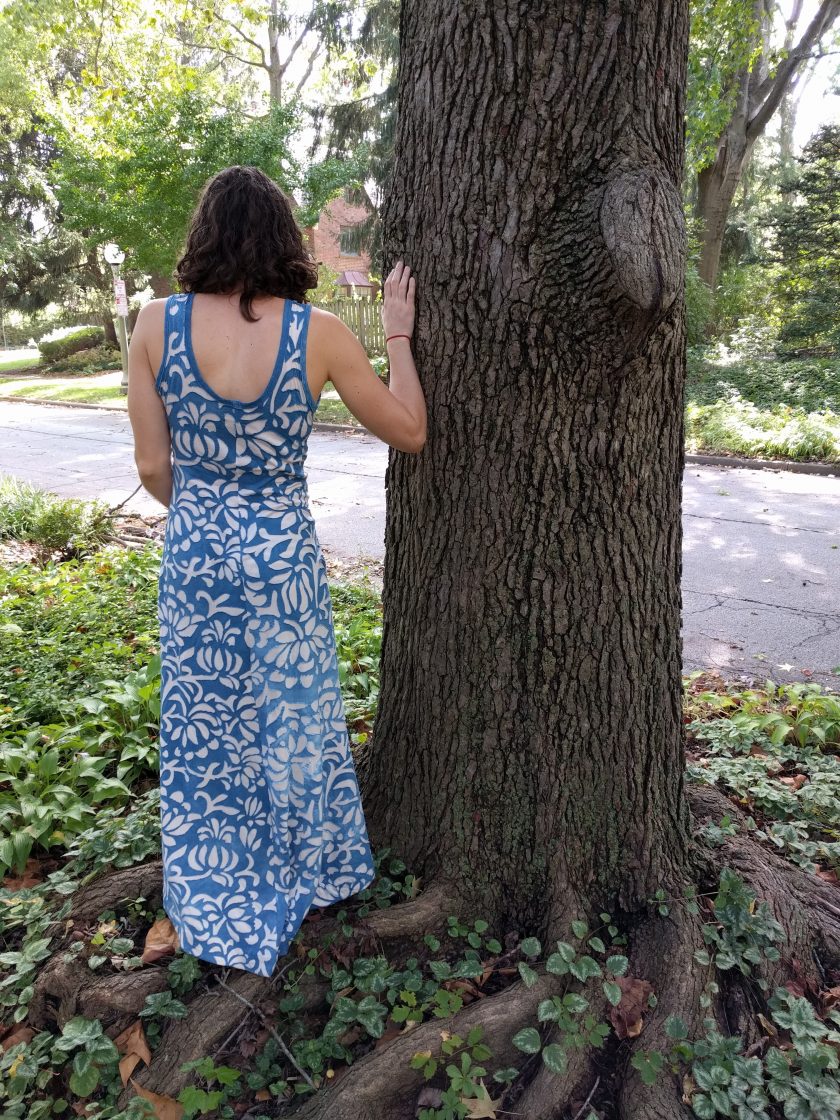
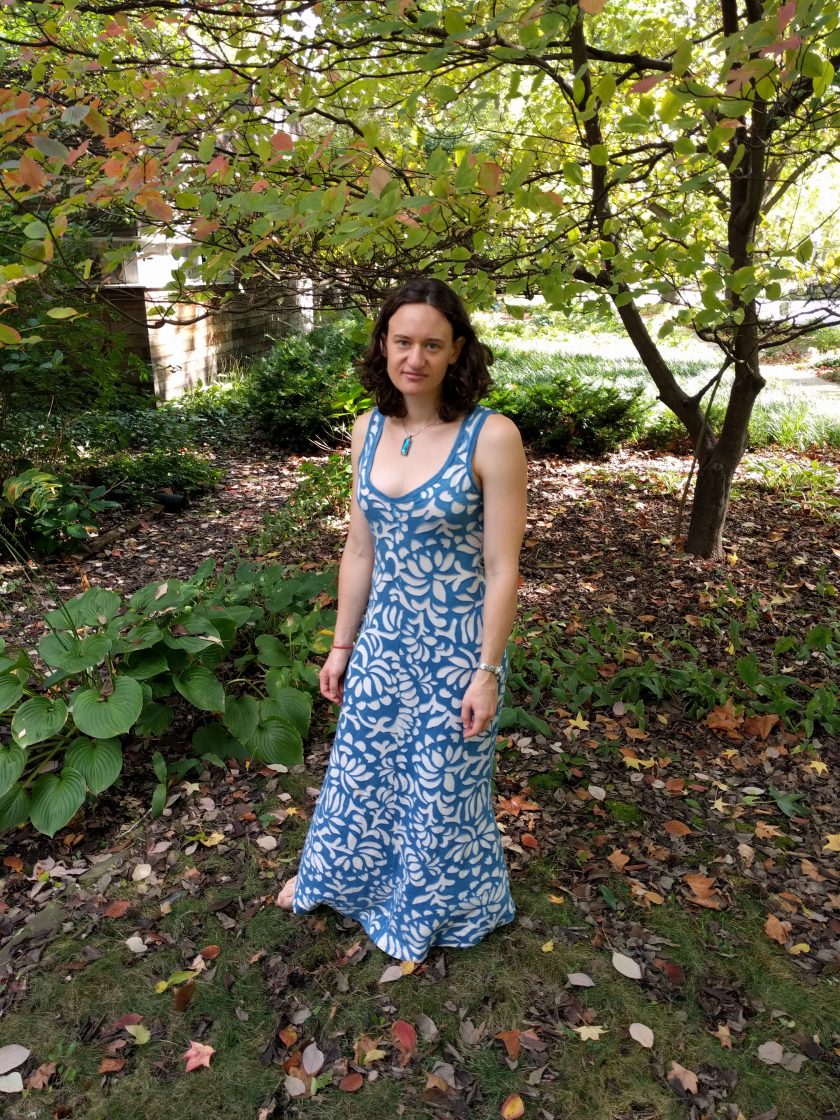

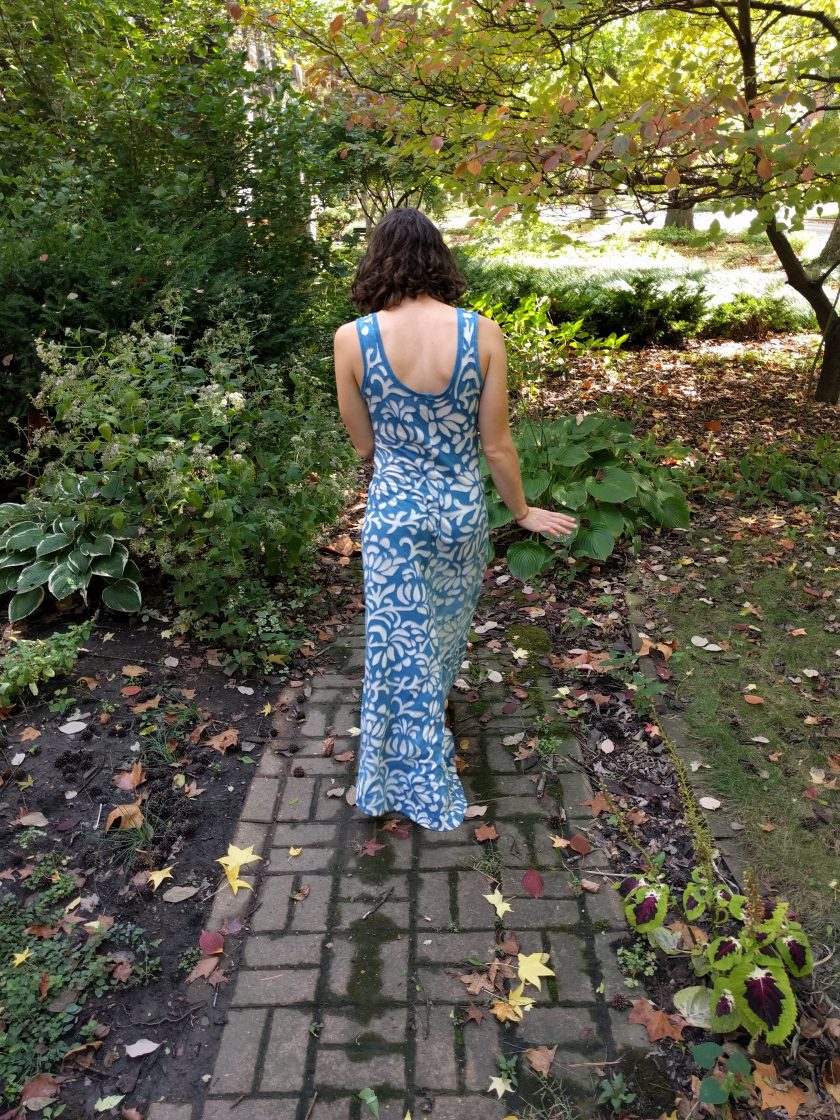
I had so much fun with this project, and I love the finished dress. I do need to raise the neckline or shorten the front strap a bit as it is a little too low cut. (I will probably fix the existing dress by shortening the strap.) I can’t wait to make another garment in this style. Now that I have the stencil, I have also been thinking about other ways to use it. I think it would be really awesome to use the stencil to do some batik (wax resist) dyeing.
Gorgeous! I wish I could take lessons from you!
Thanks! If I lived nearby I’d totally give you lessons.
Stunningly beautiful!!
You’re too kind!
So much fun to see this dress in all the different stages! It is beautiful! Nonnie would be so proud of you!
Aaaaw, thanks Mom!