The restoration of the 19th century couch that I bought at a local farm has been an ongoing project. In my first post, I tell about how we acquired the couch and show pictures of what the original stuffings looked like. In my second post, I discussed how I cleaned and repaired the frame. The next step was to start padding out the various pieces. Because I generally dislike synthetics, and because I wanted padding that would last a long time rather than disintegrating into dust (as all upholstery foams do), I tried to recreate the padding with materials similar to the original.
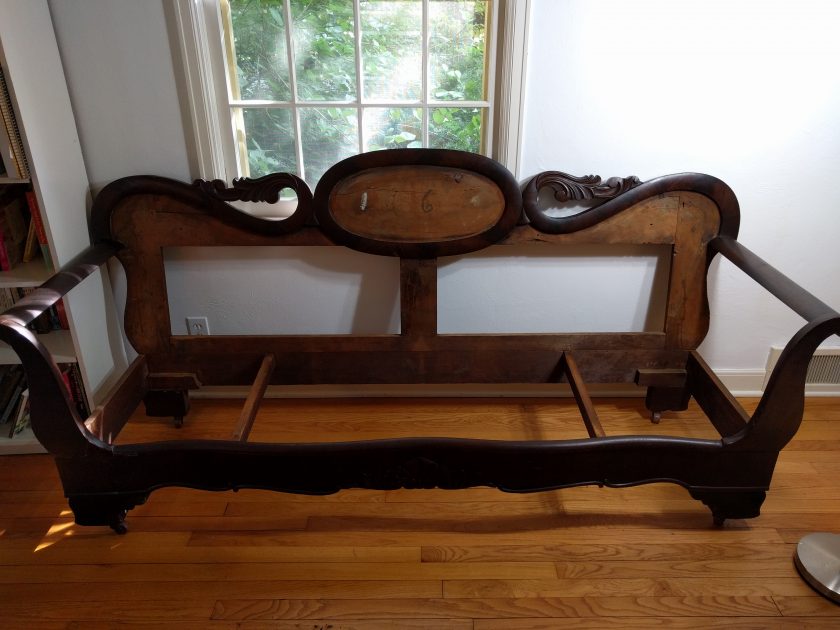
Since I have done only one upholstery project before, I used many books to guide me (thanks, Urbana Free Library!). In particular, I had to look for books that described traditional upholstery techniques that use vegetable and animal stuffings, rather than the more modern way of using synthetic upholstery foam. I have listed all of them at the end of the post, but if I were to buy only one book, it would be The Upholsterer’s Step-by-Step Handbook by Alex Law because this book has step by step diagrams. The Complete Upholsterer: A Practical Guide to Upholstering Traditional Furniture by Carole Thomerson was also quite good. I also looked at many of the pieces shown at this blog: http://lefebvreupholstery.blogspot.com/. Looking at the process applied to a series of pieces helped me to get a feel for how it worked.
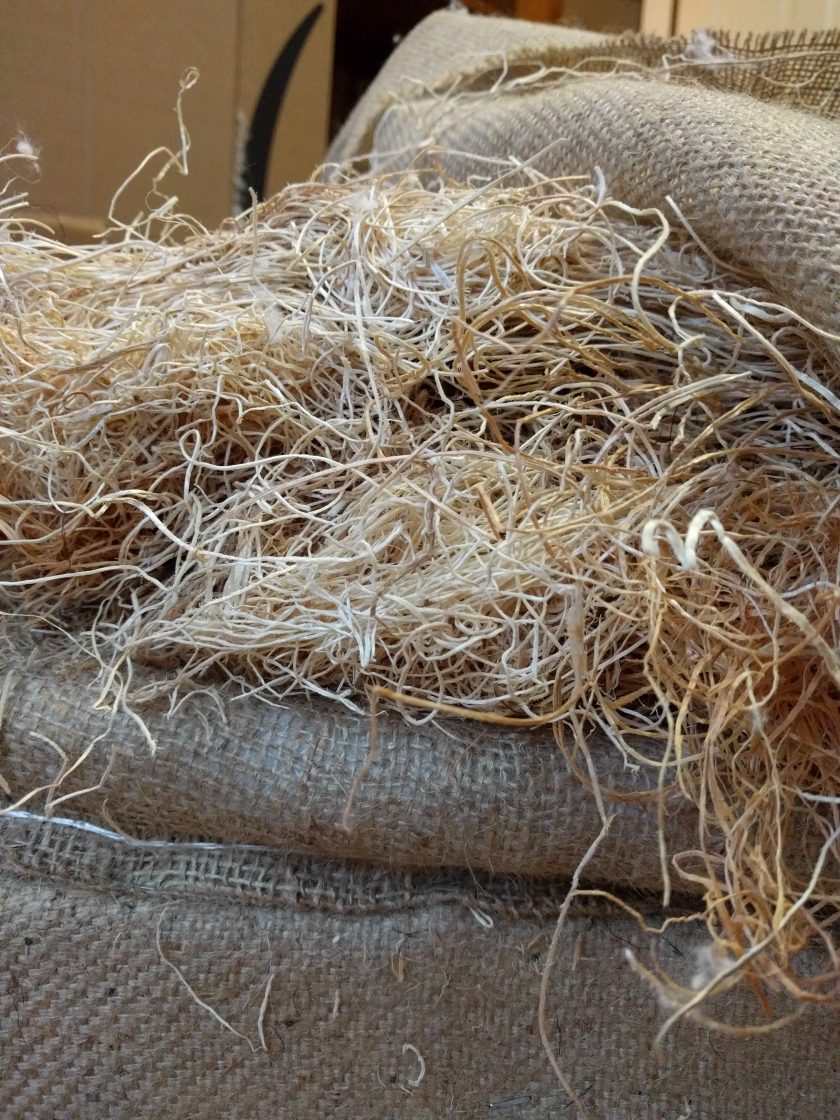
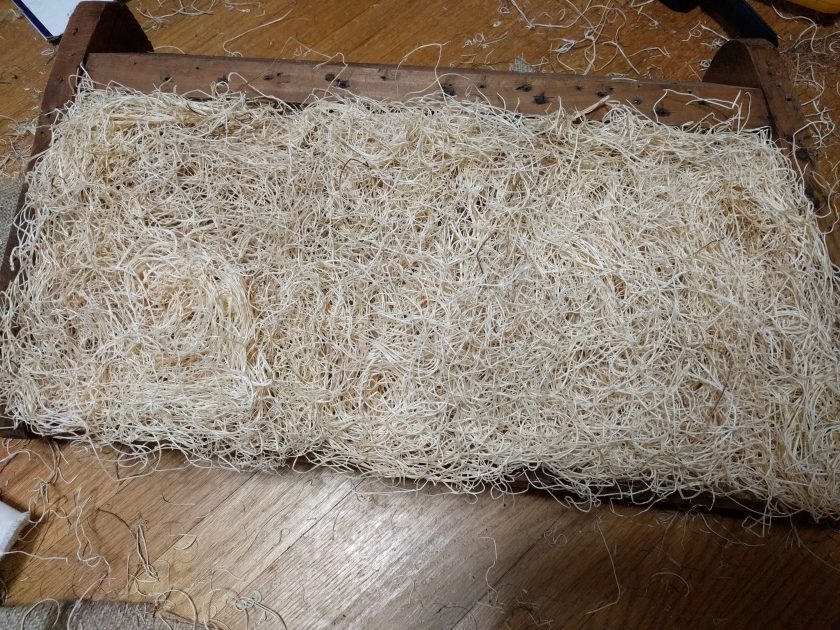
That shop tends to re-use the old stuffing materials, but I was not comfortable doing that because I knew that the couch had been stored outside for some time. Although the common conception is that old furniture was exclusively stuffed with horsehair, there were actually many materials used, including straw, dried Spanish moss, and wood shavings. It seems that some sort of vegetable matter was usually used first and then the horsehair was applied as a top layer over that. I already had the horsehair (actually a mix of horse and hog hair), and I found that the easiest vegetable stuffing to obtain was wood shavings (called excelsior).
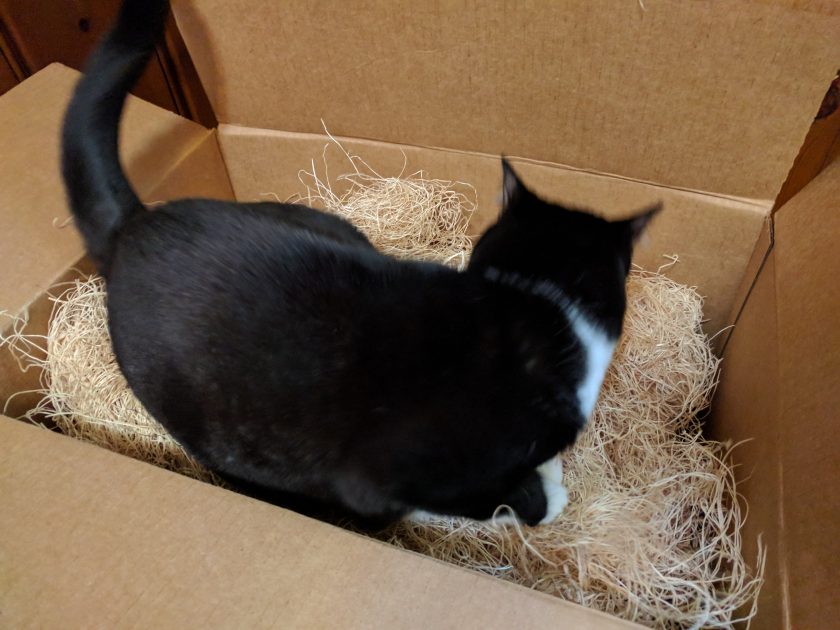
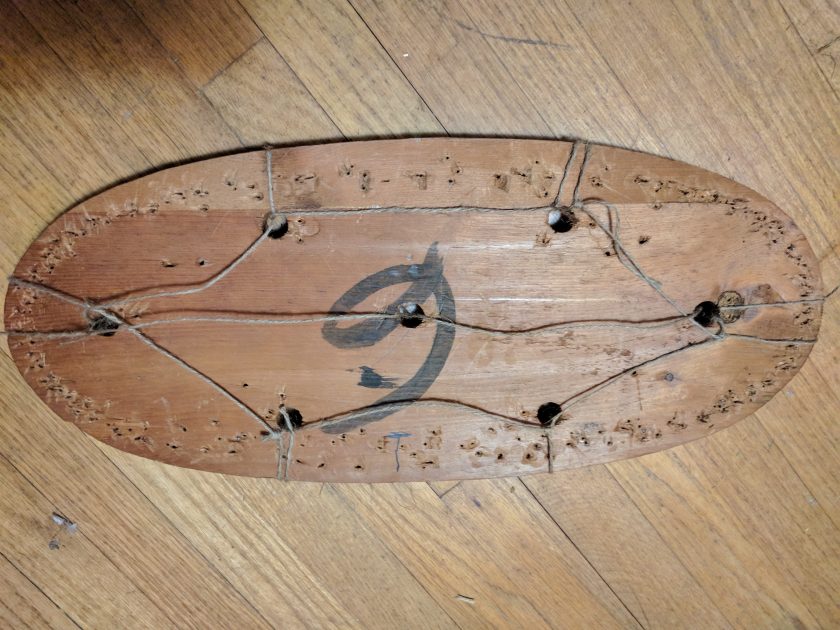
Before I could start on the stuffings, I had to create a base for them. I kept the original springs, and in my previous post I stated that I would also keep the spring ties. When I started examining them, however, I decided that I wanted to re-do them. Using my books, I did an 8-way tie using a heavy-duty jute twine. I re-used the old tacks that I had removed because I am using staples instead of tacks for most of the work.
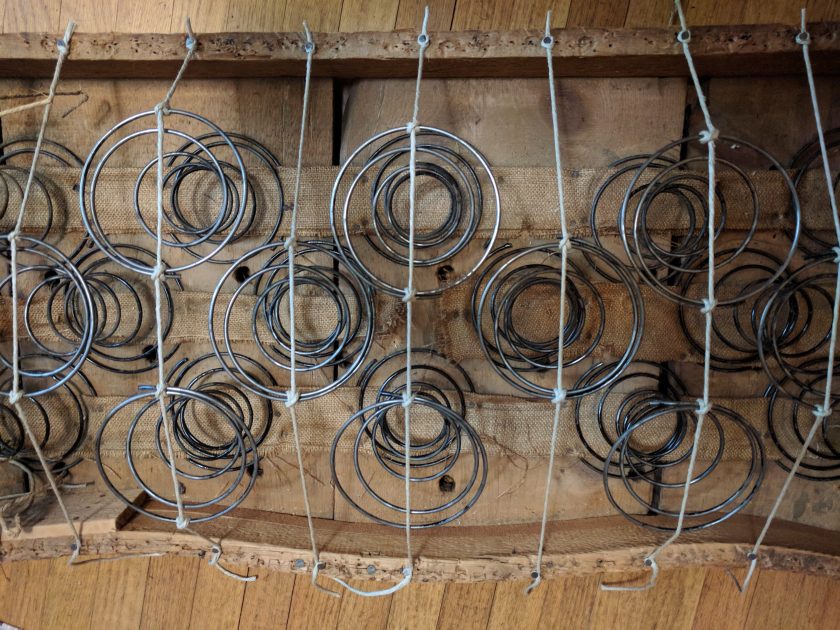
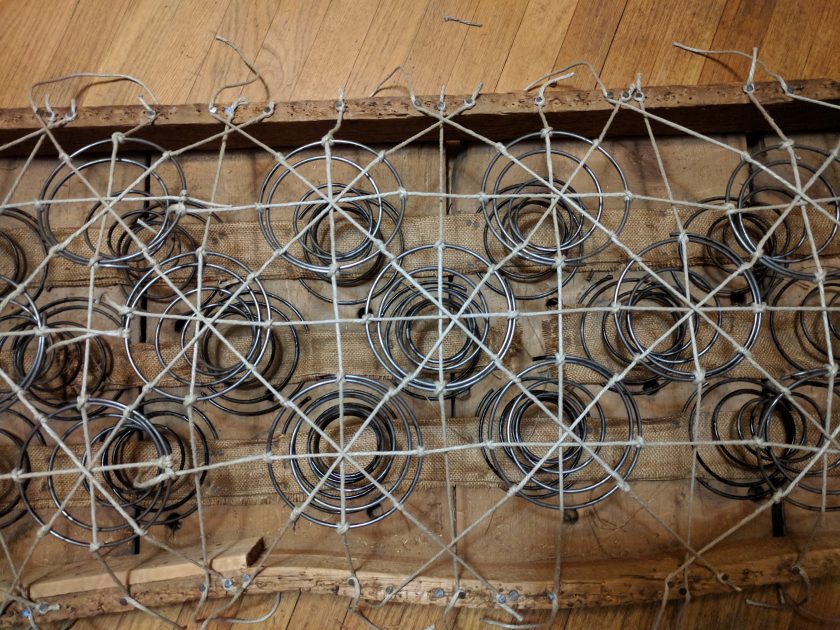
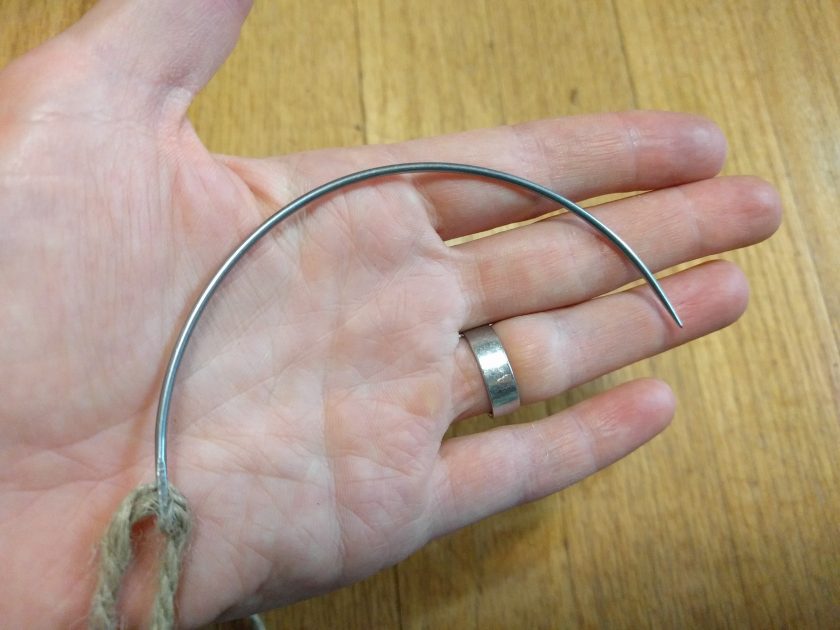
Once the tying was complete, I placed a layer of heavy burlap over the springs and stitched the burlap to the springs. To do this, I used a ridiculously giant curved needle.
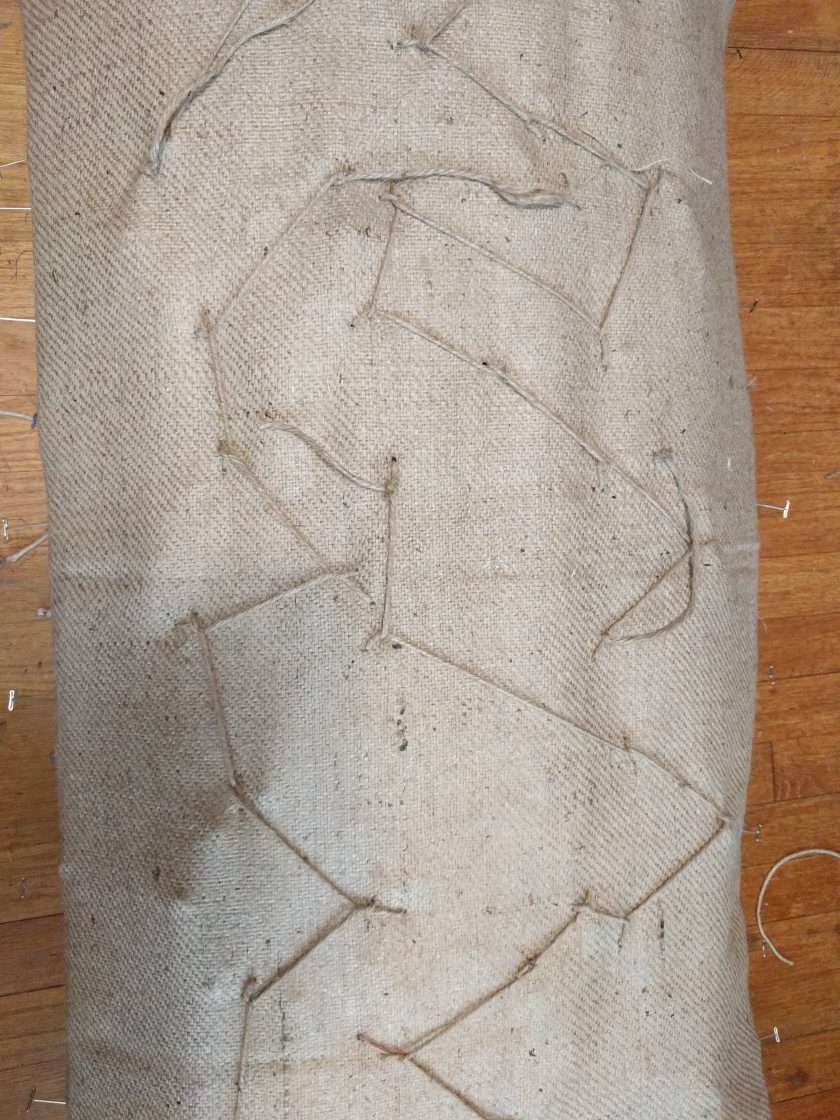
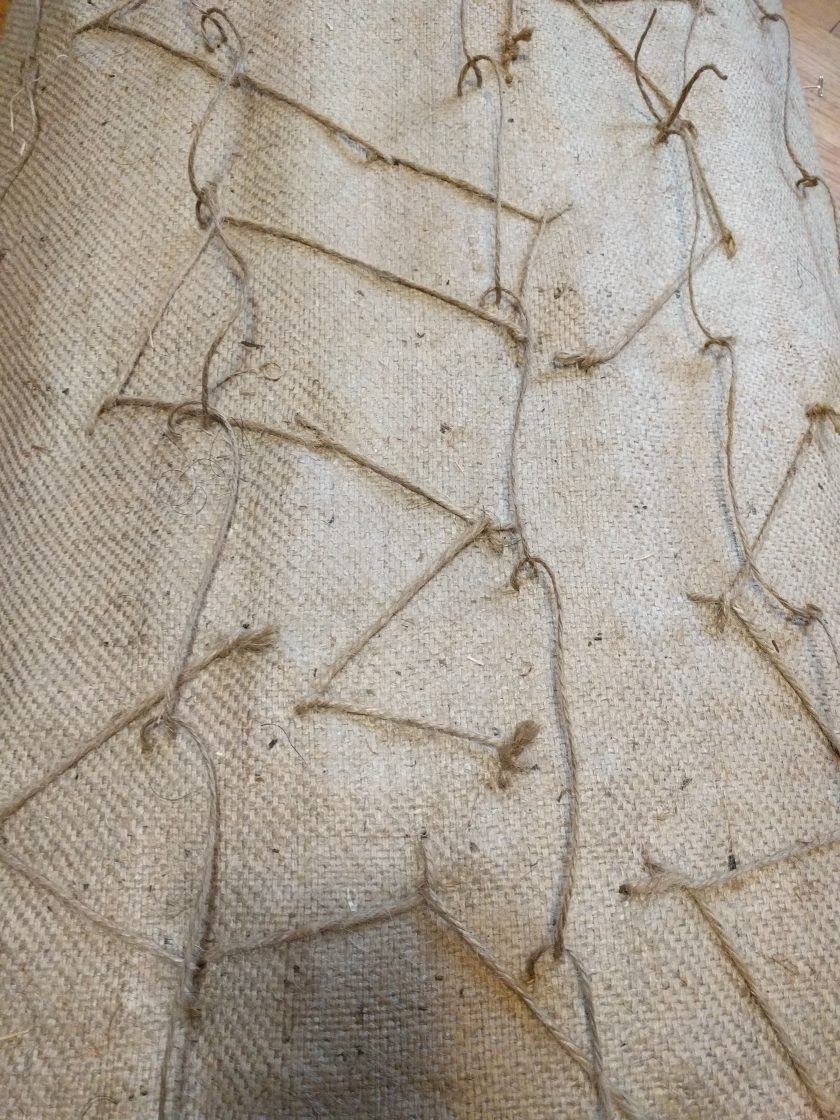
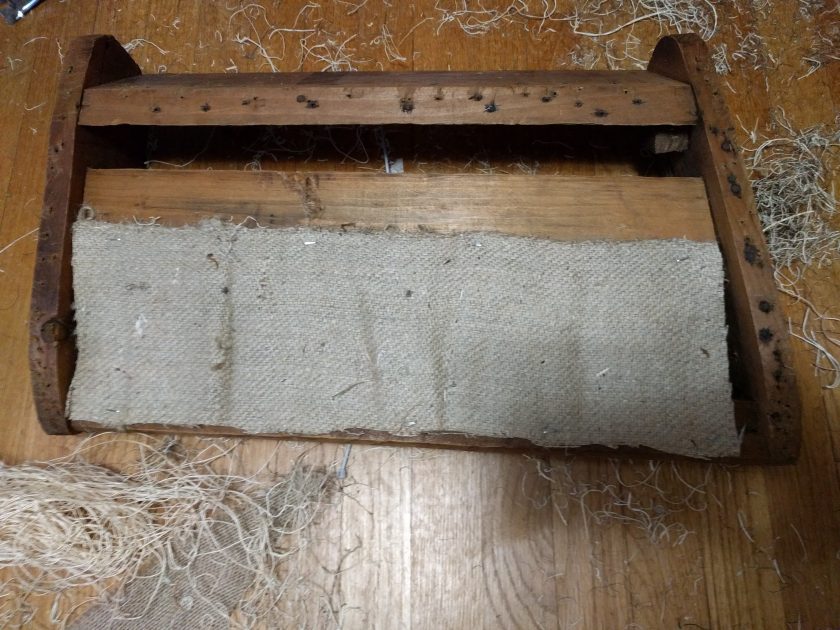
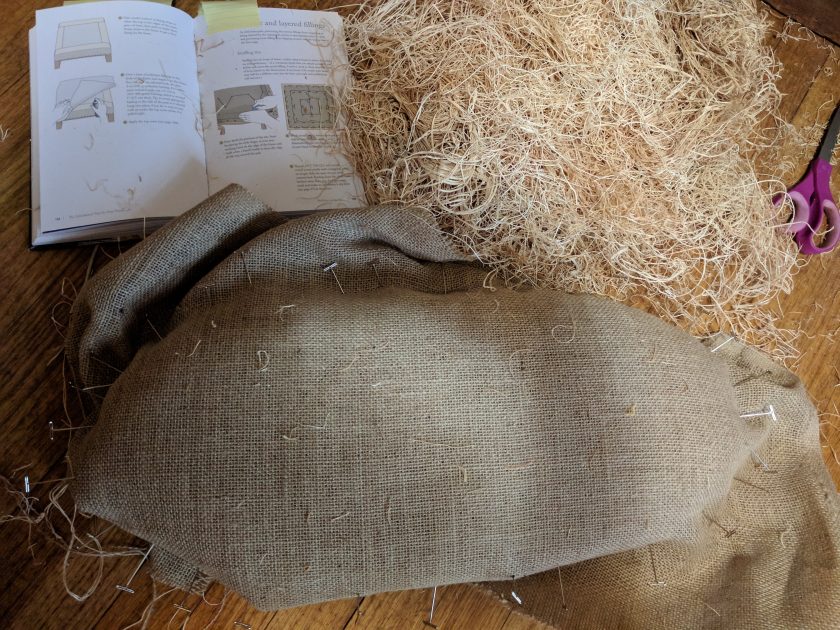
Unlike foam, loose stuffings do not keep their shape by themselves. To shape the stuffing, traditional upholstery uses twine and layers of fabric to hold the stuffings in place. To hold the first layer of stuffing in place and help keep the layer even, I stitched bridle ties onto the burlap. The wood shavings are then stuffed into these loops. On the front and side edges of the seat, I also added a premade edge roll (this is just burlap stuffed with a firm filling).
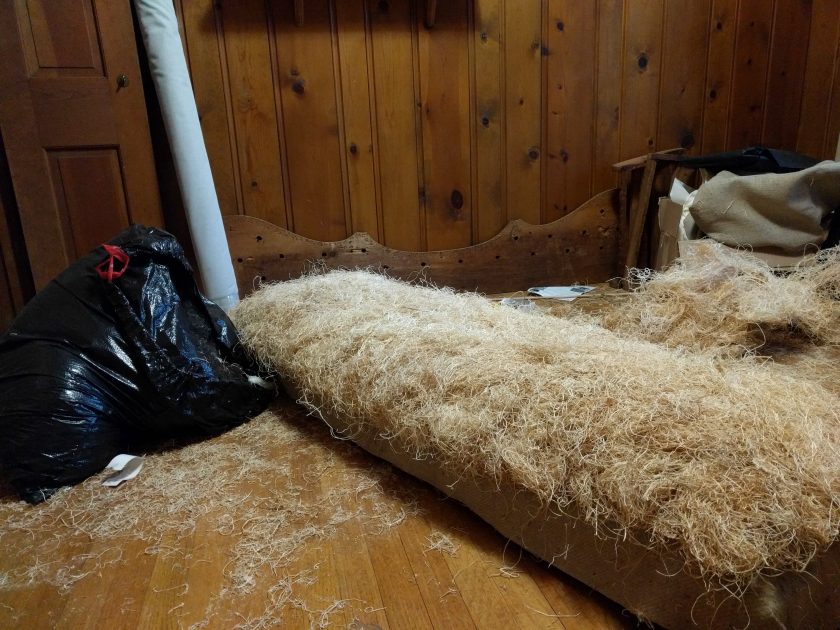
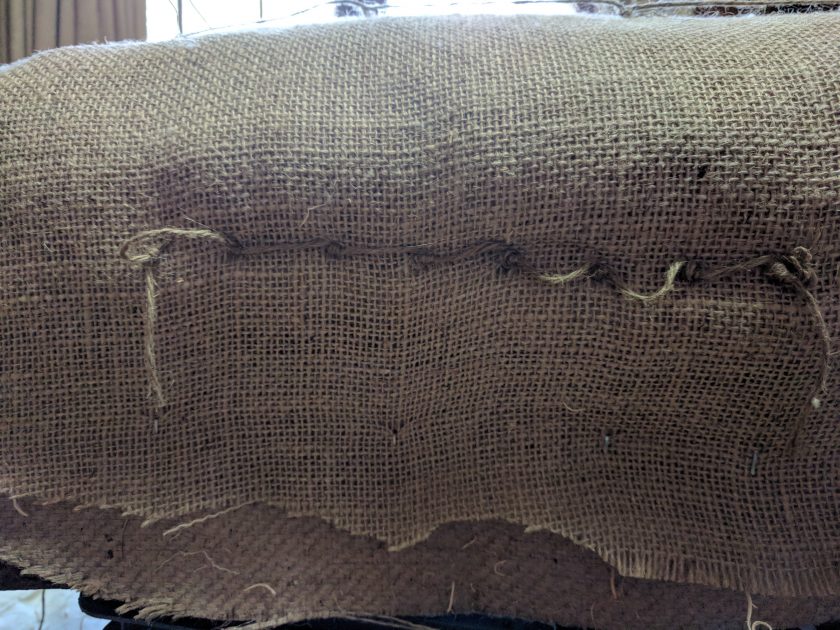
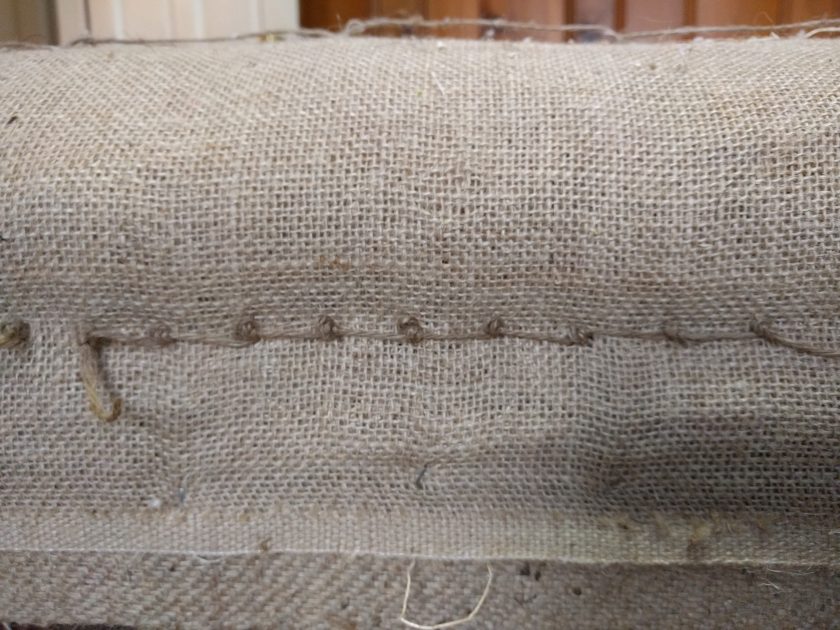
I then covered the wood shavings with burlap. On the seat, I used a technique called blindstitching to reinforce and shape the edge. Upholstery blindstitch is not at all the same as the blindstitch that is used in garment sewing. I actually had trouble with the stitching at first until I realized that it was basically the same as the French knot that is used in embroidery. I thought the stitch (and the crazy double-pointed needle I used) were really cool, so I actually made a little video of me doing the stitch.

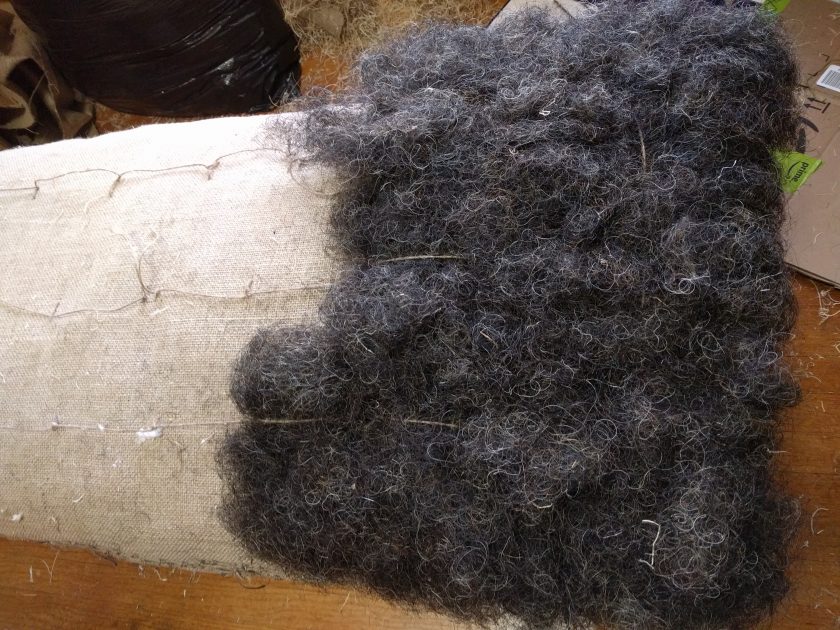
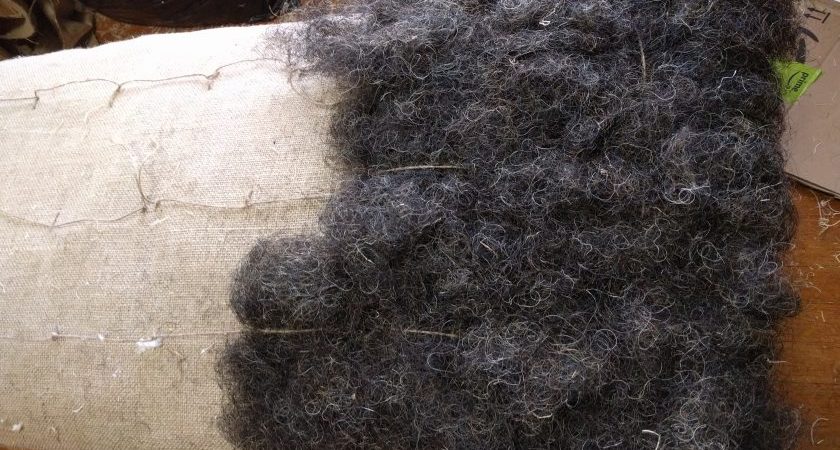
I then made a second set of bridle ties and added the horse/hog hair. On top of the hair went a layer of cotton upholstery batting, then a piece of cotton muslin. I tested the seat for a week, and actually added more stuffing.
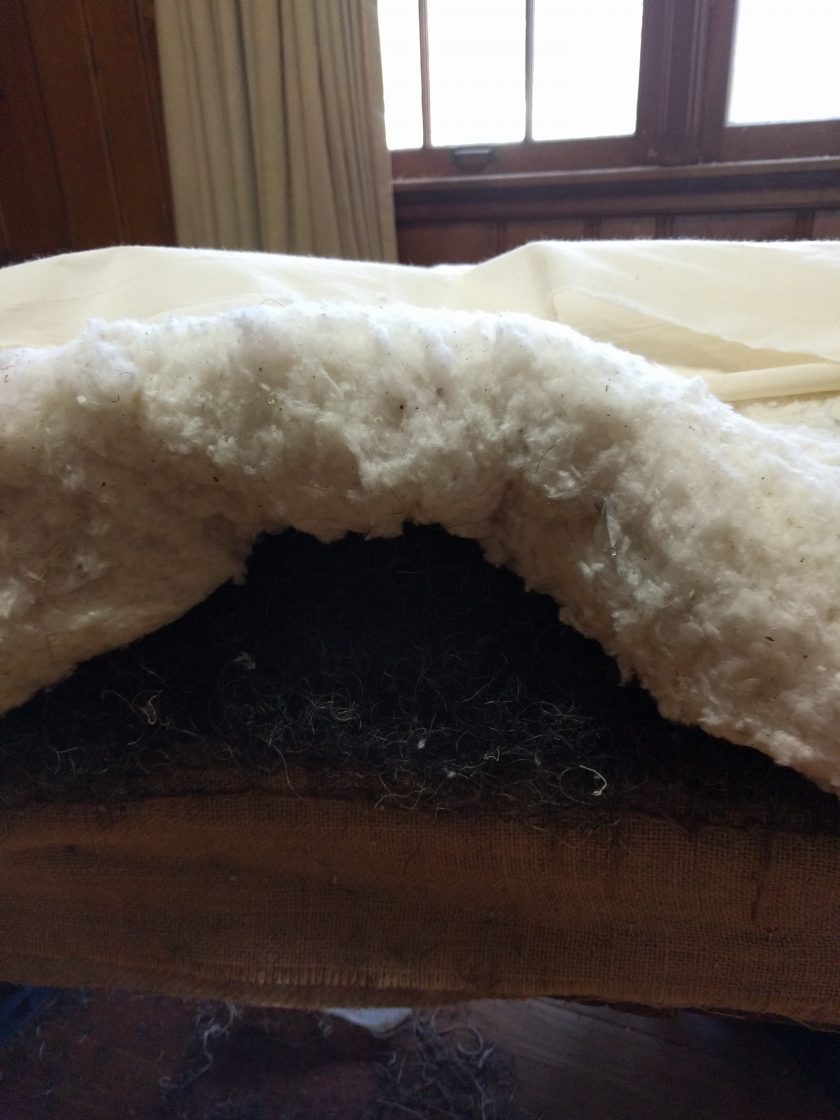
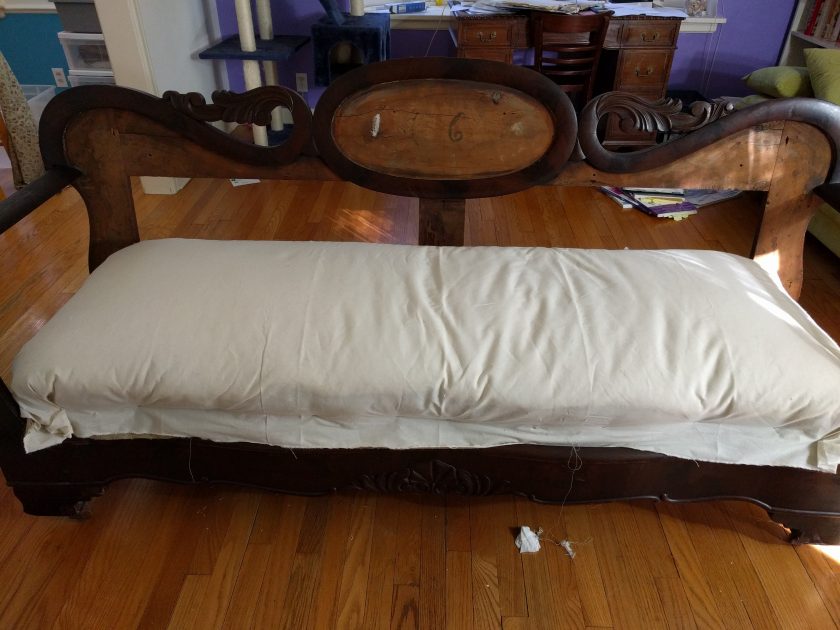
After the initial testing, we decided that it needed more cushioning. I then had to repeat these layers for the back and inner arms of the couch. One of the couch arms was missing a piece of wood, so I filled in the space with a piece of canvas. Once all the pieces had the final layer of cotton fabric on, they were ready for covering with the final outer fabric. Unfortunately, I actually overstuffed some of the pieces so that they no longer fit together on the couch (and of course, I didn’t discover this until I had already put on the final fabric). I am going to have to remove some of the stuffing to make everything fit, which I am a bit too discouraged to face just yet.
References:
Beginners’ Upholstery Techniques by David James. Guide of Master Craftman Publications, East Sussex, 2009.
The Complete Upholsterer: A Practical Guide to Upholstering Traditional Furniture by Carole Thomerson. Frances Lincoln Limited, London, 1989. (Also quite good)
Upholstery by Vicenç Gibert and Josep Lopez. Translated from Spanish by Michael Brunelle and Beatriz Cortabarria. Barron’s Educational Series, Barcelona, 2000.
The Upholsterer’s Step-by-Step Handbook by Alex Law. St. Martin’s Griffin, New York, 2015. (Most useful)
The Upholsterer’s Bible by Percy W. Blandford. Tab Books, Inc., Blue Ridge Summit, PA, 1978. (Has very detailed info but not good for overall process.)
Upholstery: Basic and Traditional Techniques by Santiago Pons, Eva Pascual, Jordi Pons, and Merce Garcinuño. Schiffer Publishing, Ltd., Barcelona, 2015. (Beautiful pics, good list of steps, covers many techniques)
Well, learning anything by doing us generally two steps forward and one step back. Look at how far you gave come!
Thanks, mom, I’ll get there!
Where did you get the giant curved needle from?
I don’t remember specifically, but any place that sells upholstery supplies should have it.