I am sewing my own wedding dress. I have always wanted to sew my own dress– even before I really had the skills to do it. I’m going to describe my process in case it helps anyone out there who is also interested in sewing their own dress.
The first step was obviously to find a pattern. I already had a pretty firm vision for what I wanted, so it was a matter of finding the closest match. I learned pretty quickly that the silhouette that I wanted was best matched by 1930’s or 30’s-inspired evening dresses. I am a big Marfy fan, so I actually ordered their bridal catalog. Despite having a couple hundred beautiful gown designs, they did not have one that was perfect for me (especially not perfect enough to justify the high price!). Even though I didn’t find the one, I’m still hoping that maybe someone close to me– like, oh, I don’t know, my sister– might get married and let me make her one of the Marfy dresses because they really are amazing. (If you would like to see some of the bridal designs that are not shown on their website, check out these pics posted by Anne at Clothing Engineer.)
After not finding one in the Marfy catalog, I was sure for a long time that Vogue 7365 would be the one. I finally managed to find a copy in my size, but when I made a muslin, it was just not right. I eventually found a vintage 30’s pattern (not saying which one yet!) that was perfect.
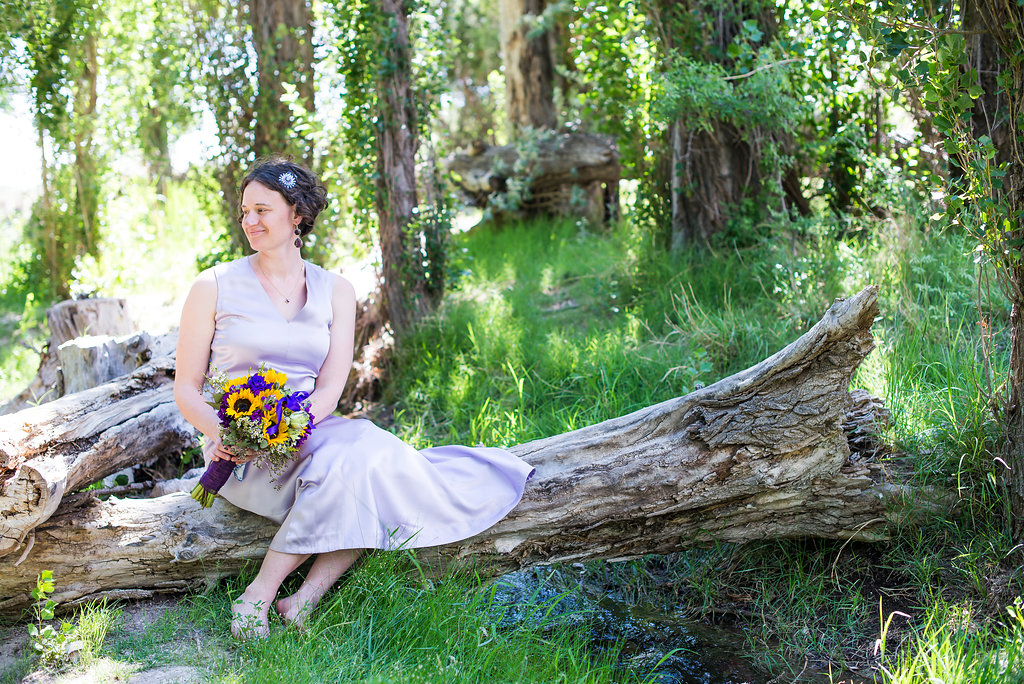
After making my first muslin, my next step was to get all of my supplies together. I obtained a copy of Susan Khalje’s Bridal Couture, which I found to have some really helpful tips. I wrote out a list of supplies and a checklist of all the steps. My fiancé and I were planning a trip to New York, so I decided to wait to buy fabric in the garment district. We spent almost a whole day fabric shopping (my fiancé is a saint), and ending up getting fabric at our final stop, Mood. It is a gorgeous, light lavender, double-faced silk satin. The label on the bolt said that it was from Ralph Rucci. I tried searching online to see if I could figure out what it was used for, but I was never able to find anything. We also bought a matching china silk for the lining.

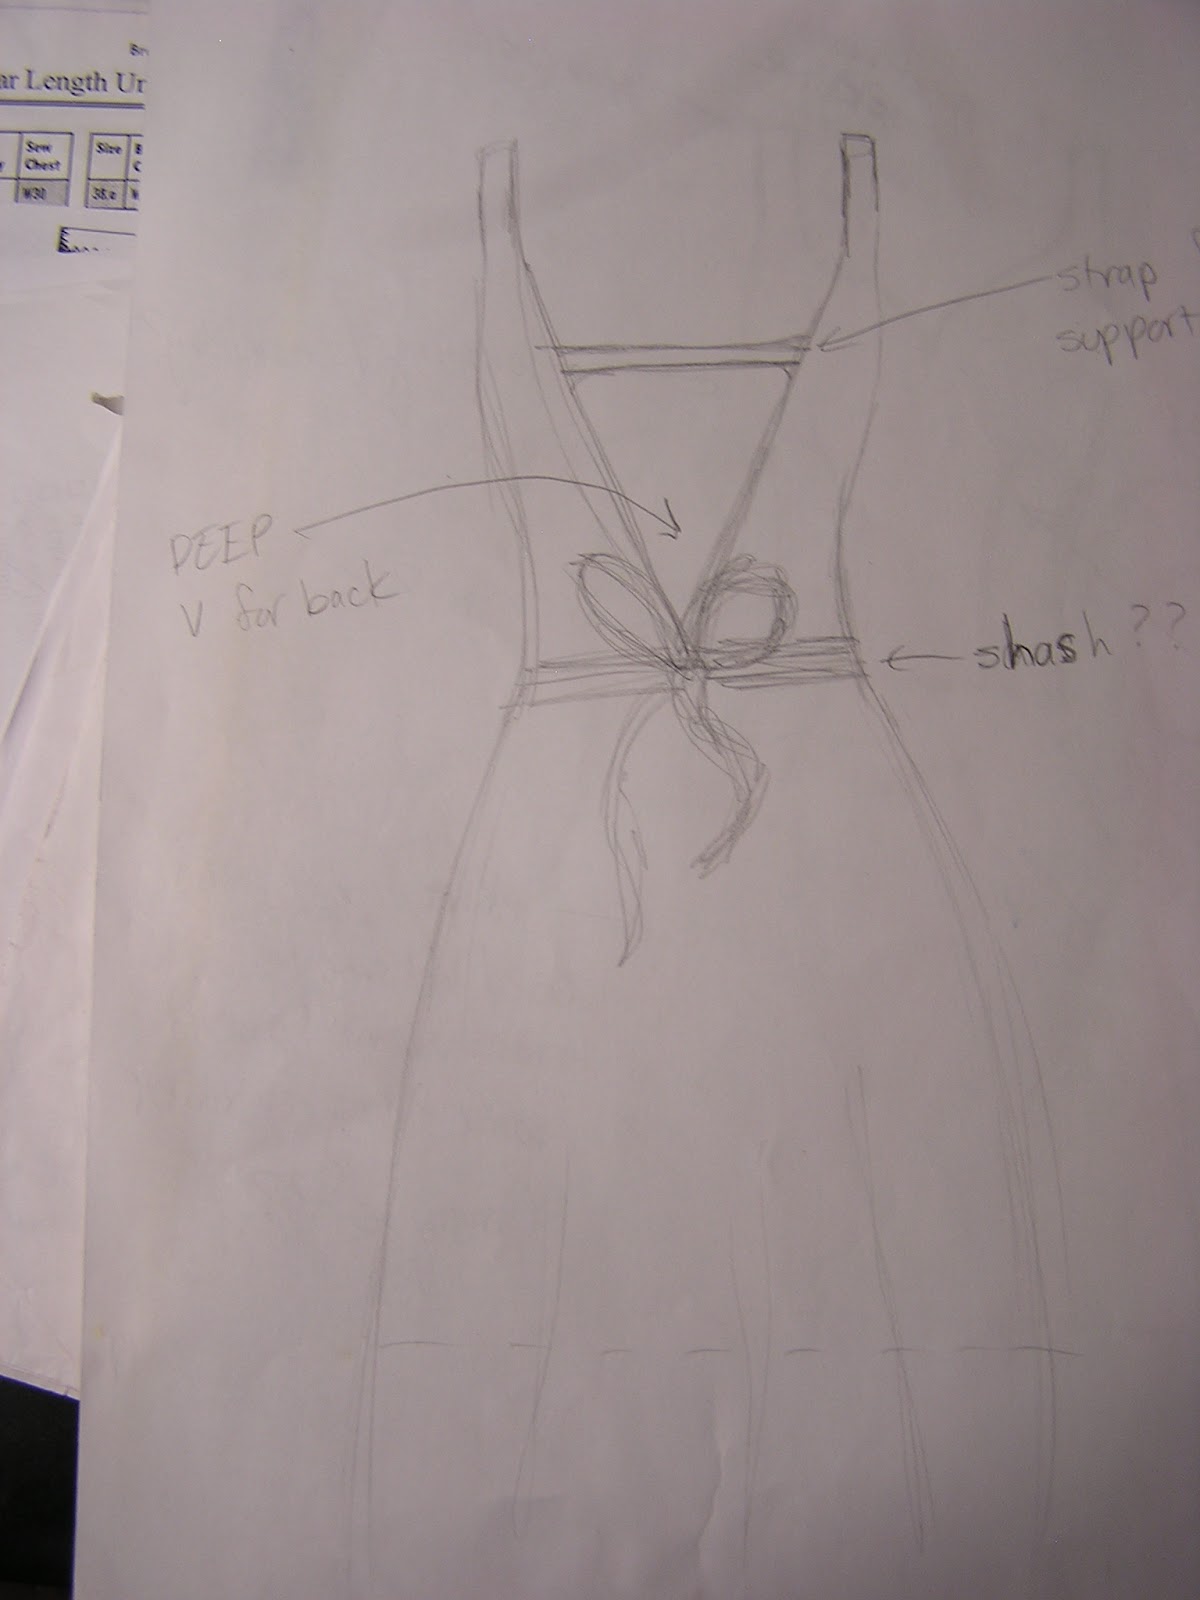
The next thing on my checklist was making the fitting alterations to the first muslin. The first muslin I made out of a poly satin about the same weight as my silk. I made the fit somewhat closer in the bodice, lowered the back “v”, and had to shorten it by 6 inches. (I am 5’4″, so I’m not that short– I’m not sure why it was so long.) I transferred the alterations to my pattern, then made a second muslin (this time actually out of muslin). Since I am planning on using this muslin as my pattern, I traced the seamlines, then stitched them (as described in Bridal Couture). The fit was overall pretty good; my most significant change to the second muslin was to completely re-do the bust dart. Once I was satisfied, I ripped apart the muslin to use as pattern pieces. I decided that my changes were minor enough to skip doing a third muslin, but I first cut out and sewed the lining. (I am planning on hand-stitching the lining to the dress.)

I did not do couture-style sewing (i.e. marking the seamlines and leaving wide seam allowances), but instead cut 3/8″ seam allowances. I figure that the lining doesn’t need to be as perfect as the outside. The hardest part of the lining was dealing with the china silk. China silk feels nice and works great a lining, but it is shifty, flimsy, and just overall a pain to cut and sew. (I know I could use tissue paper to make it easier to cut, but I would rather complain about it.) My cutting table (which is also my eating and everything else table) is small, so I used the floor instead. I had to shut the cats in the other room, because of course as soon as I spread out the fabric they ran over and wanted to lie down on it. No, no, kittens, do not put your claws all over my delicate silk! Anyway, once the lining was sewn, I tried it on, and I am very happy with how it looks and am excited for the final dress! Now, I just have to work up enough courage to cut into my silk.
