In my last post about my wedding dress, I got you up to speed on what I had accomplished so far. It took me awhile to take the plunge into starting the actual dress, but I finally have.
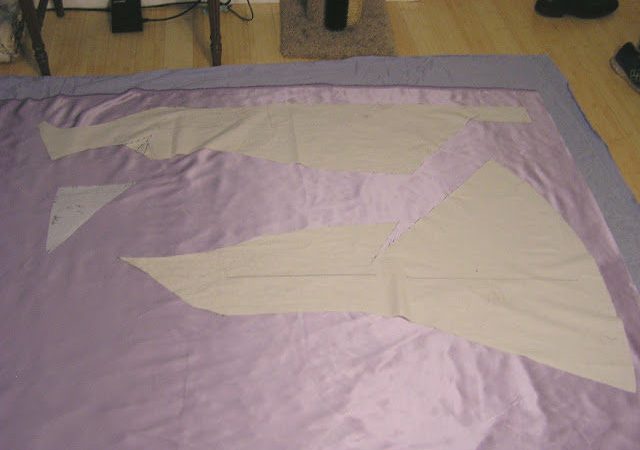
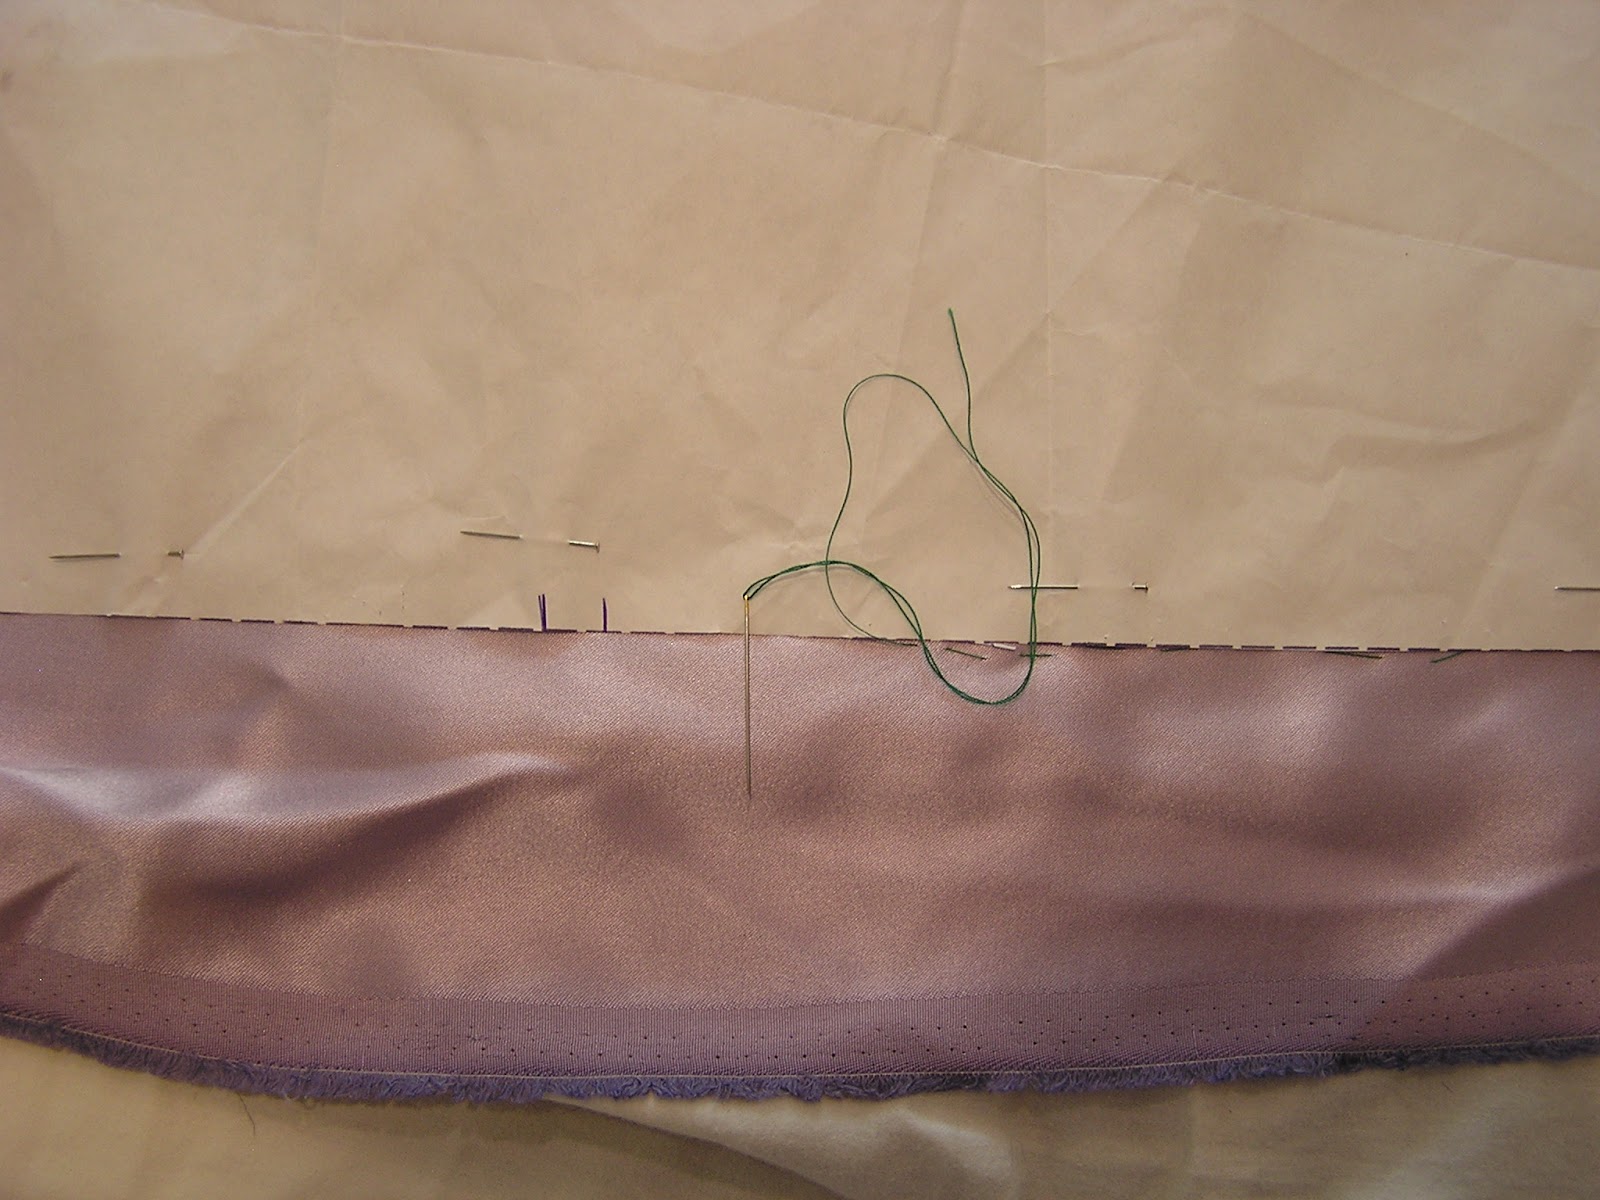
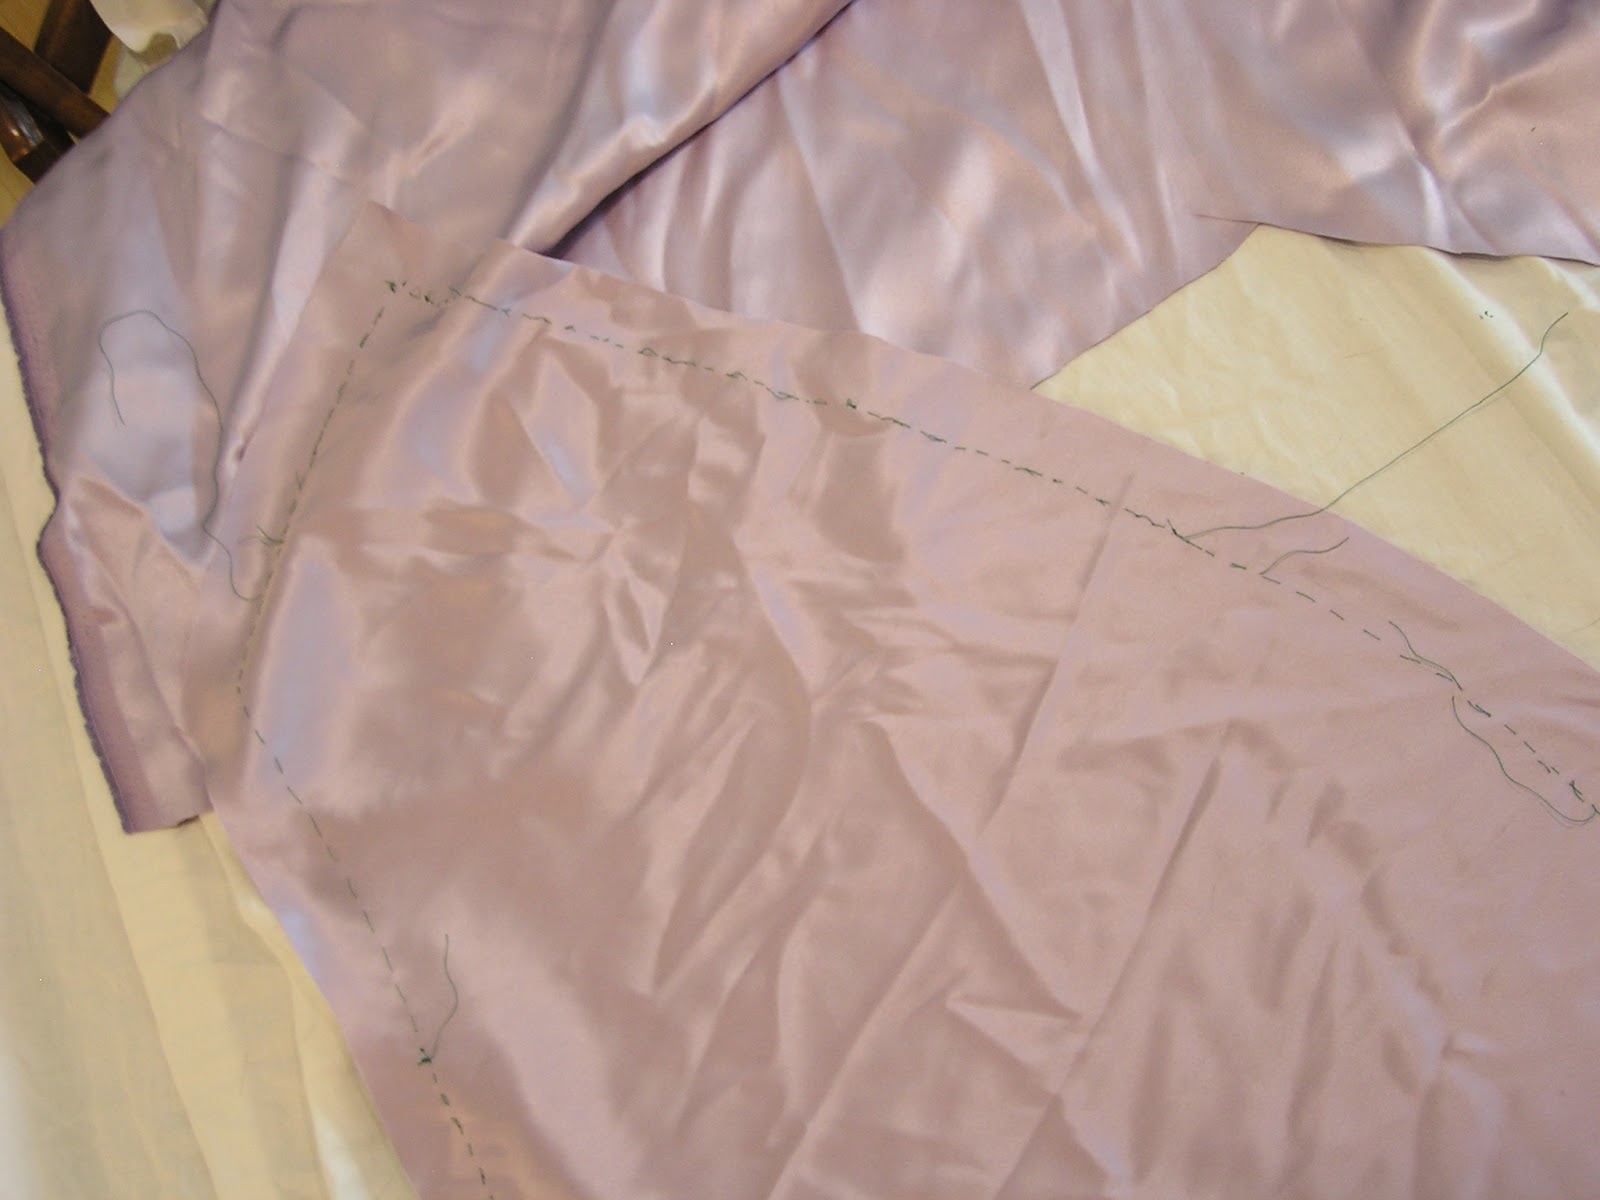
The first thing I did was prep my muslin (and paper) pattern pieces by cutting off the seam allowances. I then pinned the pieces to my silk. Like for the lining, I had to do this on the floor because my table is way too small. I was so worried about getting the silk dirty (even though the floor was clean) that I put down a clean sheet first. The pieces did end up pinned to the sheet, but it was not too much of a problem. Using a contrasting silk thread, I handstitched the seamlines. Once all the seamlines were stitched, I cut approximately one inch seam allowances.
Now I can actually start the construction! My first steps will be to staystitch the front and back neckline and sew the darts. On the back, I will also use twill tape to shape the back v. The twill tape will be slightly stretched so that the v hugs the body. Then it ‘s just a matter of sewing the seams. Because the back of the dress is so low, I actually don’t have any closures. Once the seams are sewn, I will let it hang for a couple days to let the bias in the skirt stretch out before hemming.