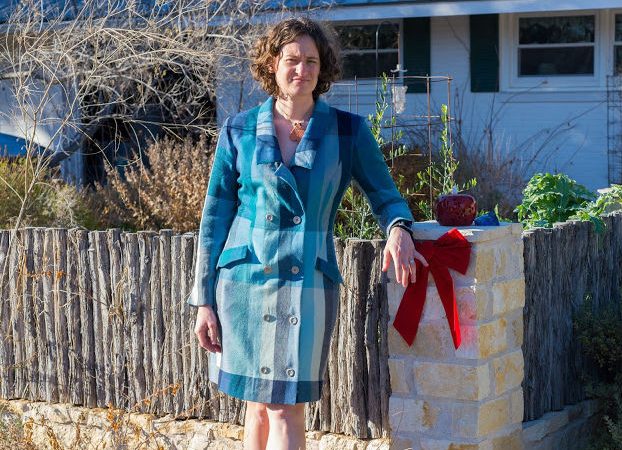
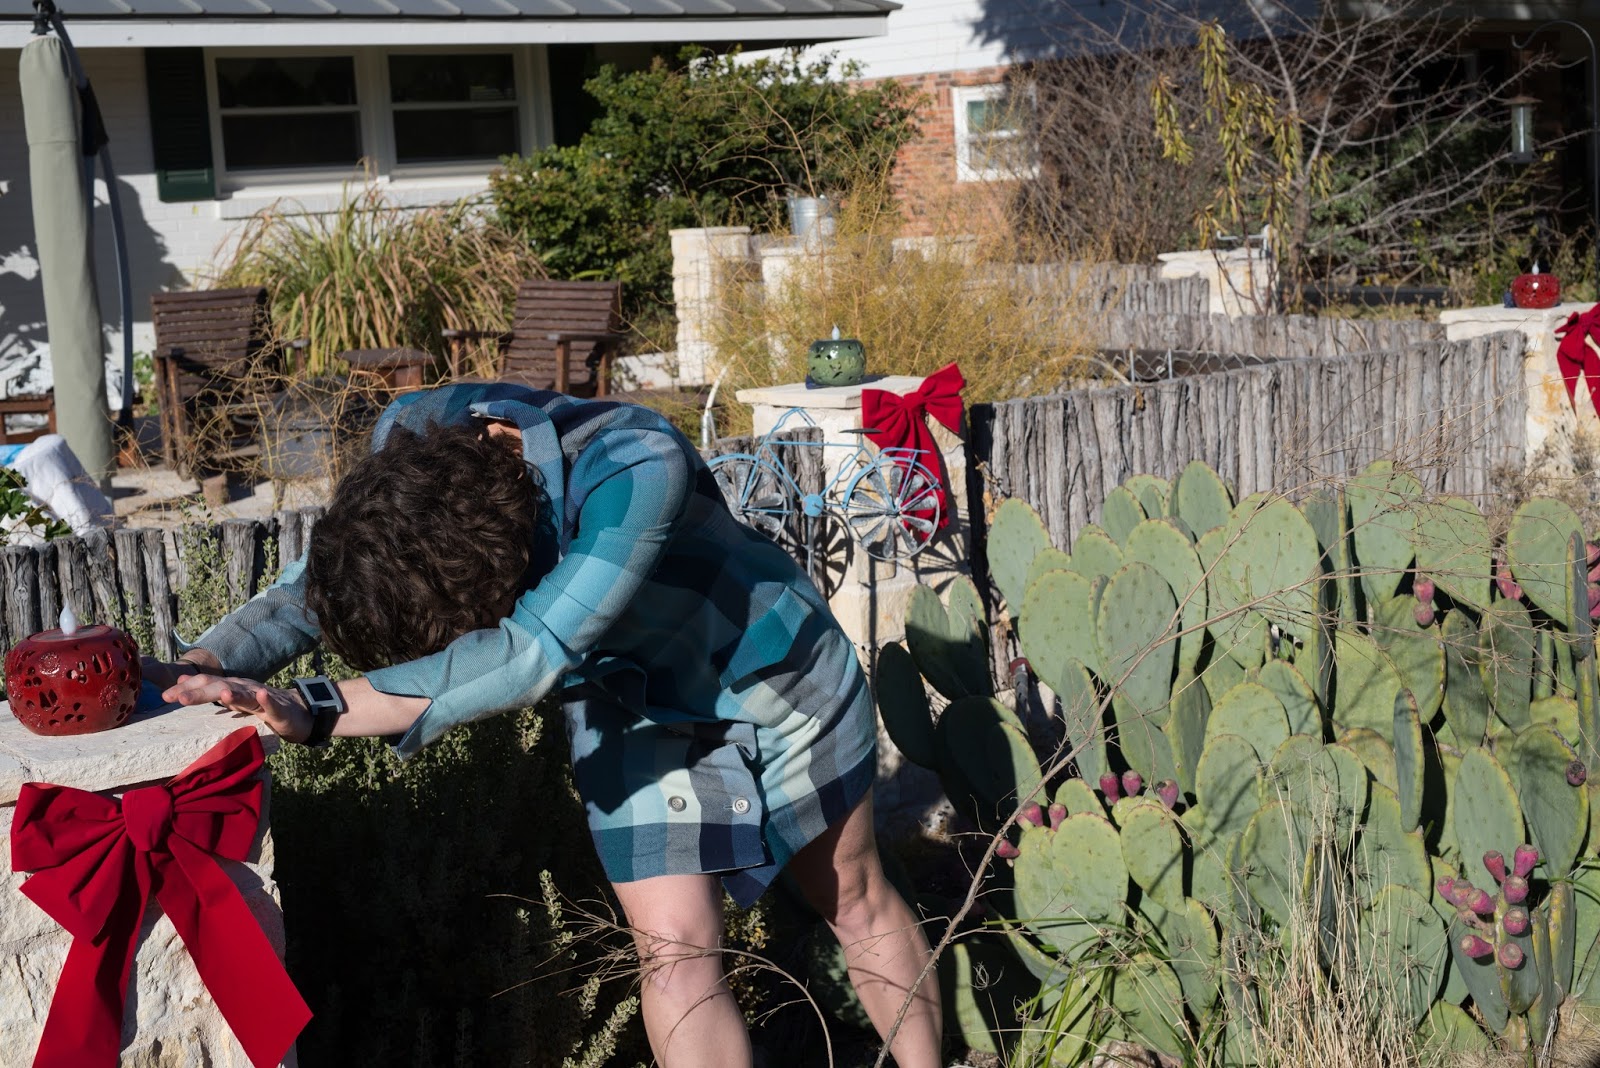
I have been wanting to make a coat dress for awhile. Since this is a bigger project, I decided to get a Marfy pattern, #3222. When I got the pattern, I did not yet have fabric for it. I found the perfect fabric on ebay, a Pendelton wool that is sort of a plaid pattern in shades of turquoise. (If you want Pendleton wool but don’t want to pay Pendleton prices, check out the vintage fabric on ebay.) I love this fabric! The wool is even soft enough to leave unlined, although I do plan on wearing a slip. Even though I had several bumps along the way, I am quite happy with how this dress turned out.

I wanted to match the rows of the pattern all the way around, but I couldn’t match everything because I had a limited amount of fabric. Overall, I managed to make it work. The only thing I don’t like is the proportion of the collar. I shorten the bodice by an inch below the armhole, and I think I should have done it above the armhole instead.
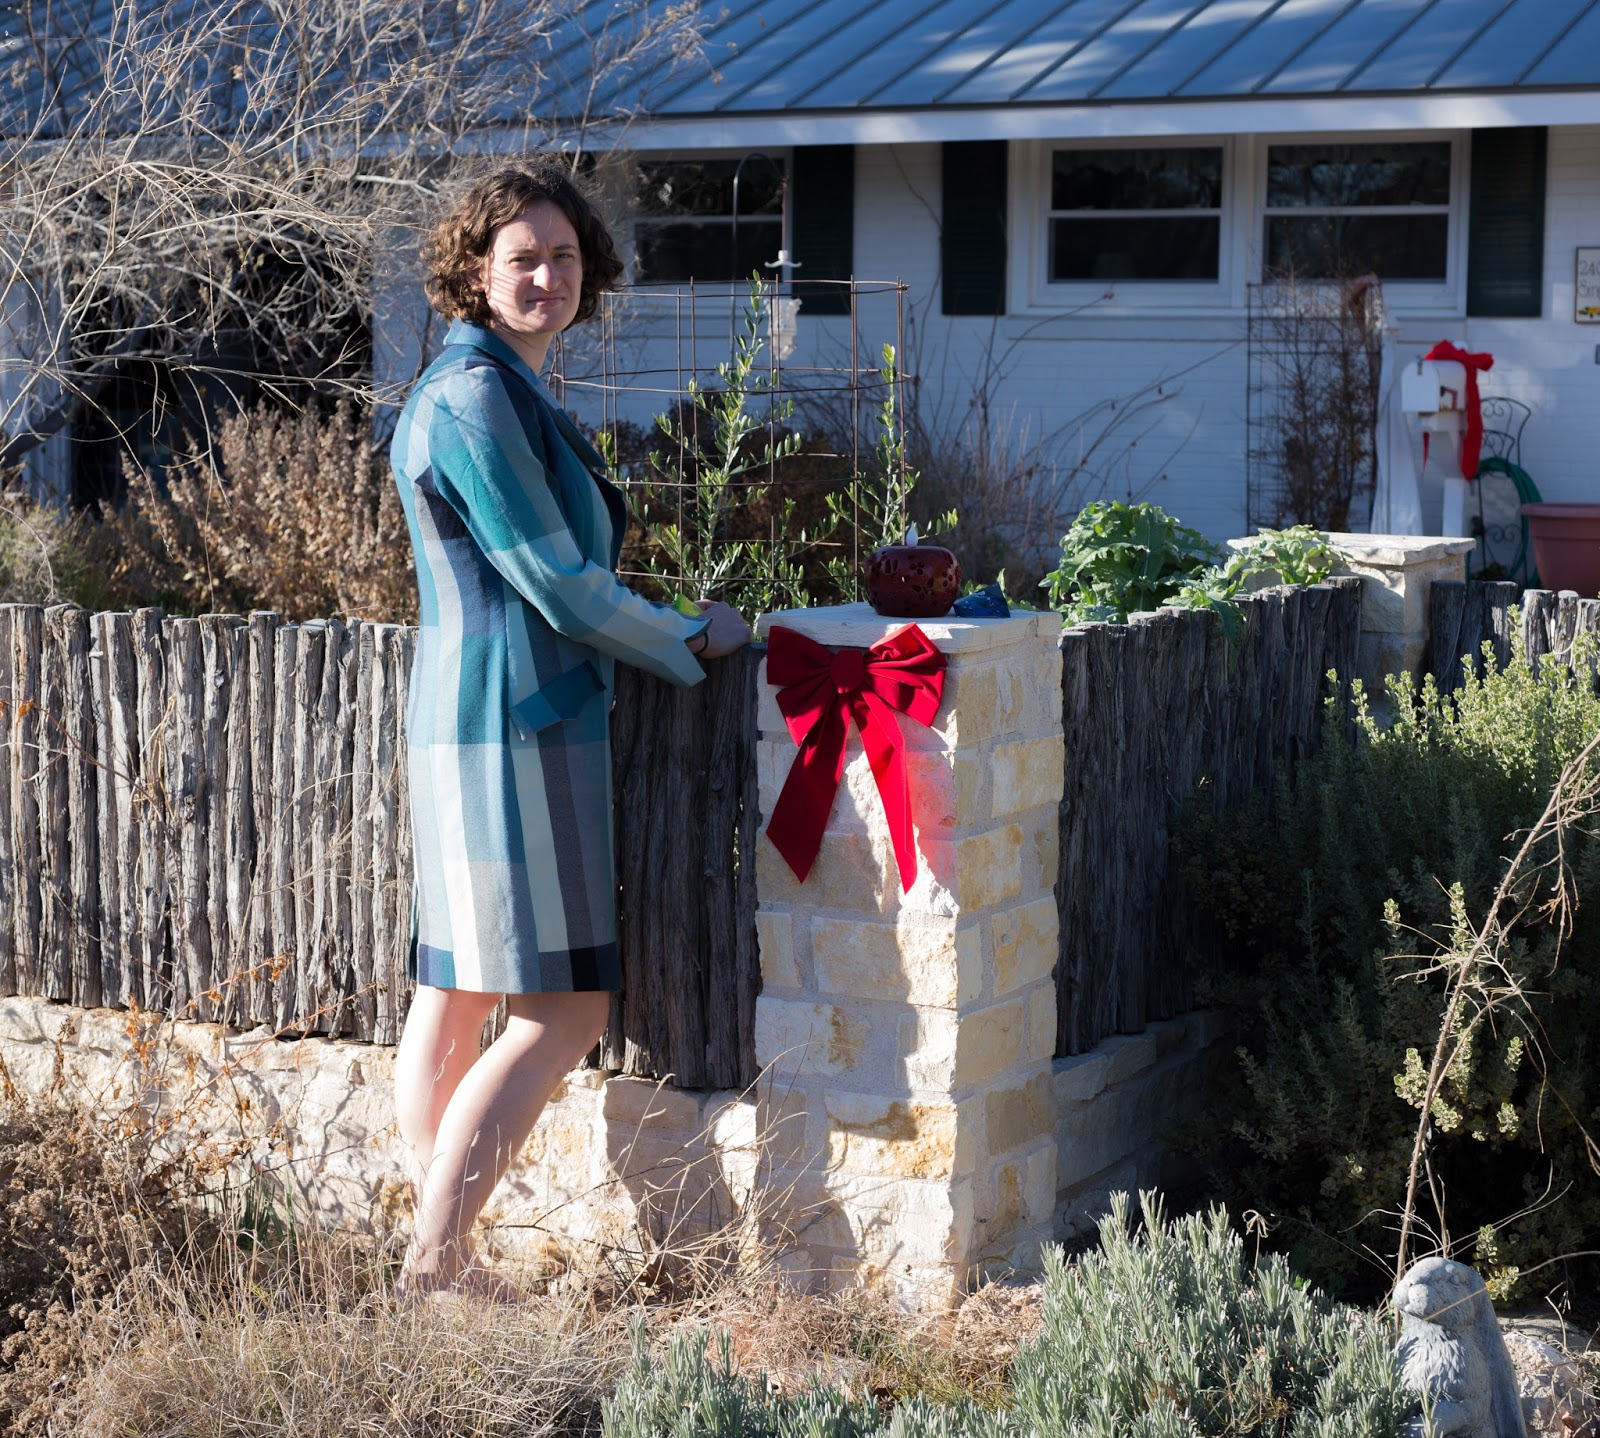
I made a couple of alterations to the pattern. I shorten the bodice and the skirt by an inch each, and the arms by half an inch. I also took in the back waist. When I bought the pattern, I thought that it was a coat-dress, but it is actually supposed to be a dress coat. It still worked; the biggest change was the closure. The original pattern just had a buttoned belt at the waist. That obviously wasn’t going to work for a dress, so I made buttonholes instead. The buttons are from Mood, which actually has quite a nice selection of buttons.
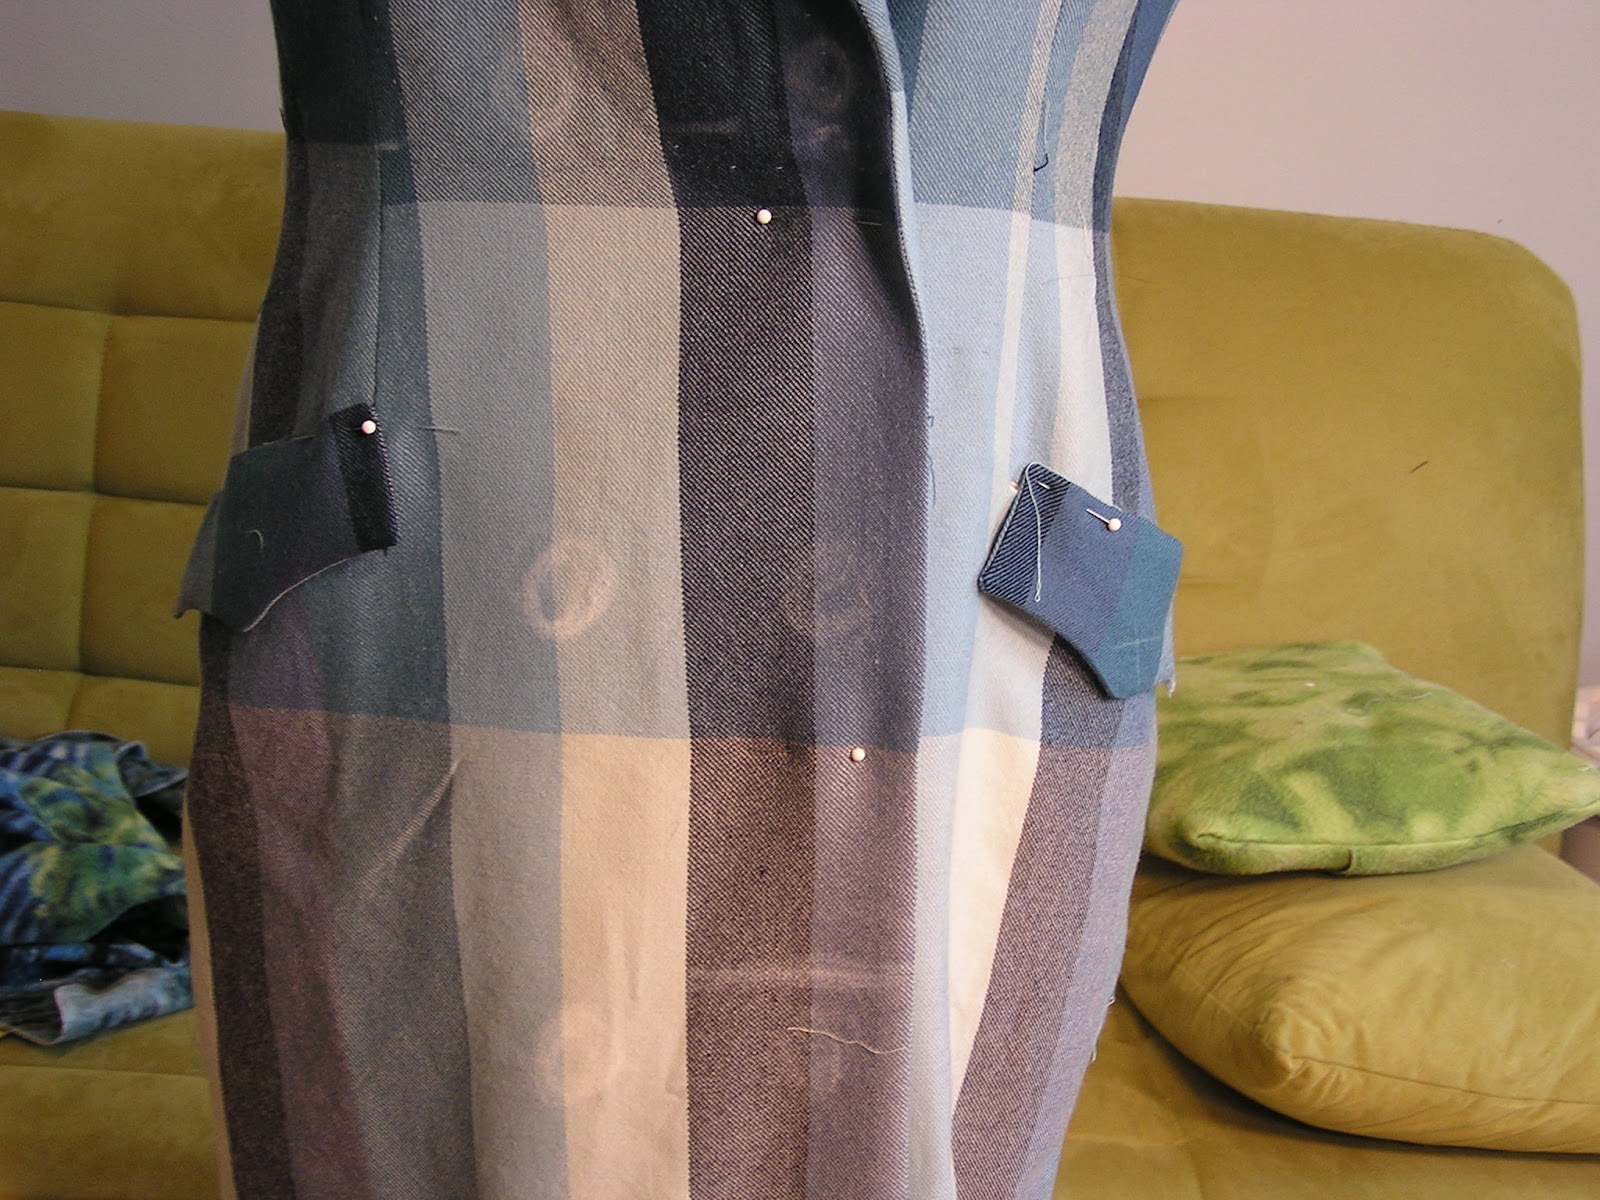 |
| Figuring out the buttons. |
The construction ended up being a bit haphazard. Marfy patterns do not have any instructions, which is both good and bad. It’s good because it has forced me to become a more confident seamstress and to figure things out for myself. The downside is that I don’t always think things through and end up having to come up with fixes on the fly.

I decided I wanted to hand-tailor the collar using hair canvas and padstitching, but I wasn’t sure how much to underline with the hair canvas. I ended up using the center front pieces and only going a bit beyond the collar in terms of length. This means that the front princess seams have hair canvas on one side and not the other. I also didn’t think about the fact that the facing doesn’t cover the entire center front. I had not planned on doing a lining, but the hair canvas is way too itchy to leave uncovered. I used a partial lining to remedy that, but it doesn’t look too pretty on the inside. After doing a try on, I decided that I needed to shorten the hem a bit and also take in the back waist. I always hate unpicking and fixing things when a garment is almost done (especially if it is already good enough), but I’m glad that I took the time to really do a good job.
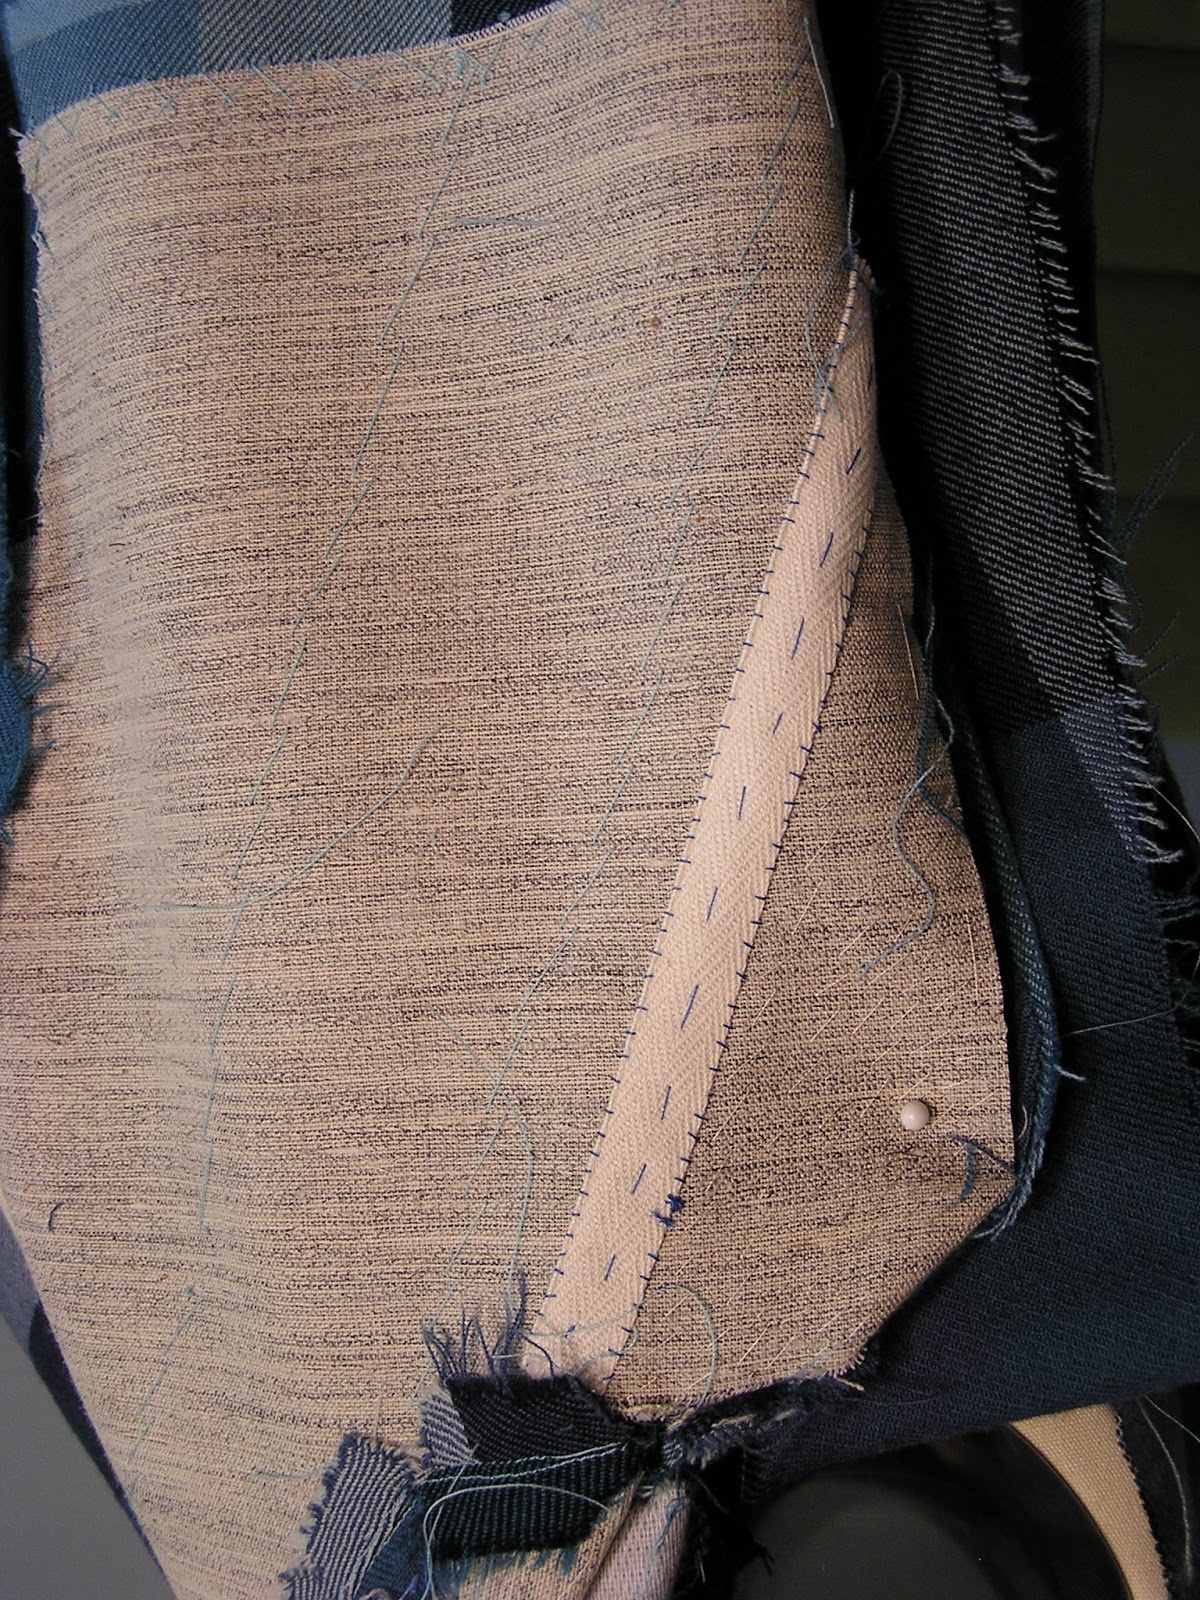 |
The tailoring.
 I like having such a unique garment, and I am happy to have one more warm dress adding to my arsenal (I tend to think of winter clothing as weapons against the cold). I have at least two more wool dresses planned, but they will have to take backseat to my wedding sewing until at least after the new year.
 |