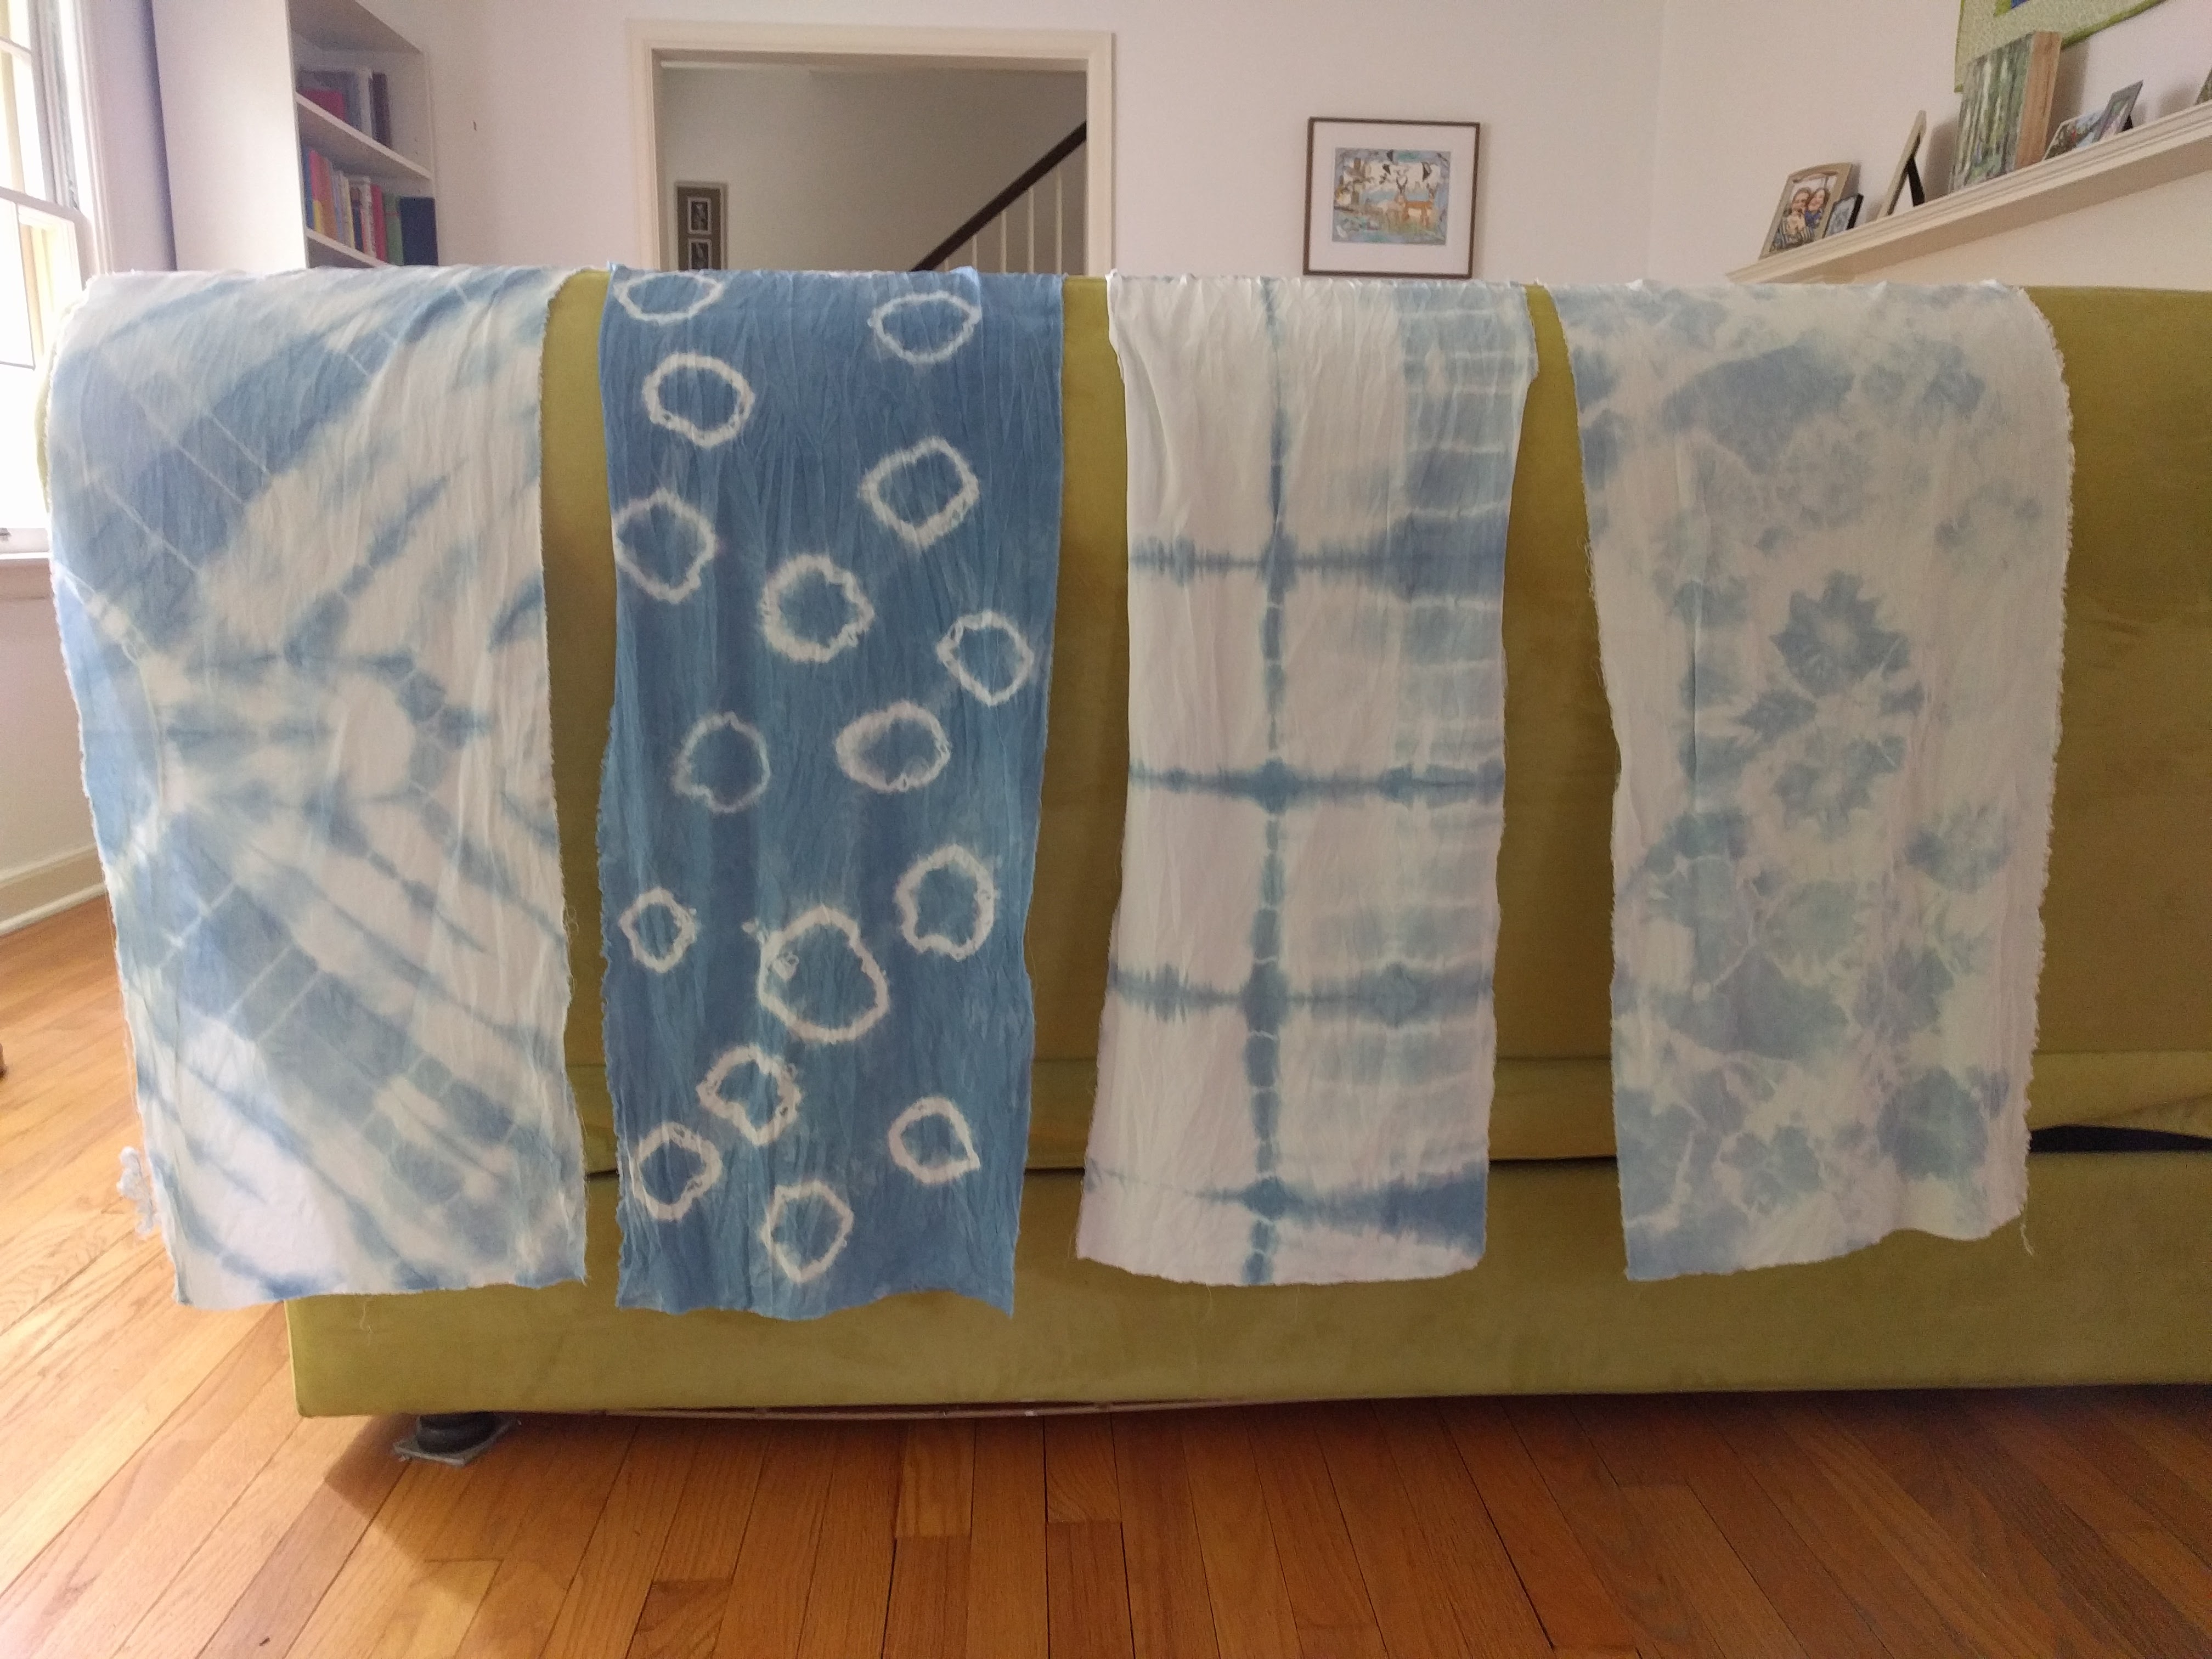
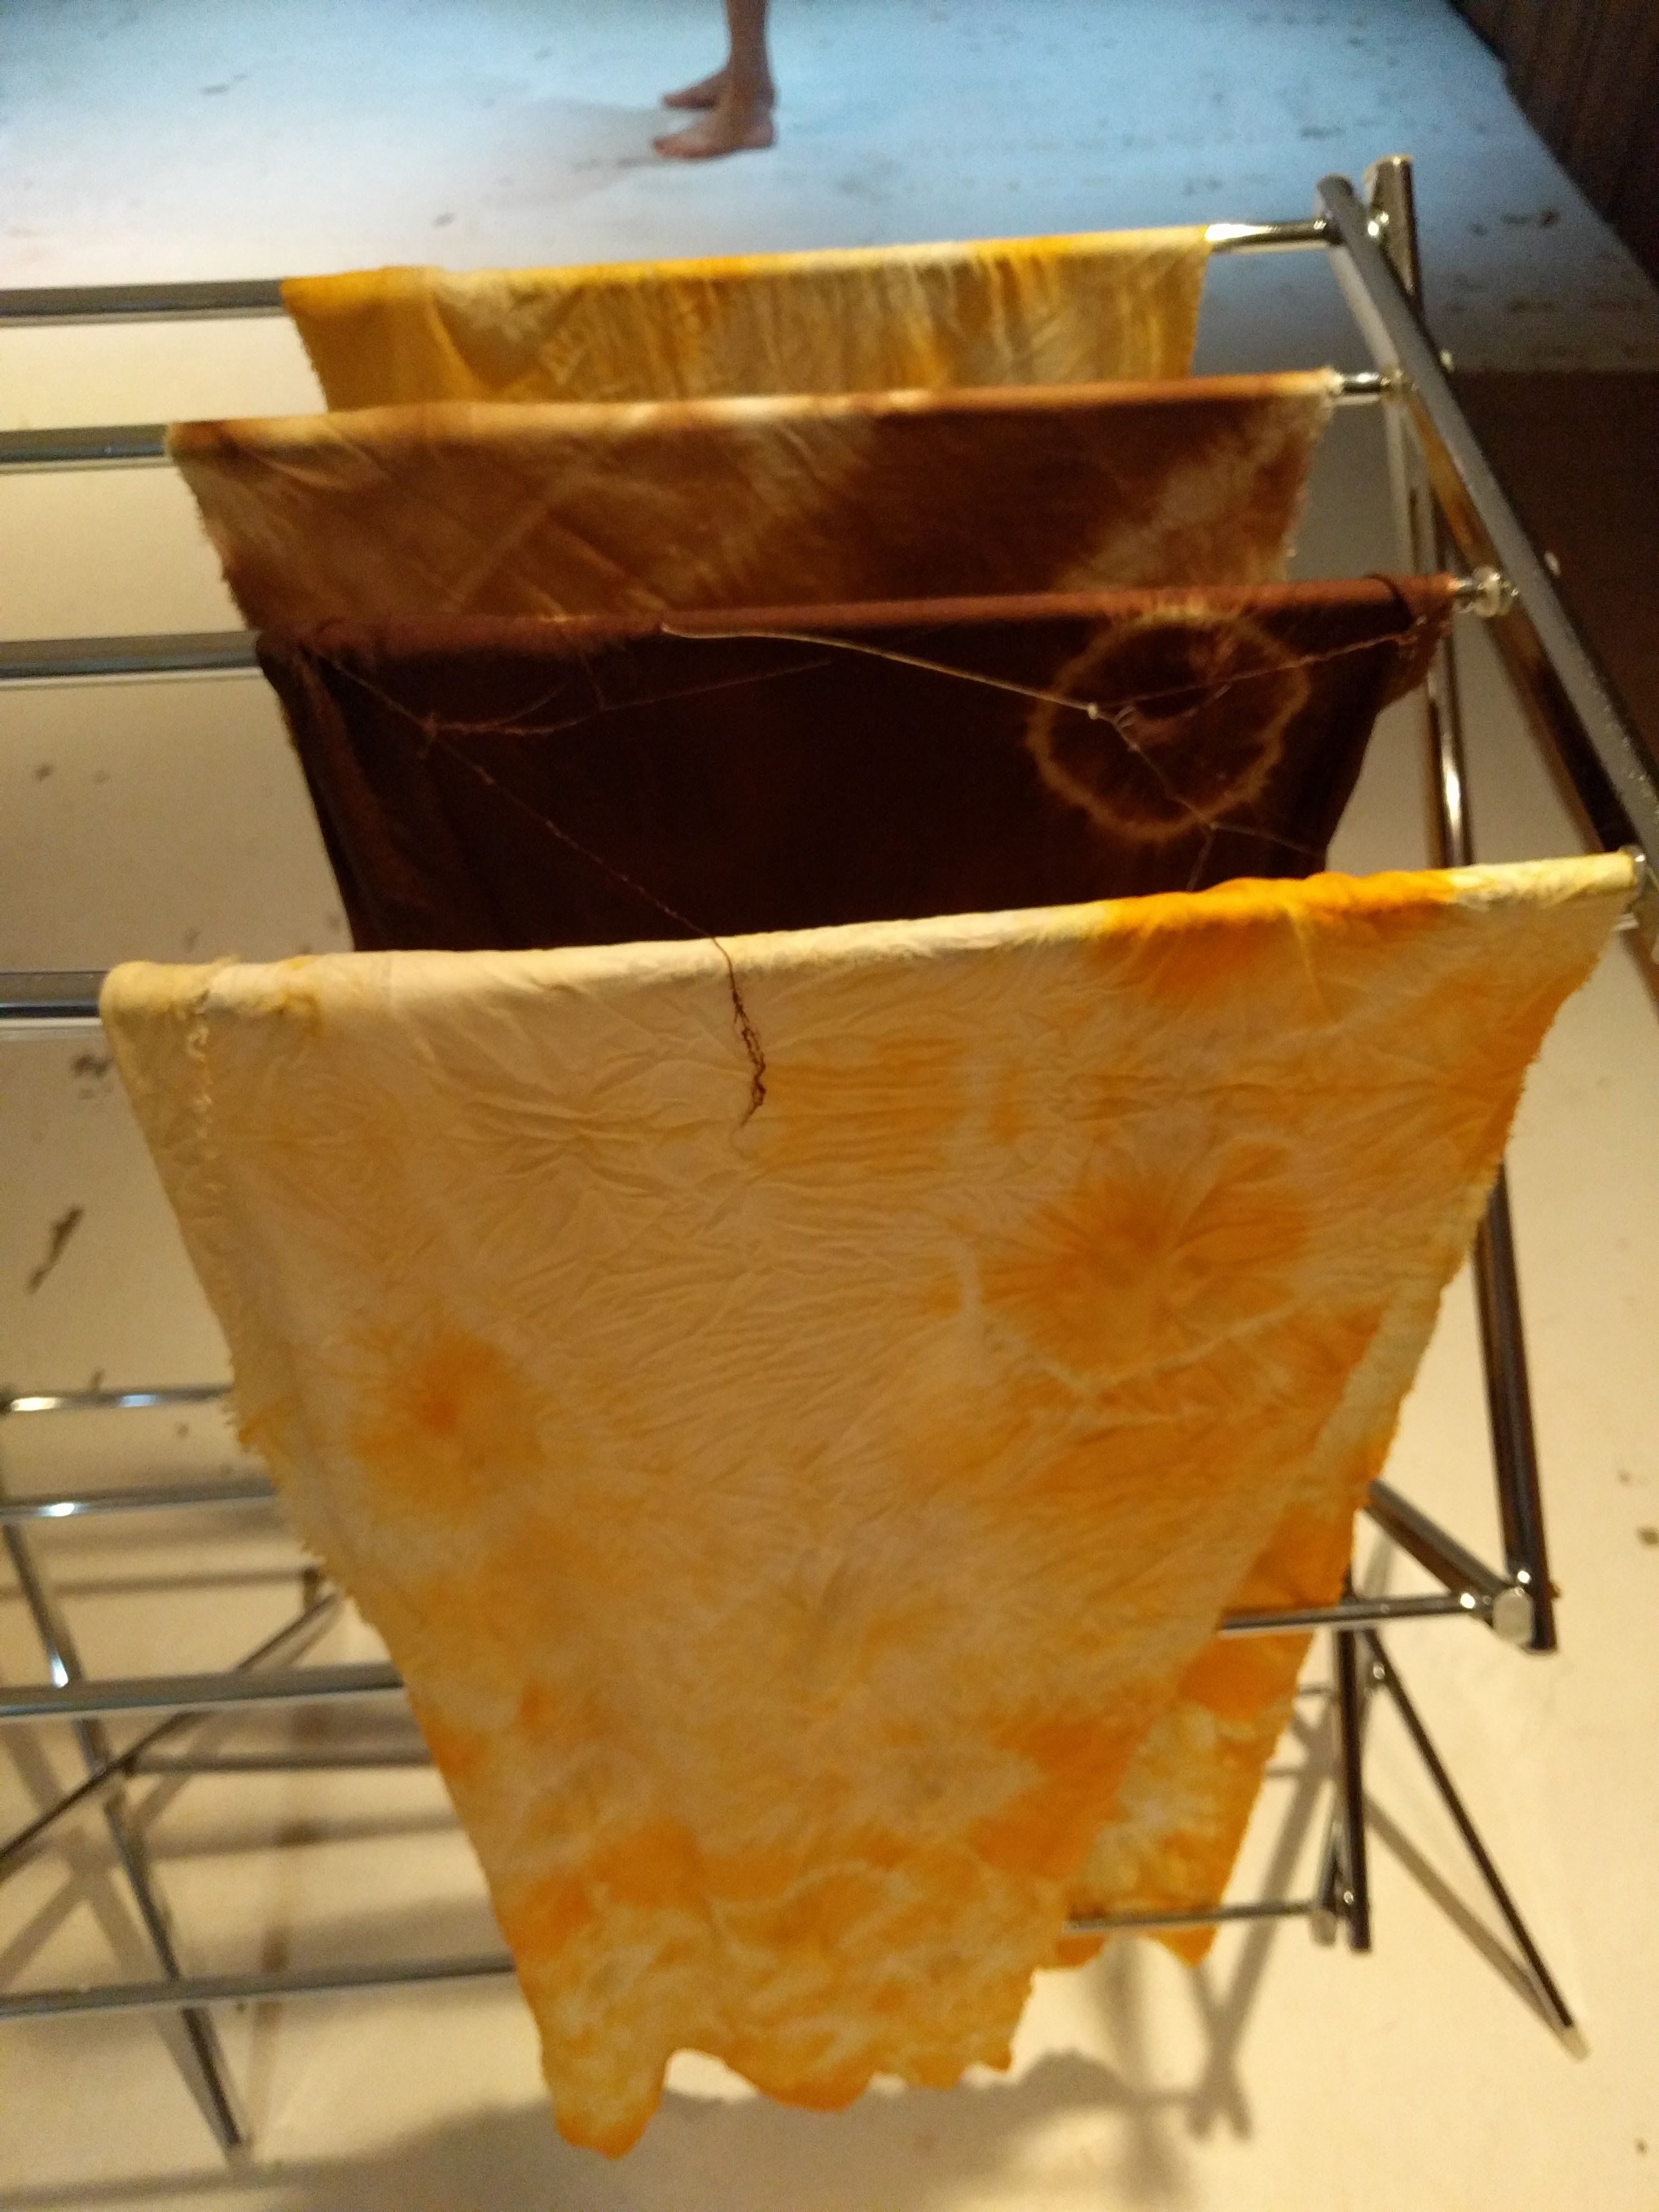
Since I had four silk scarves that I dyed using shibori (indigo and other natural dyes), I decided to do a bit of experimentation with hems. All the scarves are hemmed using types of “rolled hems” but they all have a slightly different effect.
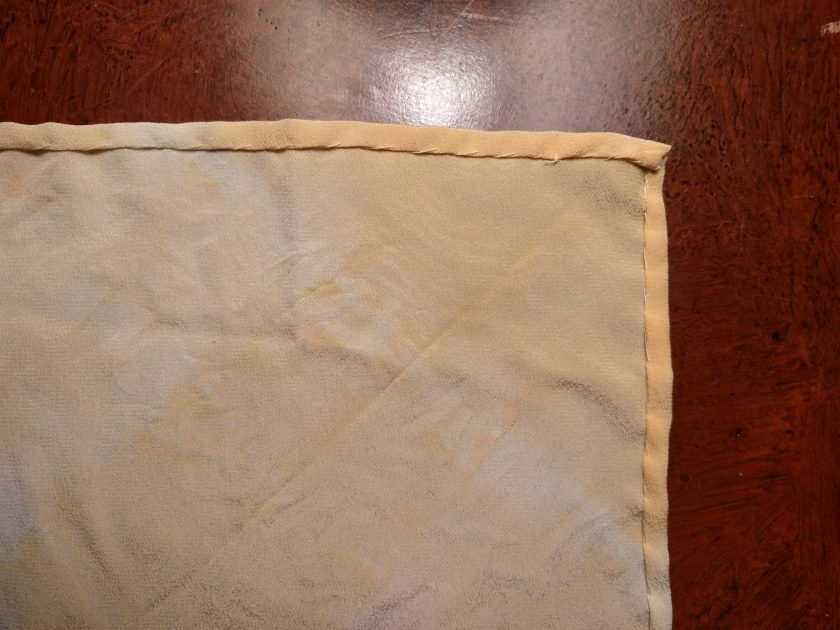
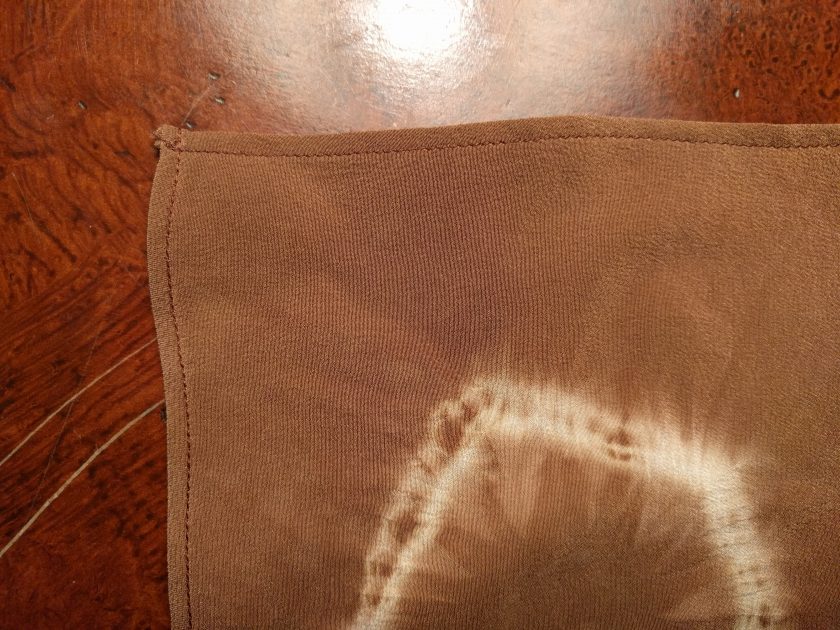
Two of the scarves are done by hand. I first stitched a line of machine stitching 1/4″ from the edge. This provided some extra reinforcement and also makes it much easier to press. Once I pressed a fold at 1/4″, I trimmed the folded edge a little. For the orange scarf, I just folded the edge over again and used a slip stitch finish it.

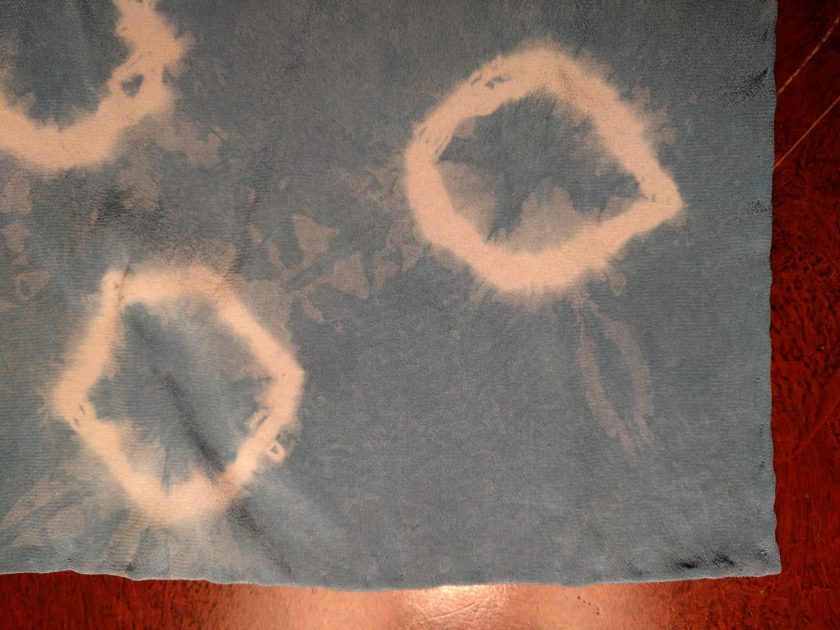
For one of the blue scarves, I used a rolled-hem specific hand stitch. For this stitch, you make a stitch in the fold, then one in the fabric, and when you pull on it, it rolls the hem. This technique makes a more 3-D hem, but it is also much trickier to do than the slip stitch. An excellent tutorial of how to do this stitch can be found on Megan Nielsen’s blog.
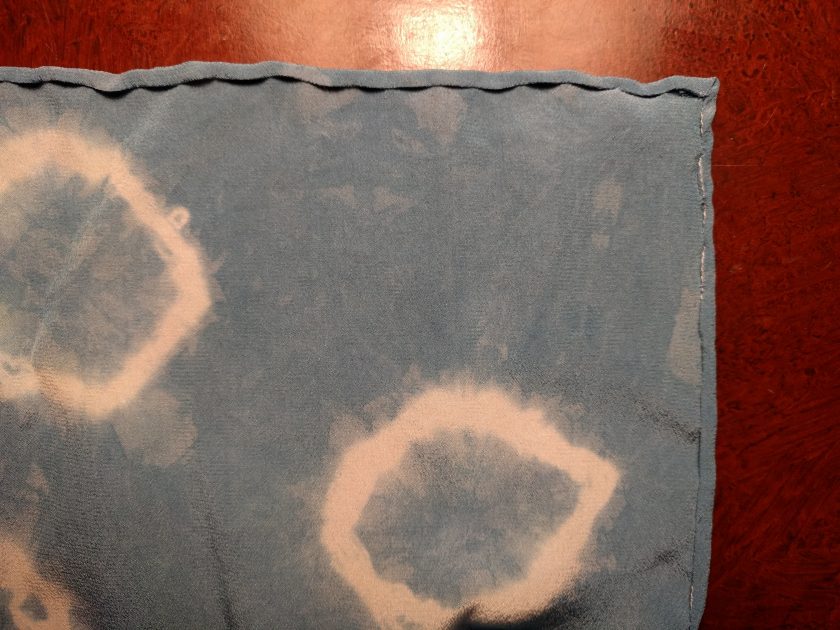
I did the other two scarves by machine. The second indigo dyed one I did using the roll hem on my serger. Once I switched the machine over to the roll hem settings, the sewing went really fast. I have a little trick that I use so that I can turn the corners without cutting the thread. This makes for a cleaner finish and also means there is only one thread tail at the end. I use this same technique to hem napkins.

The last scarf I hemmed using my roll hem foot on my sewing machine (4 mm hem, #64 Bernina foot). This foot has a little spiral that turns the fabric under for you. It is a bit tricky to figure out how to properly guide the fabric, but once I got it going, it was easy. The same effect can be achieved by double folding the hem and pressing it, then stitching it down. The foot saves so much time, as it does all the work.
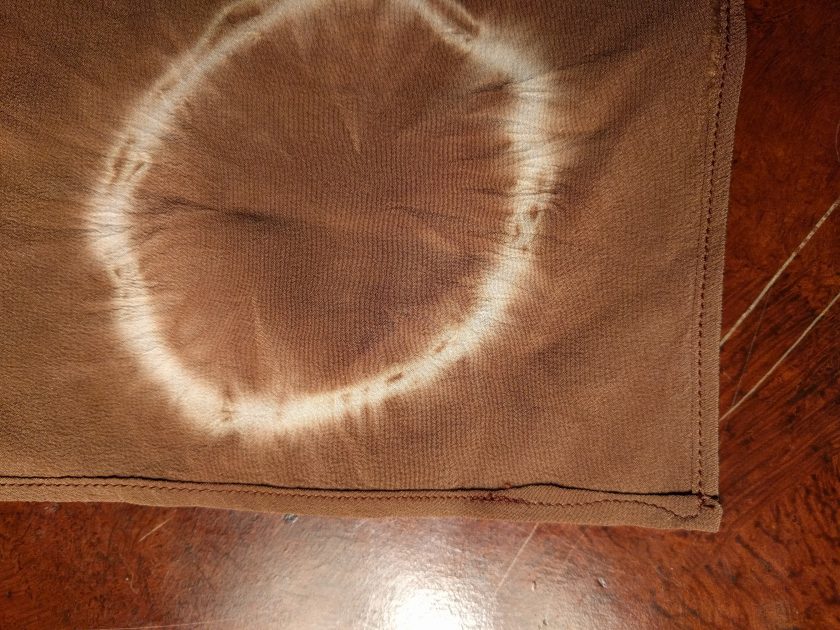
This was a fun comparison project. None of these are the “best” or “right” way to do a rolled hem. I have used all of these techniques in different garments. If I am trying to save time, either of the machine methods are much faster than the hand sewing. However, the machine sewing is much more visible than the hand stitching, which can be essentially invisible. On the other hand, the hand stitching is much less sturdy, so for some garments machine stitching may be a better choice. One of the joys of becoming more experienced at my craft is having a variety of techniques to draw upon. I no longer have to follow a pattern’s directions, but rather can choose how to do something based on what qualities I want the finished piece to have.
Now I have a model for what I can try!