I am so proud of this dress! The is definitely one of the most challenging projects I have done. If you have been following along, you already saw a
preview of my cosplay/ historical costuming in which I talk about what goes under the dress. Now I can tell you about the dress itself! (I will talk about Wade’s costume in a separate post– this post is already long.) Quick side note, we wore our costume to what we thought was our friends’ Halloween party, but turned out to be their amazing Princess Bride-themed surprise wedding!!! So much fun, and I am so happy we got to be there! But first, here is an image of my inspiration.
 |
| Wade and I wish we looked as hot as Sam Heughan and Caitriona Balfe. |
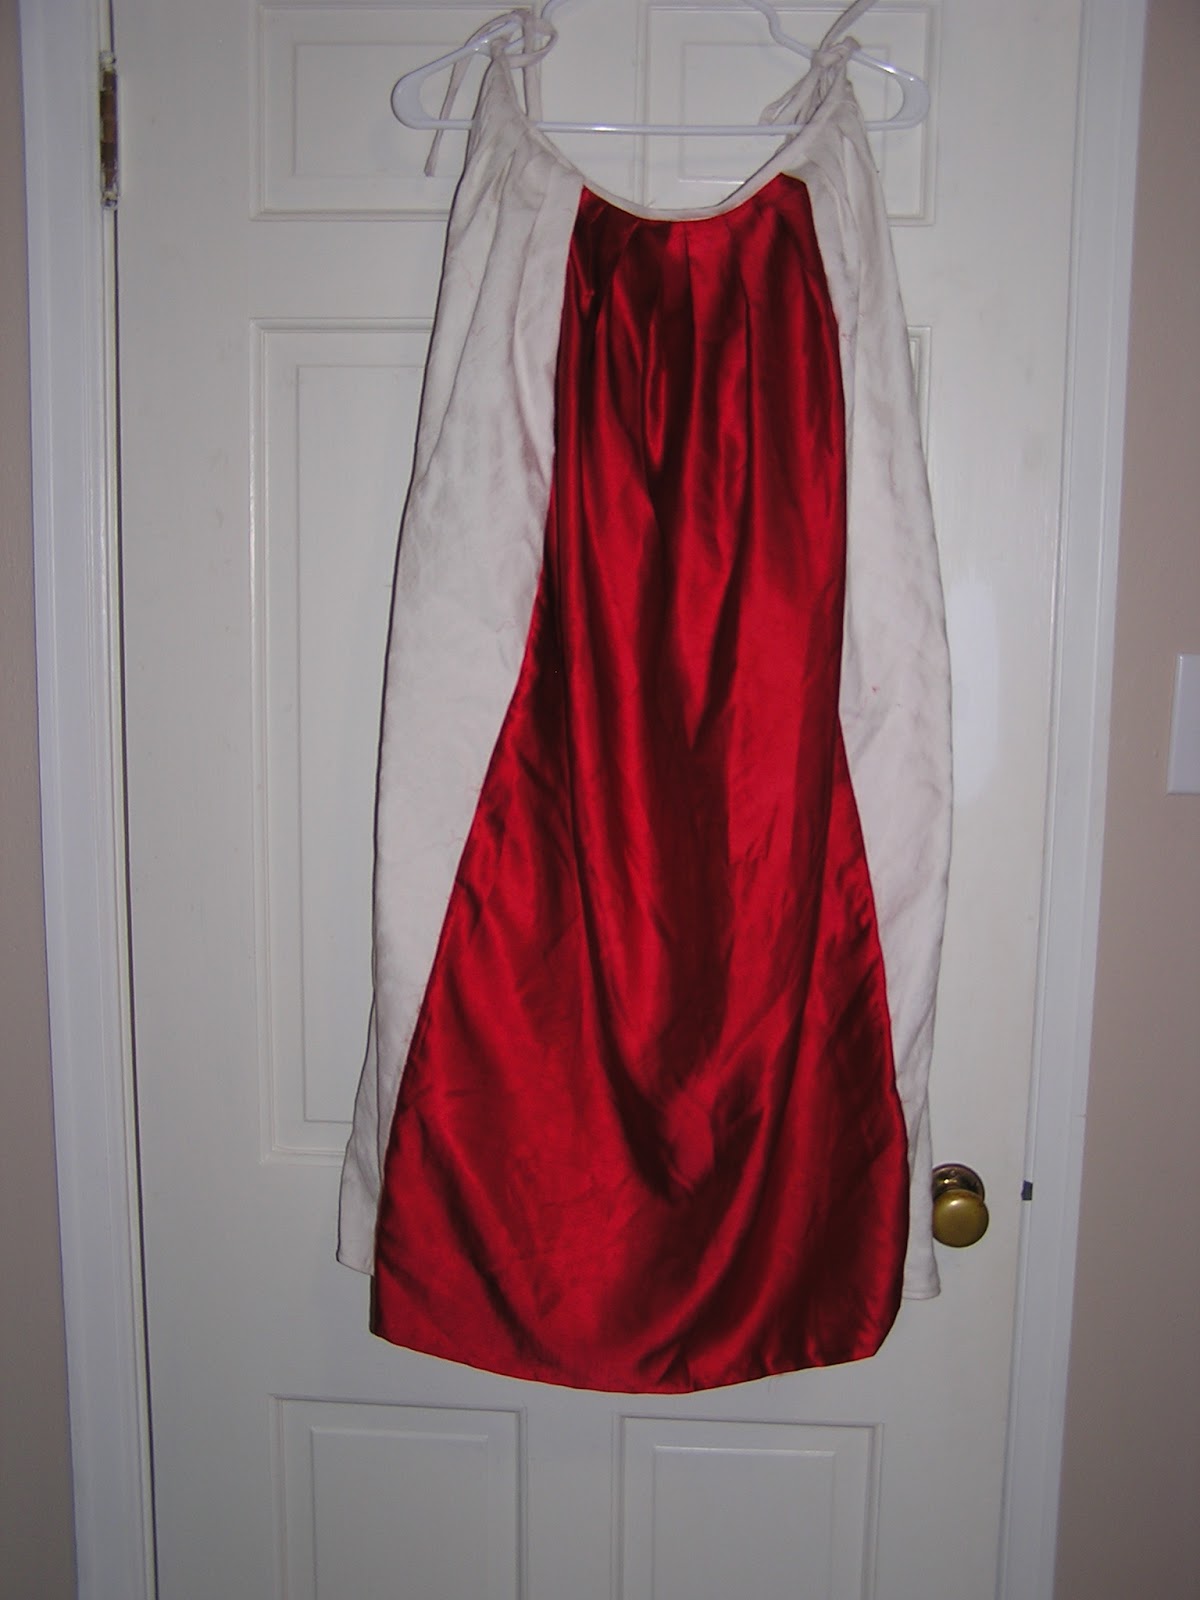
As I stated in my previous post, I am not trying to copying the dress exactly, but rather making a similar dress in red from a reproduction historical pattern (
Reconstructing History #822). The historical dress I am making is called a robe anglais, which was common in the 18th century. The fabric is silk satin, purchased from Fabric Mart (they are the only reason I was able to make both of these costumes from wool, silk, and linen within my budget). My satin is much lighter than the duchess satin used by
Terry Dresbach (Outlander’s costumer), but silk duchess satin is at
least $50/yard, so that was never going to happen. I could have gone with polyester, but I HATE polyester. Also, since it doesn’t breathe and this dress is a lot of fabric, I really wanted to avoid using polyester to make it more comfortable. (I am super happy I did this; even with silk, it was warm, and I am a
cold person.)
 |
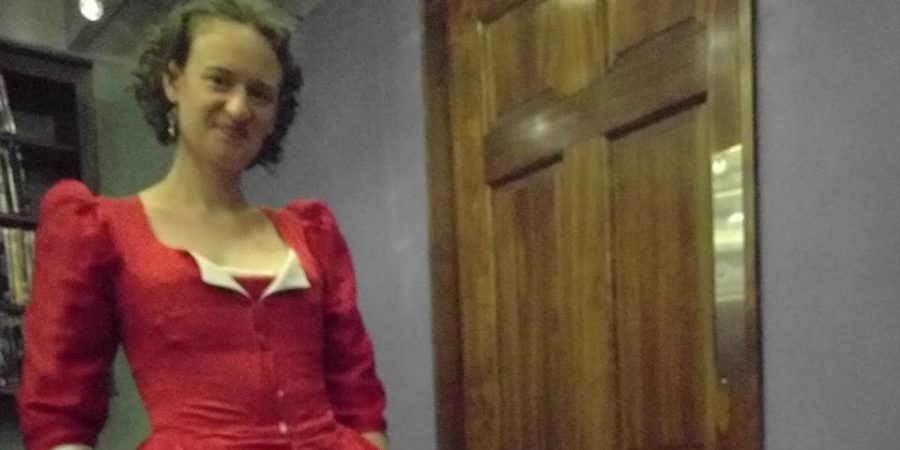
| This is our attempt to recreate the promo pic. |
Since I had never made anything like this before, I made a muslin of the bodice. I want to make sure the sizing wasn’t too off, as my stays from the same company ended up too big when I followed their size chart. I have been less than impressed with Reconstructing History’s patterns overall, mostly due to the instructions. I am not someone who needs my hand held when it comes to sewing– I make Marfy patterns that have no instructions at all with no trouble. But with Marfy, they have helpful information printed on the pattern itself. With Reconstructing History, I had seams that were an inch or more off. Was I supposed to ease that in? Was it a mistake in the pattern? No idea. Notches that were mentioned in the instructions were absent from the pattern. Even entire pattern pieces were either non-existent or labeled differently. Sometimes the instruction were just so confusing that I would have been better off not reading them. I did appreciate the historical information at the beginning because I enjoyed reading about the extant garments, but if I do more historical costuming in the future I will try a different pattern company.
 |
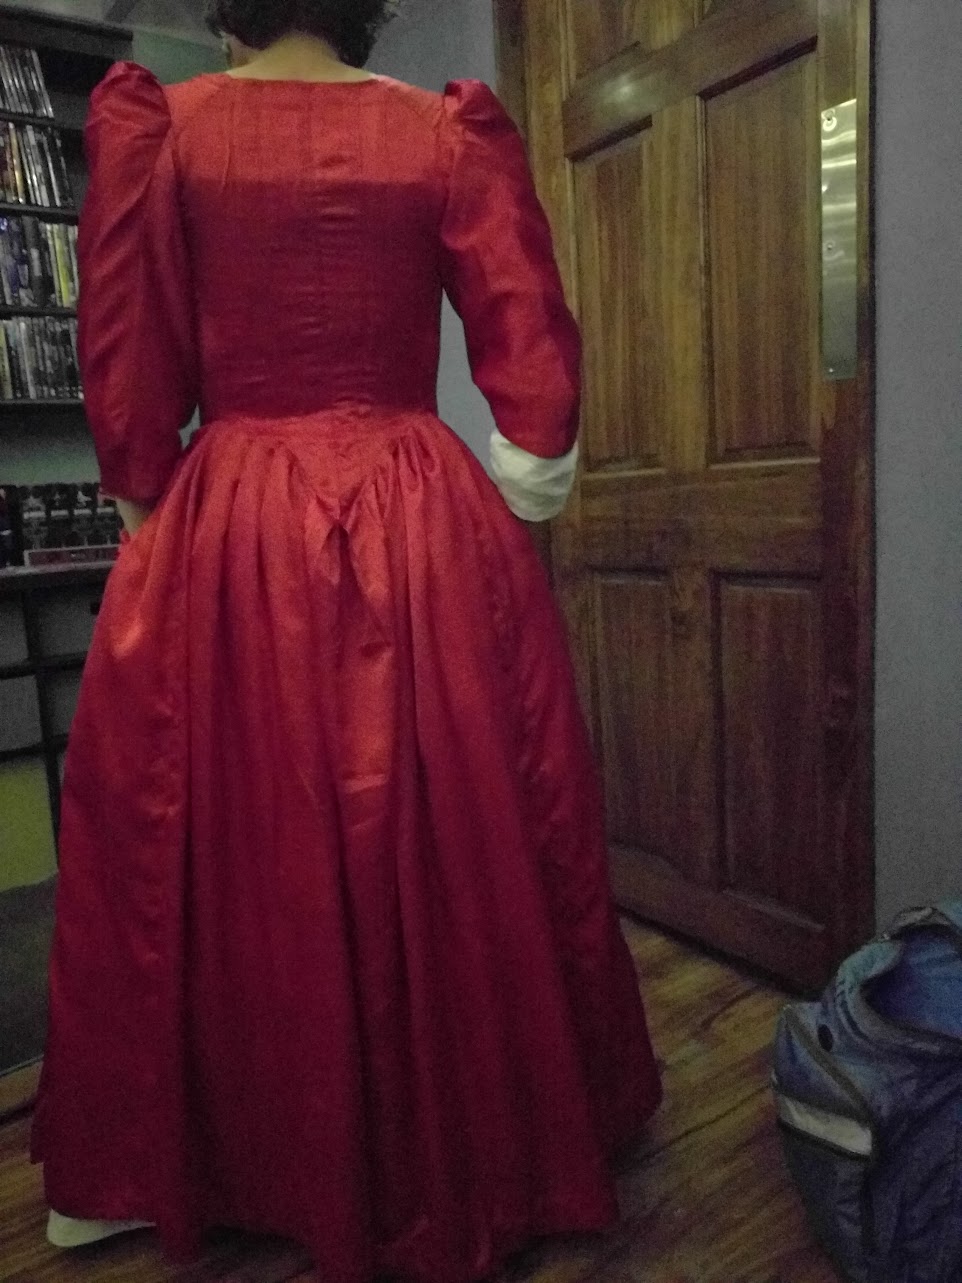
| Wade and I were having too much fun and so ended up taking most of the pics in our friends basement (we were crashing on their futon). |
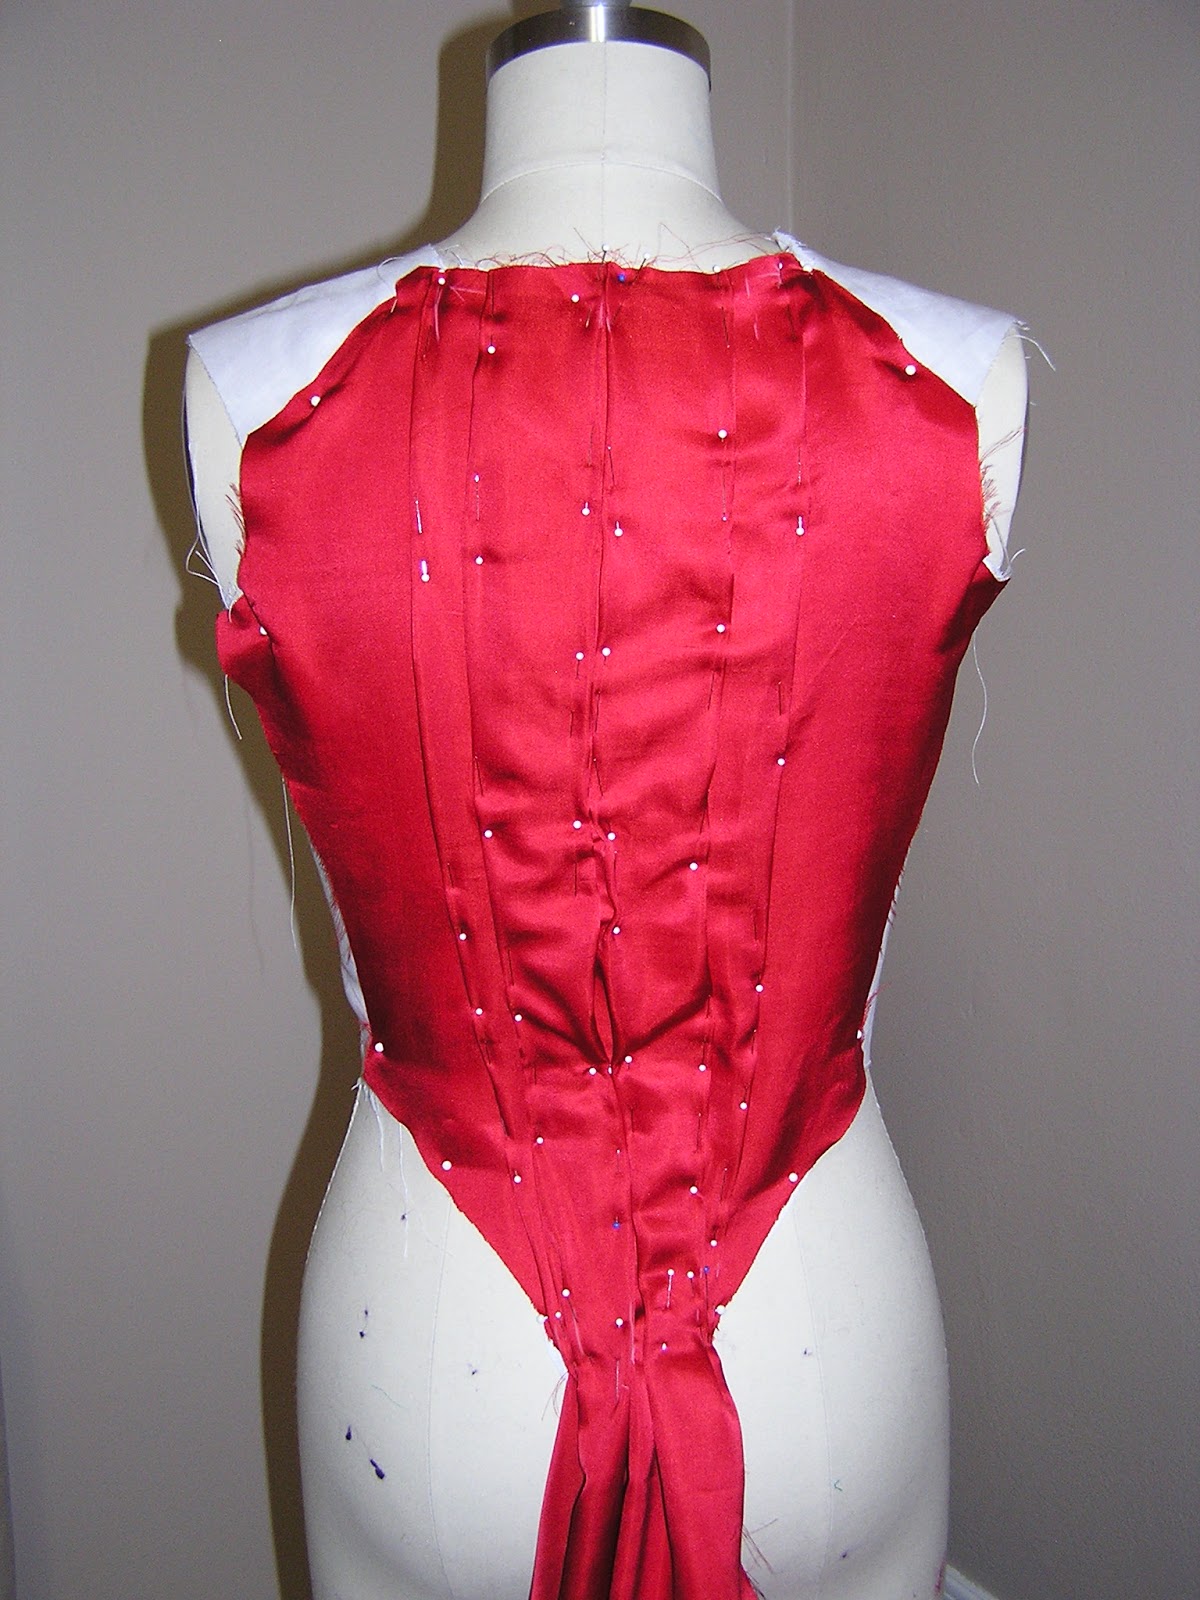
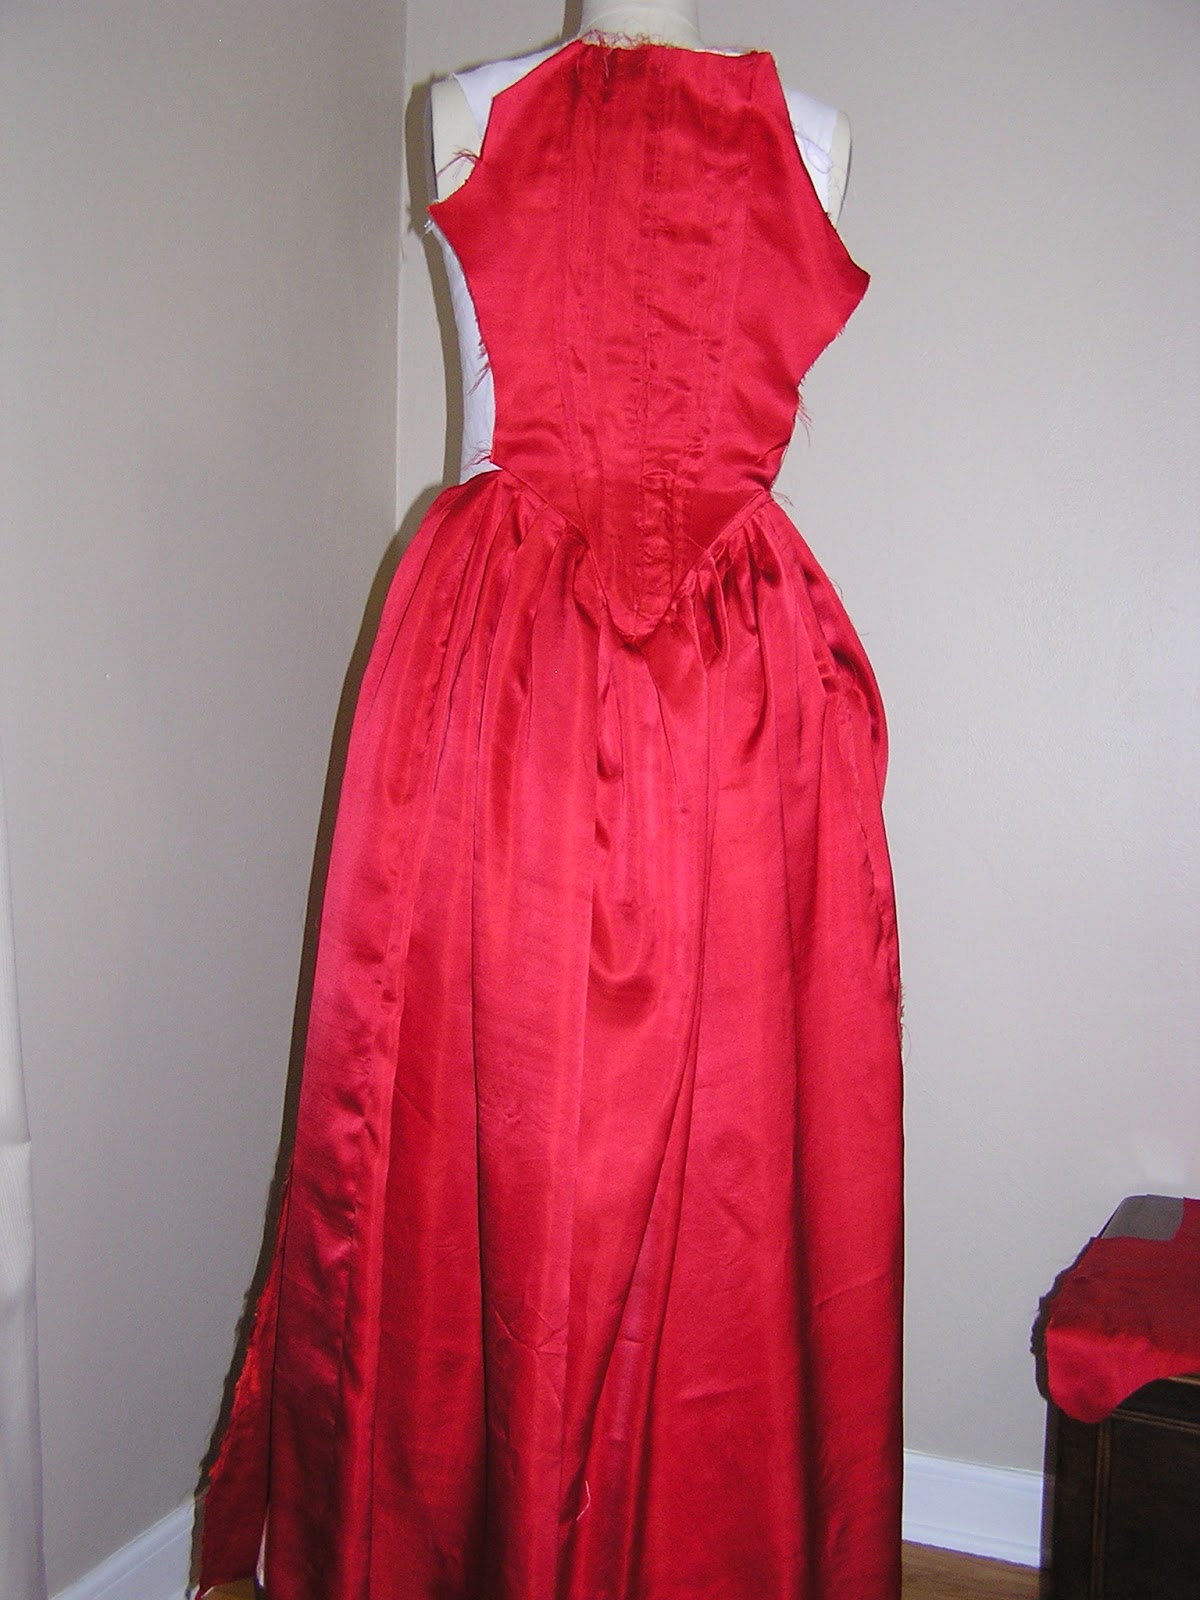
Anyway, once I had used the muslin to know that I was in the ball park, I followed the instructions’ suggestion to use the linen lining to fit the bodice to the stays. This involved several hours of me hanging out in my shift and stays since taking them on and off fore each trial was too much work. I then used the altered lining adjust the bodice pattern and cut the real bodice. The next step in the robe anglais is to make the pleats in the back bodice. They had suggested pleats marked on the pattern, but the pleats are used to fit the dress, so the marking are just suggestions. I used Annie to do this even those she is not an exact copy of me because I don’t see how you could pleat it on yourself. 18th century dressmaking techniques were obviously designed to be used by a seamstress making a dress for someone else. Once I had the pleats pinned, I tried on the dress and made some small corrections. I then stitched the pleats down to the linen lining, which is really more of an underlining.
 |
| The back pleating on Annie in progress. The “tail” at the bottom is the skirt. I used a chair to support it so nothing got stretched out. |
The next step was to knife pleat the skirt. (The dress from the show is cartridge pleated, but the knife pleating is both more historically accurate and easier.) The back skirt is cut as one with the back bodice. My fabric was not wide enough to cut the recommended skirt width, so I added panels to add to the width. (Somehow I managed to cut one of the panels 2 inches too short. I was able to compensate by making the front skirt wider, but now the pocket slit is slightly off. Sigh.) I did one inch pleats. I actually found the pleating kind of fun, but I think it would be way less fun to do it with hand sewing. (Hats off again to costumers who entirely hand-sew– I don’t think I’m ever going to be that person.) The front skirt is just rectangles of fabric that were cut to the correct width and pleated. The back and front skirt were then sewn onto the bodice. The front bodice is only the linen underlining at this point.


The fashion fabric bodice was then machine sewn to the neckline and front opening and turned. The bodice was then handstitched to the skirt and side seams using fell stitch. The sleeve seam was sewn before attaching it to the sleeve lining to the sleeve at the cuff. Once that was pressed, the sleeve was attached to the gown bodice, pleating the sleeve to fit the armhole. The sleeve lining was slip stitched over the seam. Any of the raw edges on the inside were finished by hand with a slip stitch. (I was really, really tempted to cheat and break my no serging rule, but I resisted.)
To finish the hems, I put on all of my layers (plus shoes!) and had my husband mark the hem. The hem was sewn with my machine blind hemstitch (which is obviously not historical) (but it works really well and is so much faster than by hand). I also did the hem for the petticoat that I made at the same time. The petticoat hem is just a narrow hem. The petticoat is mostly made from what used to be curtains in my old condo (which I also made), with a panel of the red silk at the front so that it doesn’t show. I chose to use the curtain fabric because it was thick and heavy enough to help give shape to the skirt and to hide the lines from the boning in the pocket hoops. It is just length of fabric pleated to a tie waistband.
 |
| Pockets! Which I totally had stuffed with Halloween candy! As well as my cell phone and wallet. |
In case anyone is wondering how the front of the bodice is closed, I used the most common historical method for this type of dress: the dress is simply pinned to the stays. To make sure that none of the blue stays showed through, I made a little stomacher thing to go underneath. I may try to fabricate a lacing closure at some point, but I was getting close on time and using pins was the simplest solution.
This dress was definitely a beast to make, but I learned a bunch from it and really enjoyed the process. The techniques definitely have a different feel than modern ones, which was kind of fun. I’m not sure if I will do another historical costume anytime soon, but I will feel much more confident about my abilities going in. In my next post, I will talk about Wade’s Jamie Fraser/18th century gentleman costume.


Wonderful and inspiring work as a seamstress/create a year of a costume
Thanks, Joyce!