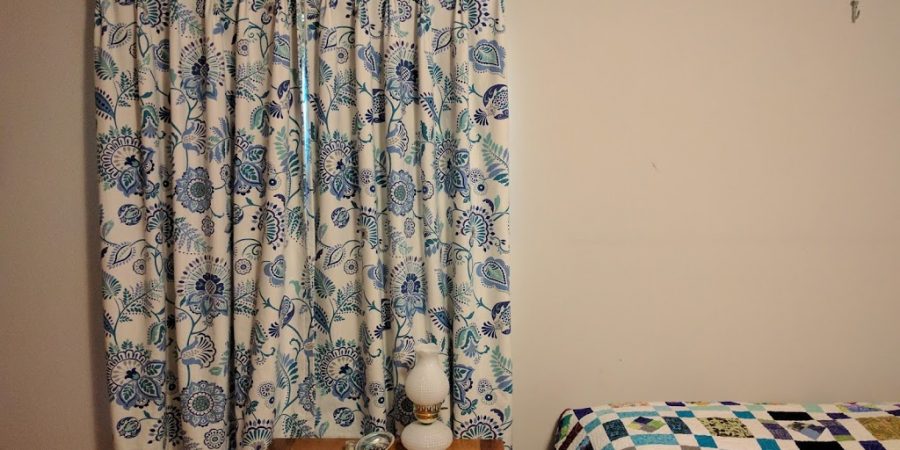
This summer is full of home dec projects. This latest one is curtains for our bedroom. I am not really into curtains, but Wade likes it to really dark when he is sleeping. We agreed that I would make curtains with a pattern that I like, lined with blackout cloth. We are not 100% happy with them, but we may tweak them in the future. We like the way they look, but the white back of the blackout lining actually reflects some light onto the wall around the edge of the curtains.
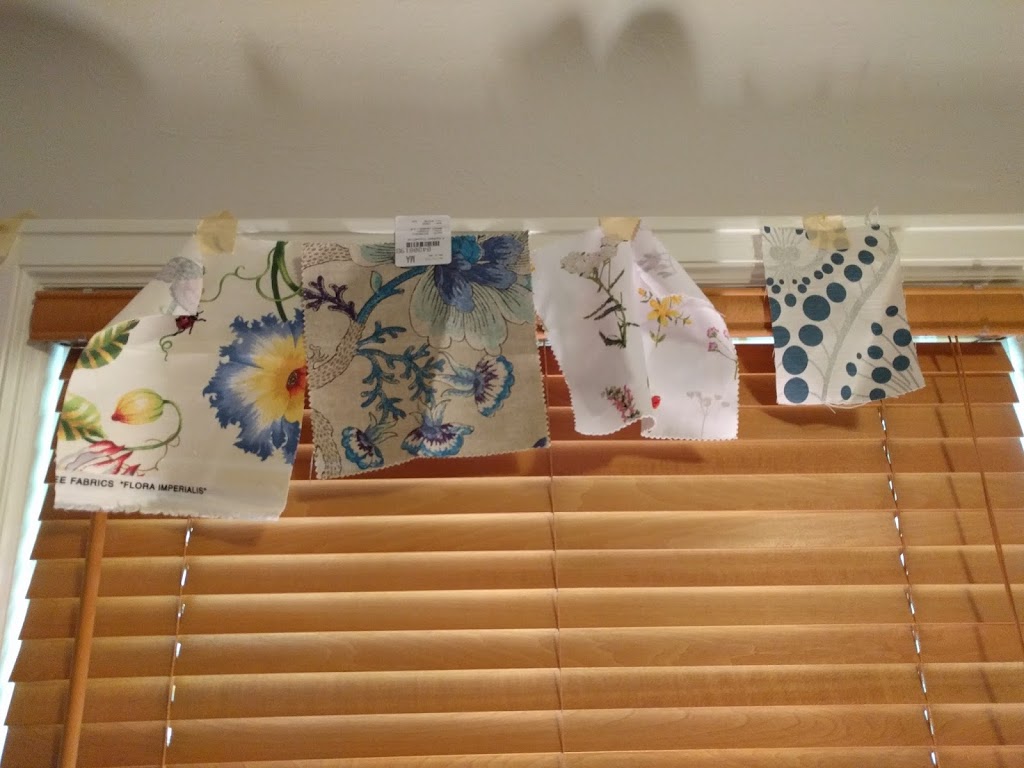
We wanted to get a fabric that we really liked, so we ordered swatches from several different online stores. I also got a couple swatches of blackout cloth to test the drape and light-blocking. Both blackout cloths worked great, but one was little more drapey, so that was what we ordered. The fabric that we picked is 100% cotton and reminds me of eastern European embroidery.

When I made curtains for my condo, I went super basic. I just made a casing for the rod and hemmed the bottom. I didn’t even hem the sides, just left the selvages. They worked, but never really looked that great. So, this time around, I wanted to learn more about making curtains. I checked out several books from the library and learned that there are way more types of curtains and drapes out there than I would have thought. To make my curtains, I followed the pattern for lined, pinch pleated drapes from The Complete Guide to Window Treatments.
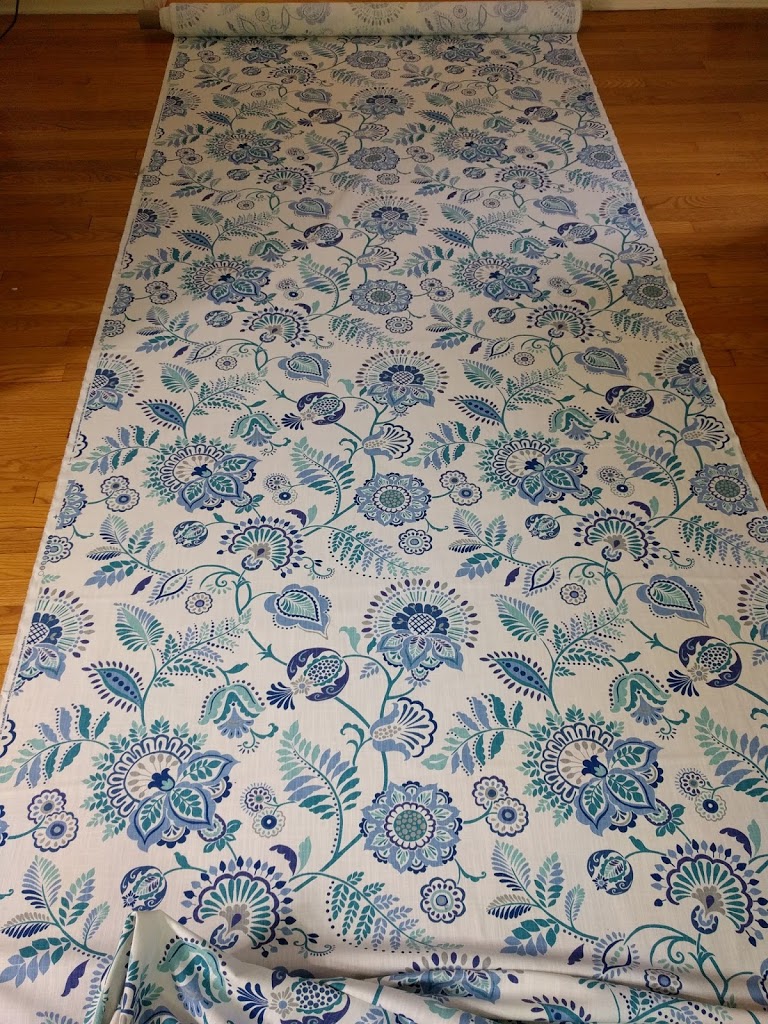
The first step was ordering all the fabric. I have never gotten an entire bolt of fabric before, which was basically what this was. The second step was measuring out the curtain panels. I just ripped my outer fabric rather than cut it since it was quicker and the curtains have a very wide hem. Then both the curtain panels (six total) and the linings were hemmed at the bottom. The outer panels had a six inch double-turned hem that I blind-hemmed by machine. The lining panels had a two-inch hem with regular stitching.
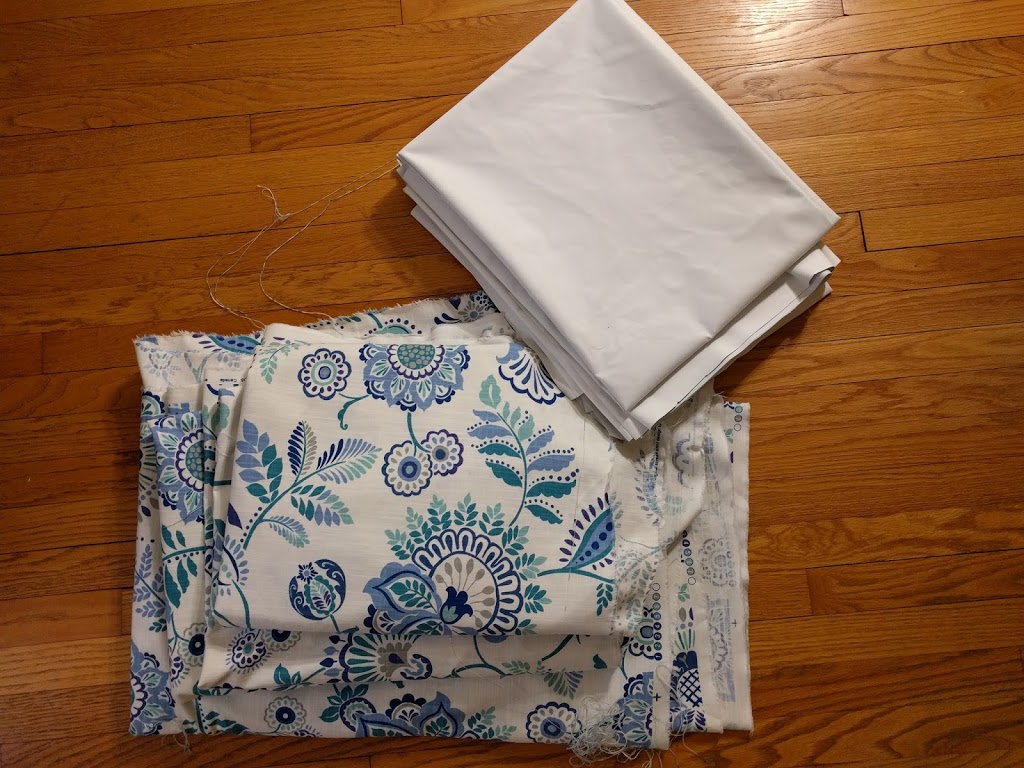
The next step almost required two people because we had to lay the lining on top of the curtain panel and make the edges even. The two panels were then pinned together with the lining slightly shorter than the outer curtain. The sides of the curtains were then hemmed with both outer fabric and lining treated as one. I broke several needles while doing this because it was quite thick, and I probably should have been using a slightly heavier needle. I also used my walking foot to help keep both layers even.
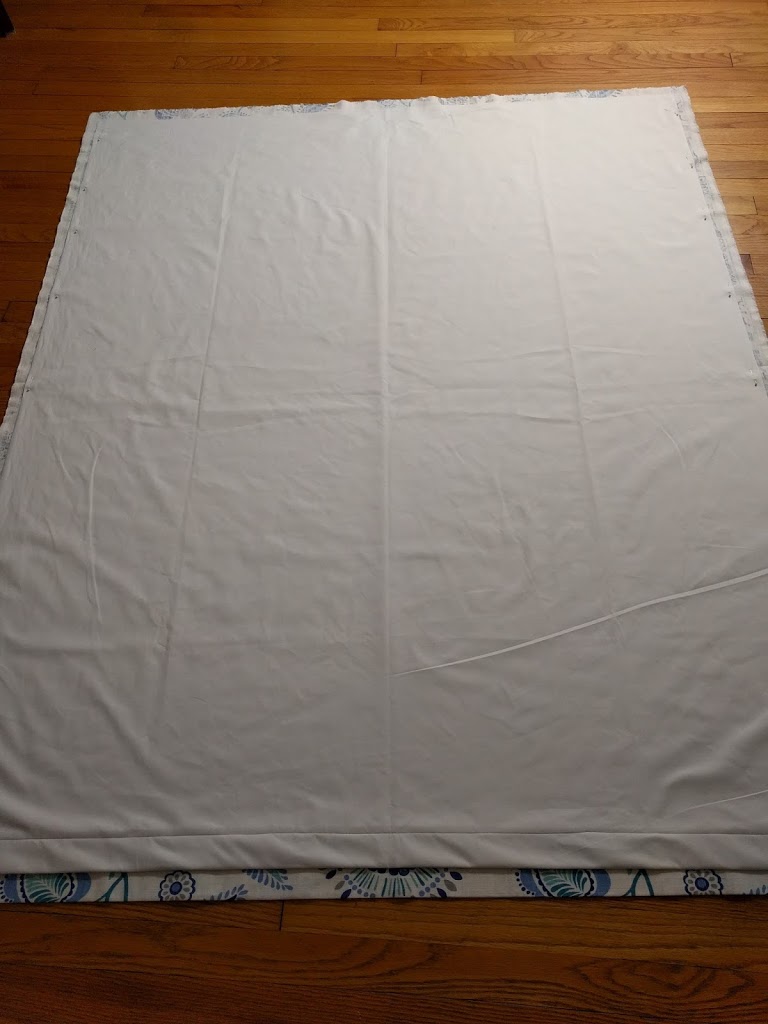
The top hem (8 inches double-turned) was then pressed, but not stitched. To make the pinch pleats, I first had to decide on spacing. I made a template so that I wouldn’t have to keep measuring for each panel. The pleats were then stitched down for the width of the hem. The final step is to hand pleat each large pleat into three small ones. The pleats then have to be stitched down. At this point, the top of the curtains has multiple layers of both the outer fabric and the blackout lining. The part that I needed to stitch through was 1/2″ thick! I didn’t even contemplate trying to sew it by machine. I attempted to go through all the layers by hand (using a thimble, of course), but that only resulting in puncturing my hand with the blunt end of the needle. (Which hurts way more than poking yourself with the pointy end, by the way.) Instead of tacking through all those layers, I tacked each pleat slightly below the hem.
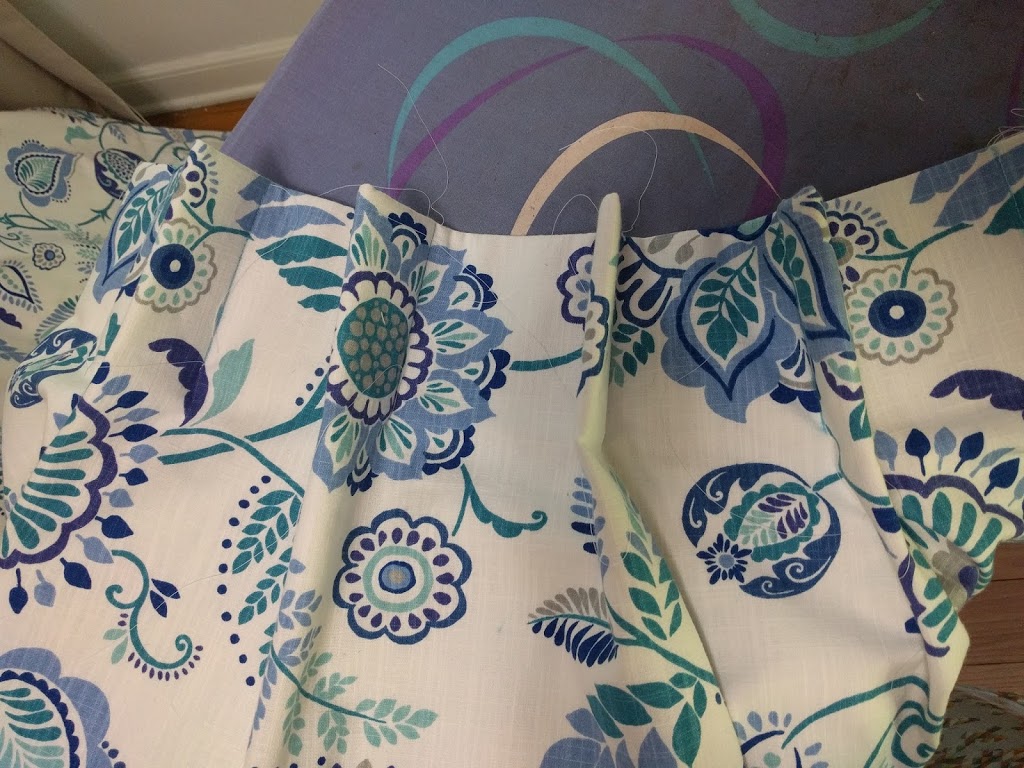
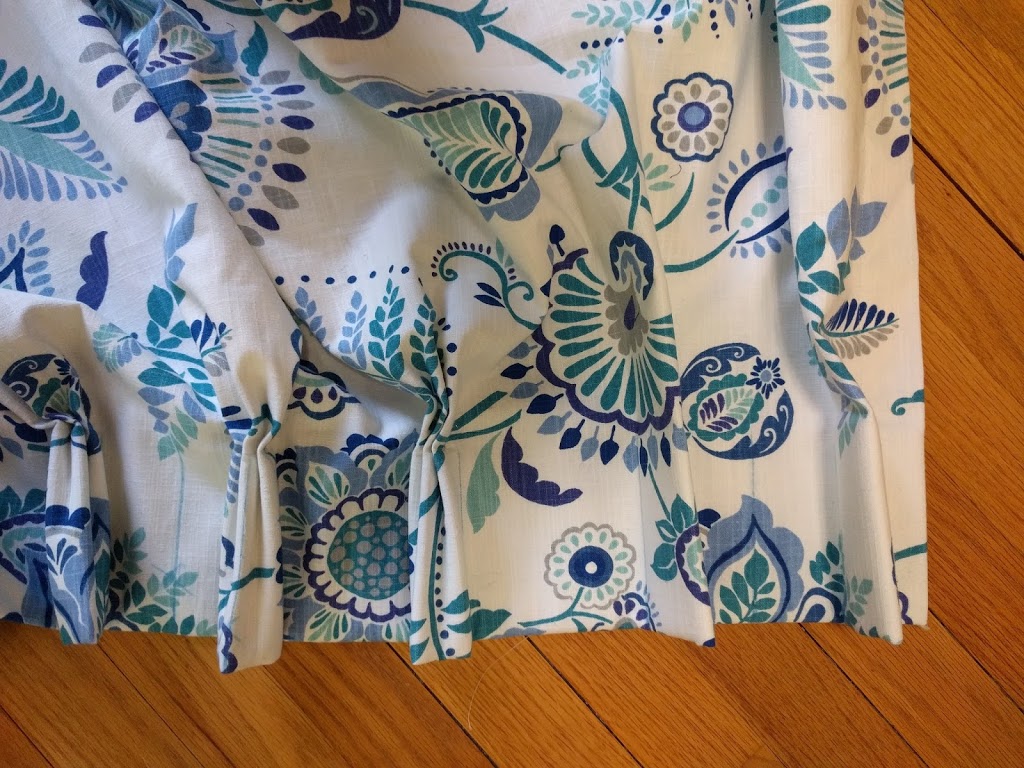
Right after I finished, I wasn’t super pleased with my pleats, but I figured a little pressing would set them right. To help set the pleats even more, I used alligator clips to hold the pleats as they cooled. After pressing they looked great!
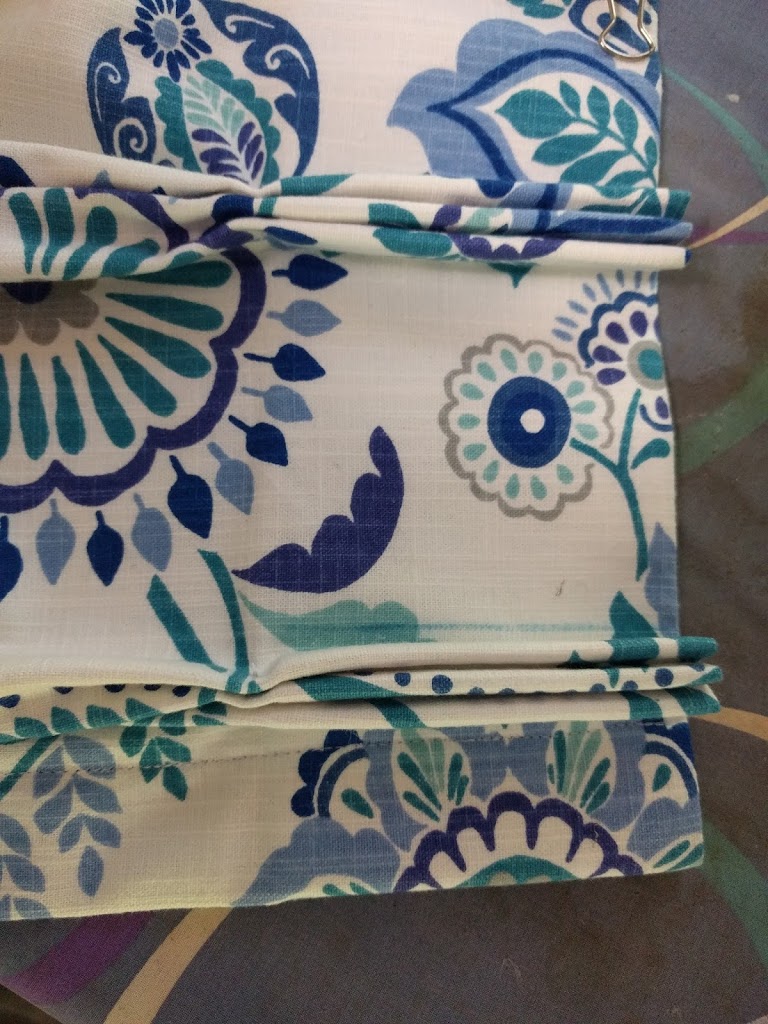
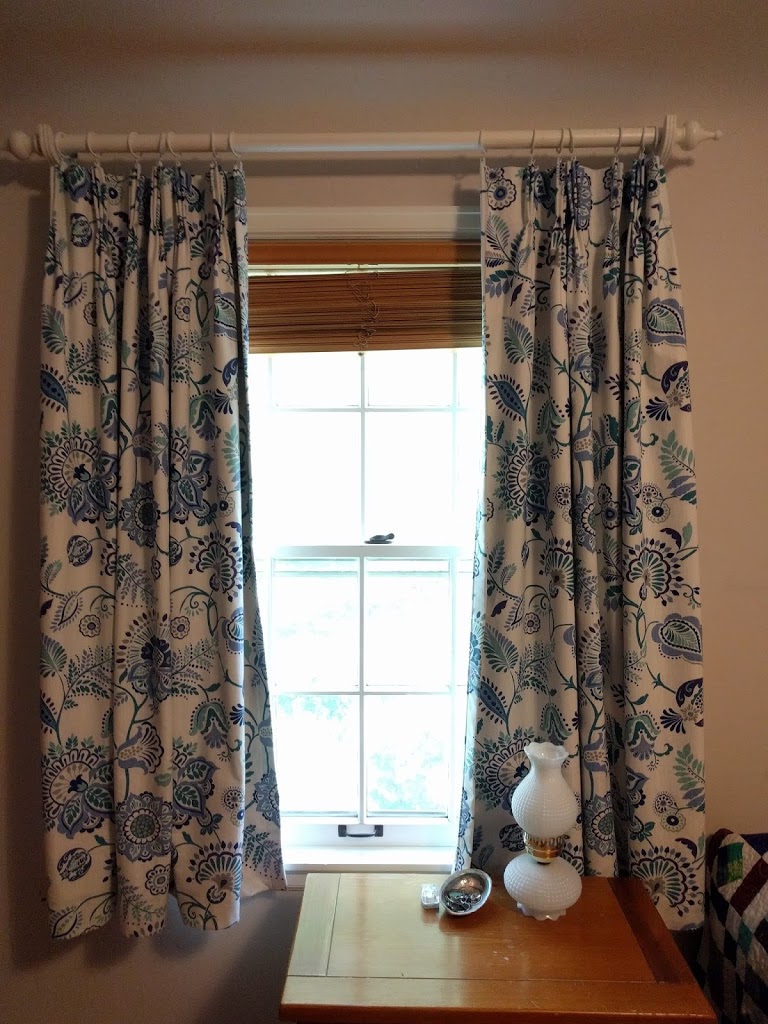
Hanging the curtains was the final step. I got white metal rings with clips, so all we had to do was clip the rings to the curtain and slide it over the rods. Due to how far the rods in front of the window the rods are, we still don’t have complete light blocking. We may be experimenting with this in the future. However, I love the pattern, and I think that the curtains really brighten up our bedroom.
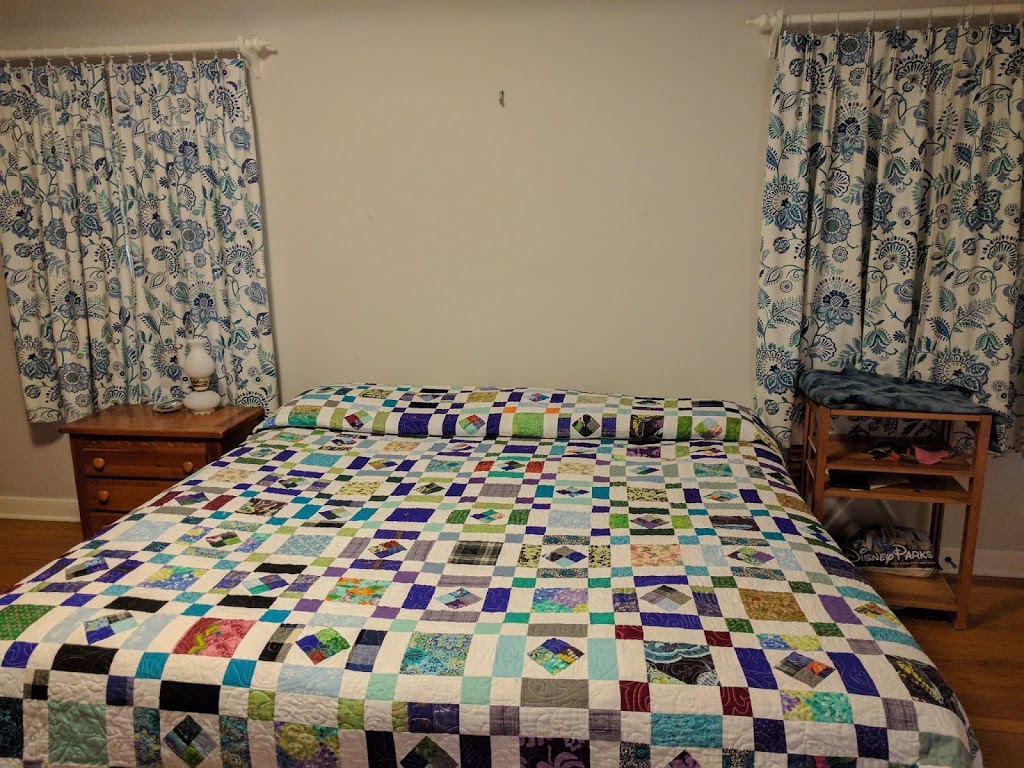
You can learn more about the quilt here.
