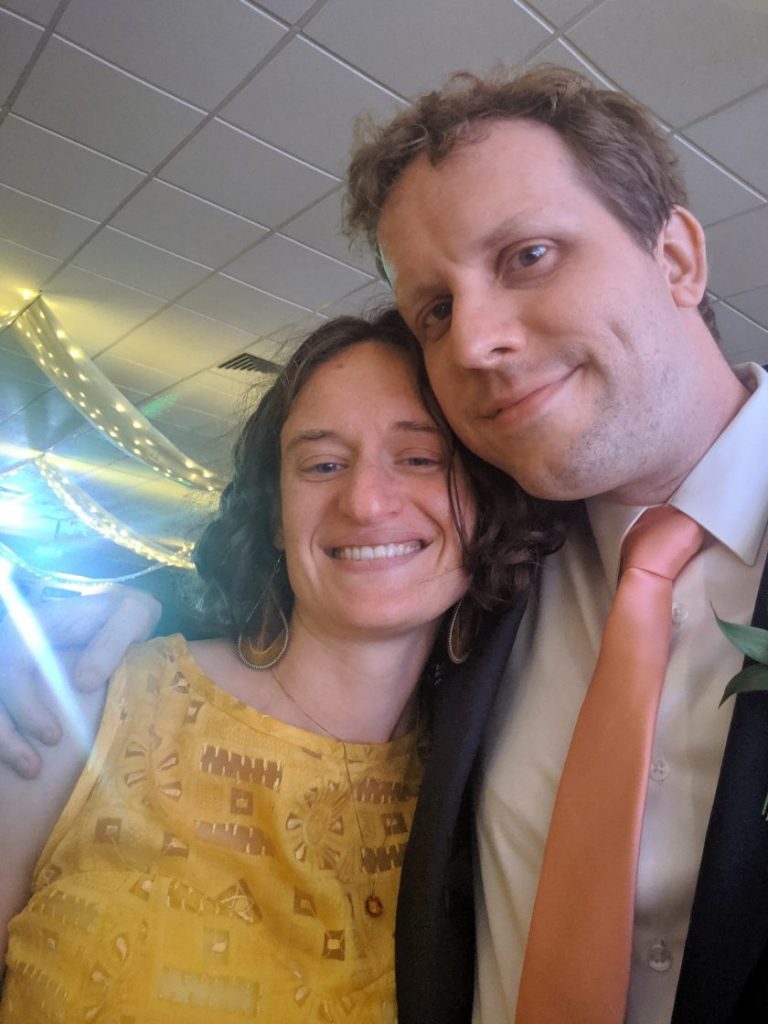

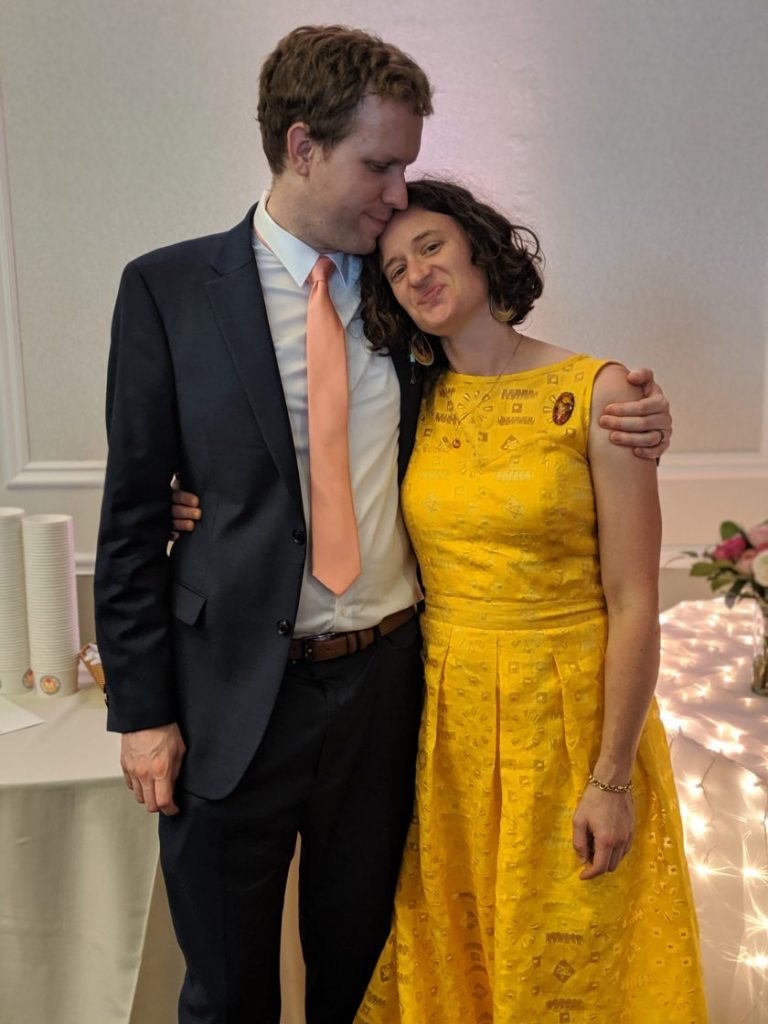
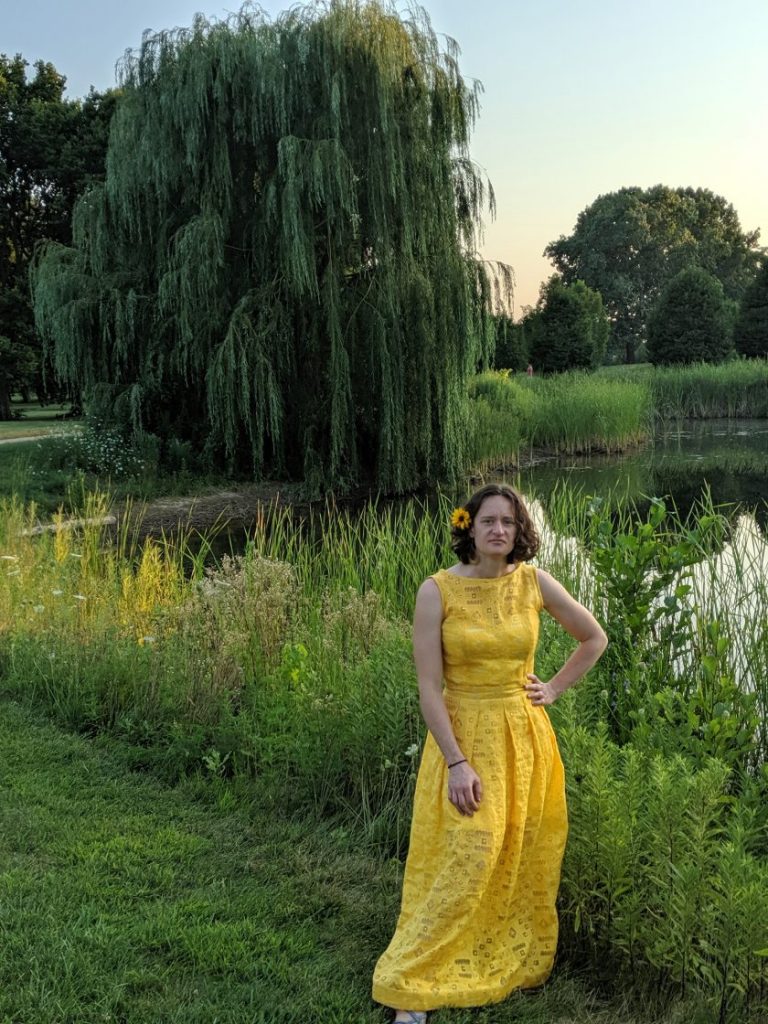
I already started telling the story of this dress here. I showed how I built support and structure underneath the bodice, and how I sampled different techniques to find the perfect finish. One thing I didn’t mention in the last post is that this dress was made to be worn to my brother-in-law’s wedding. This post will be a bit more about the construction, but it’s mostly just an excuse for more pretty pictures!
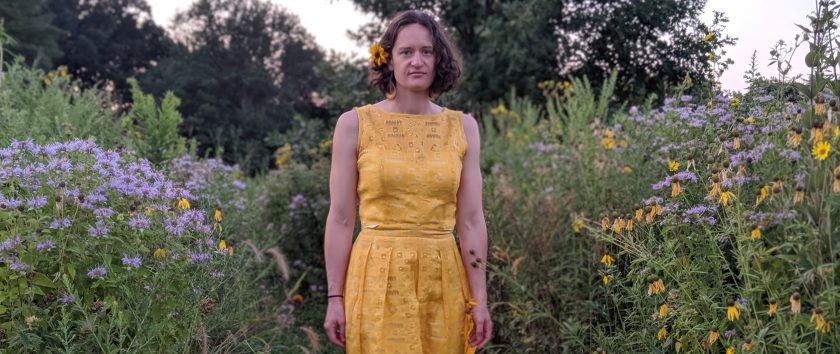
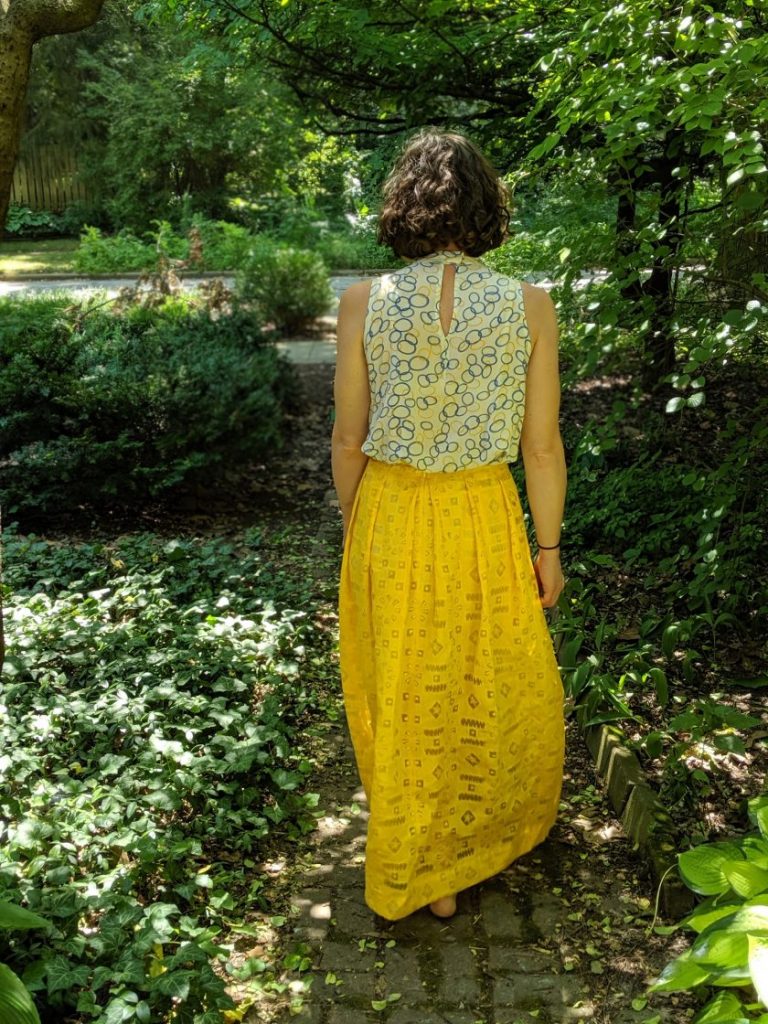
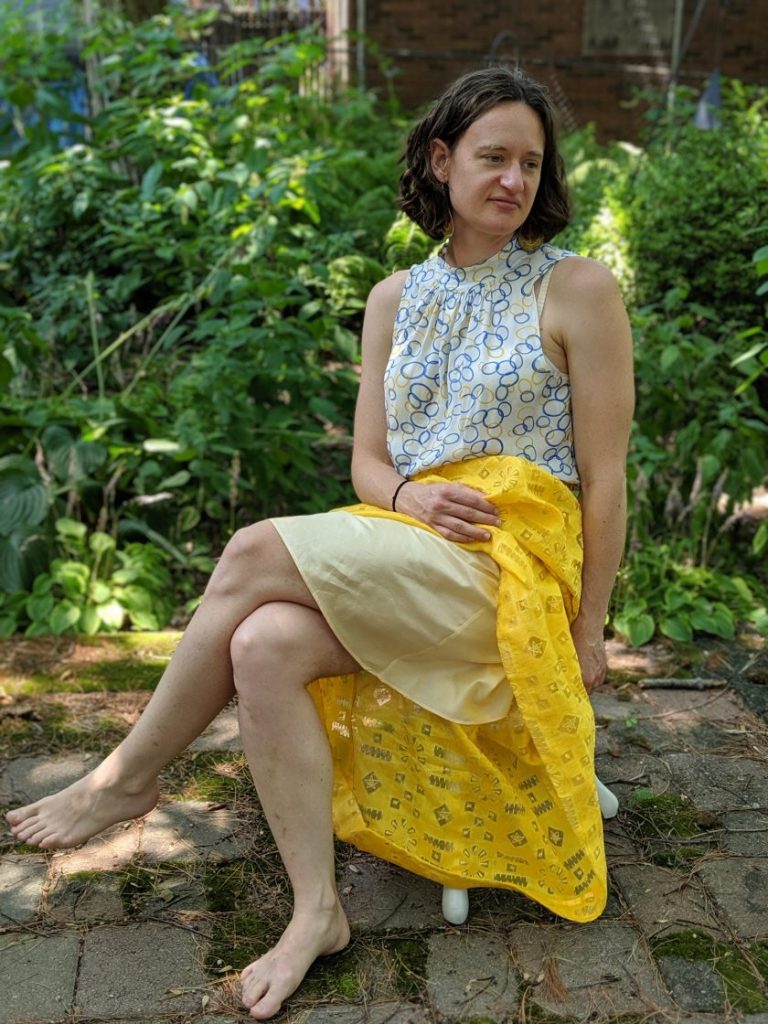
As previously described, I made the under dress totally separate from the long overskirt. This lets me get essentially three outfits in one.

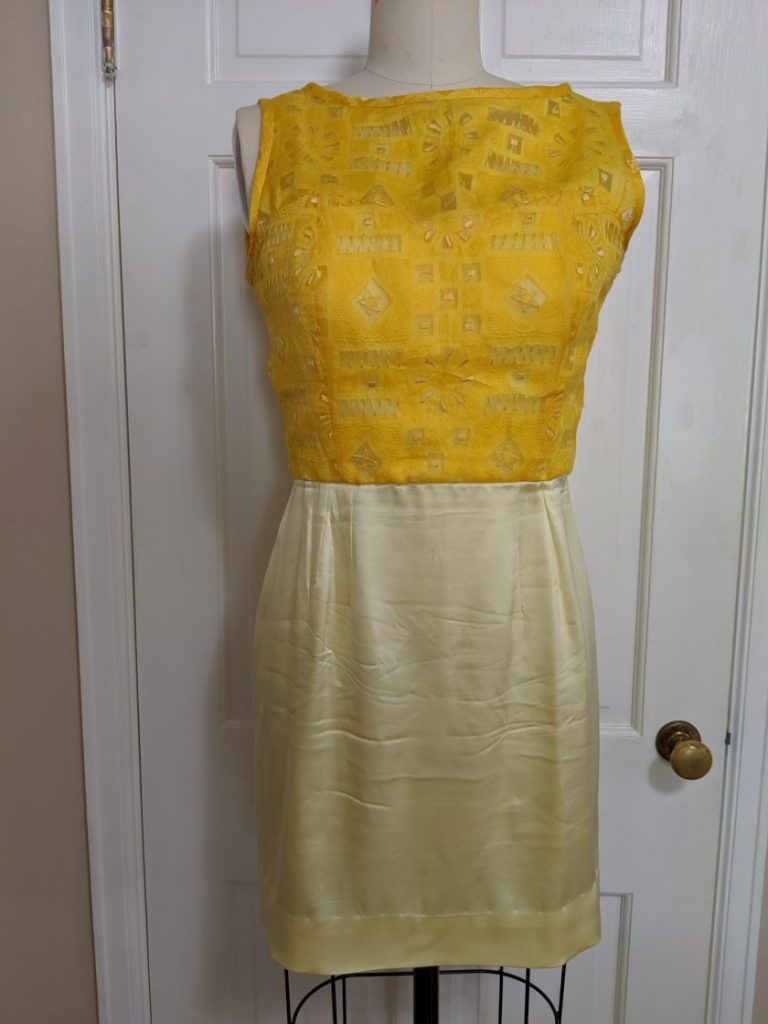
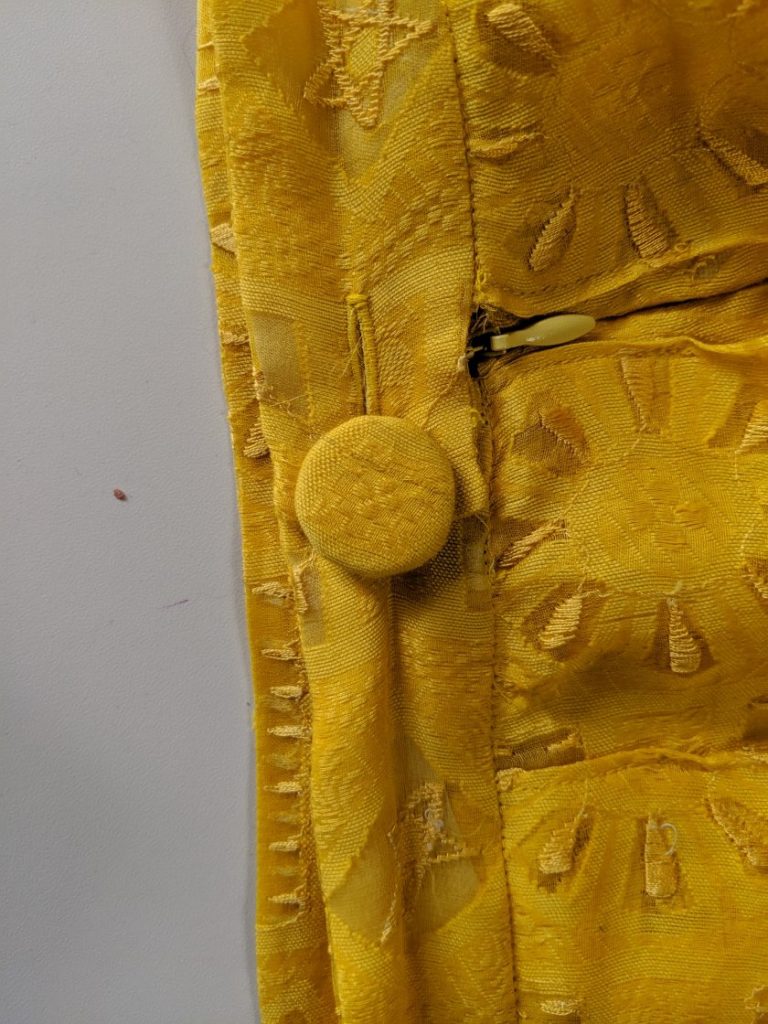
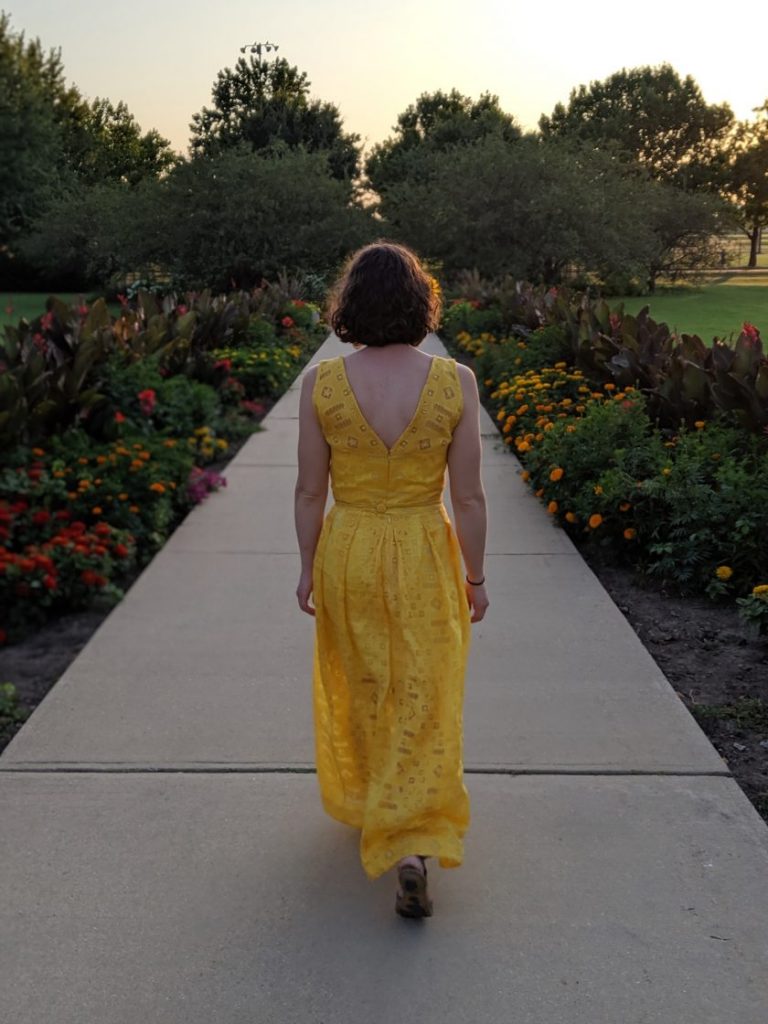
The waistband of the skirt is interfaced with an extra layer of plain silk organza. I knew I wanted a perfect button, and nothing seemed to work as well as a matching one. The hem of the skirt is reinforced with two inch horsehair braid. This helps it to really stand away from the body.
The one thing I wish I had done differently was not lining the skirt of the dress. I was concerned about having too many layers, but the yellow silk satin is too sheer to wear on its own. It’s fine underneath the long skirt, but when I wear it as a dress, I have to wear a slip.
I ended up making a new half slip to go with this skirt (made from the Ruby slip pattern, same as this slip). The fabric I used for the slip is actually the exact same fabric that I used for the dress in my first ever blog post! (It’s amazing how much better Wade’s photography has gotten since then.)

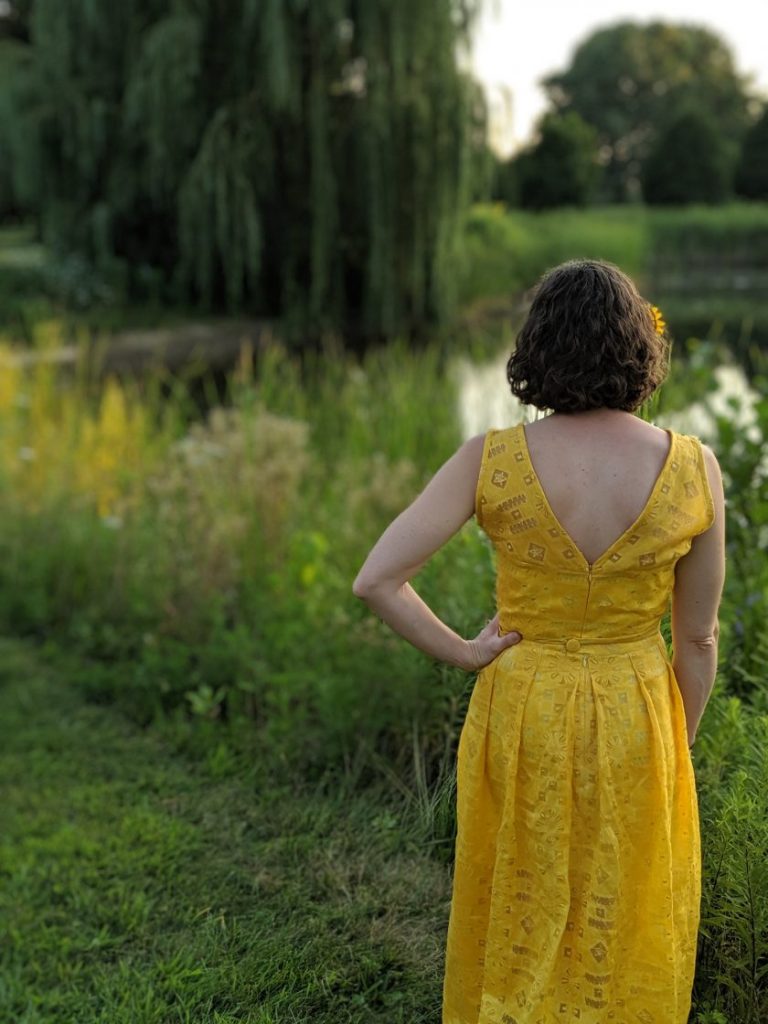
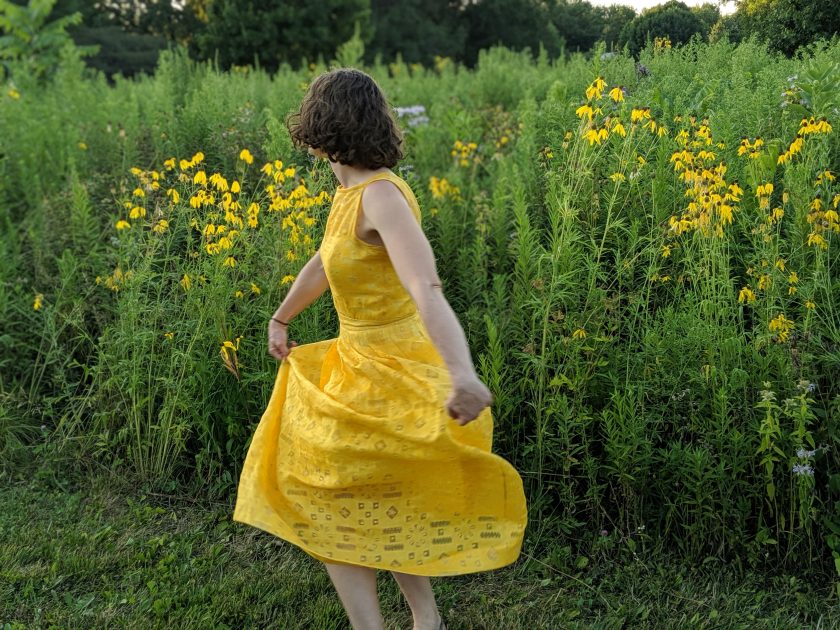
I loved working on this project, and even though I ended up hand stitching the hem during the rehearsal for the the wedding, I’m glad that I decided to make something so involved. It will probably be awhile before I make another dress as fancy as this!