I have a bit of a secret corset obsession. Although the feminist in me dislikes the physical restriction of women that corsets historically represented, I can’t help but love them aesthetically. I have been wanting to make my own for awhile, and now I finally have!
Awhile ago, I bought a corset kit to make the Silverado corset from Laughing Moon Patterns. I am thinking about possibly getting into historical costuming at some point (probably starting with 1870’s-1890’s), so this Victorian corset seemed a good choice. The pattern includes two corsets, the Silverado and the Dore, the only difference being that the Silverado has bust gores. The kit included all the notions (busk, grommets, spiral steel bones, twill tape, and lacing cord). I also ordered cotton coutil and silk doupioni. Coutil is a very sturdy twill weave that is traditionally used to make corsets.

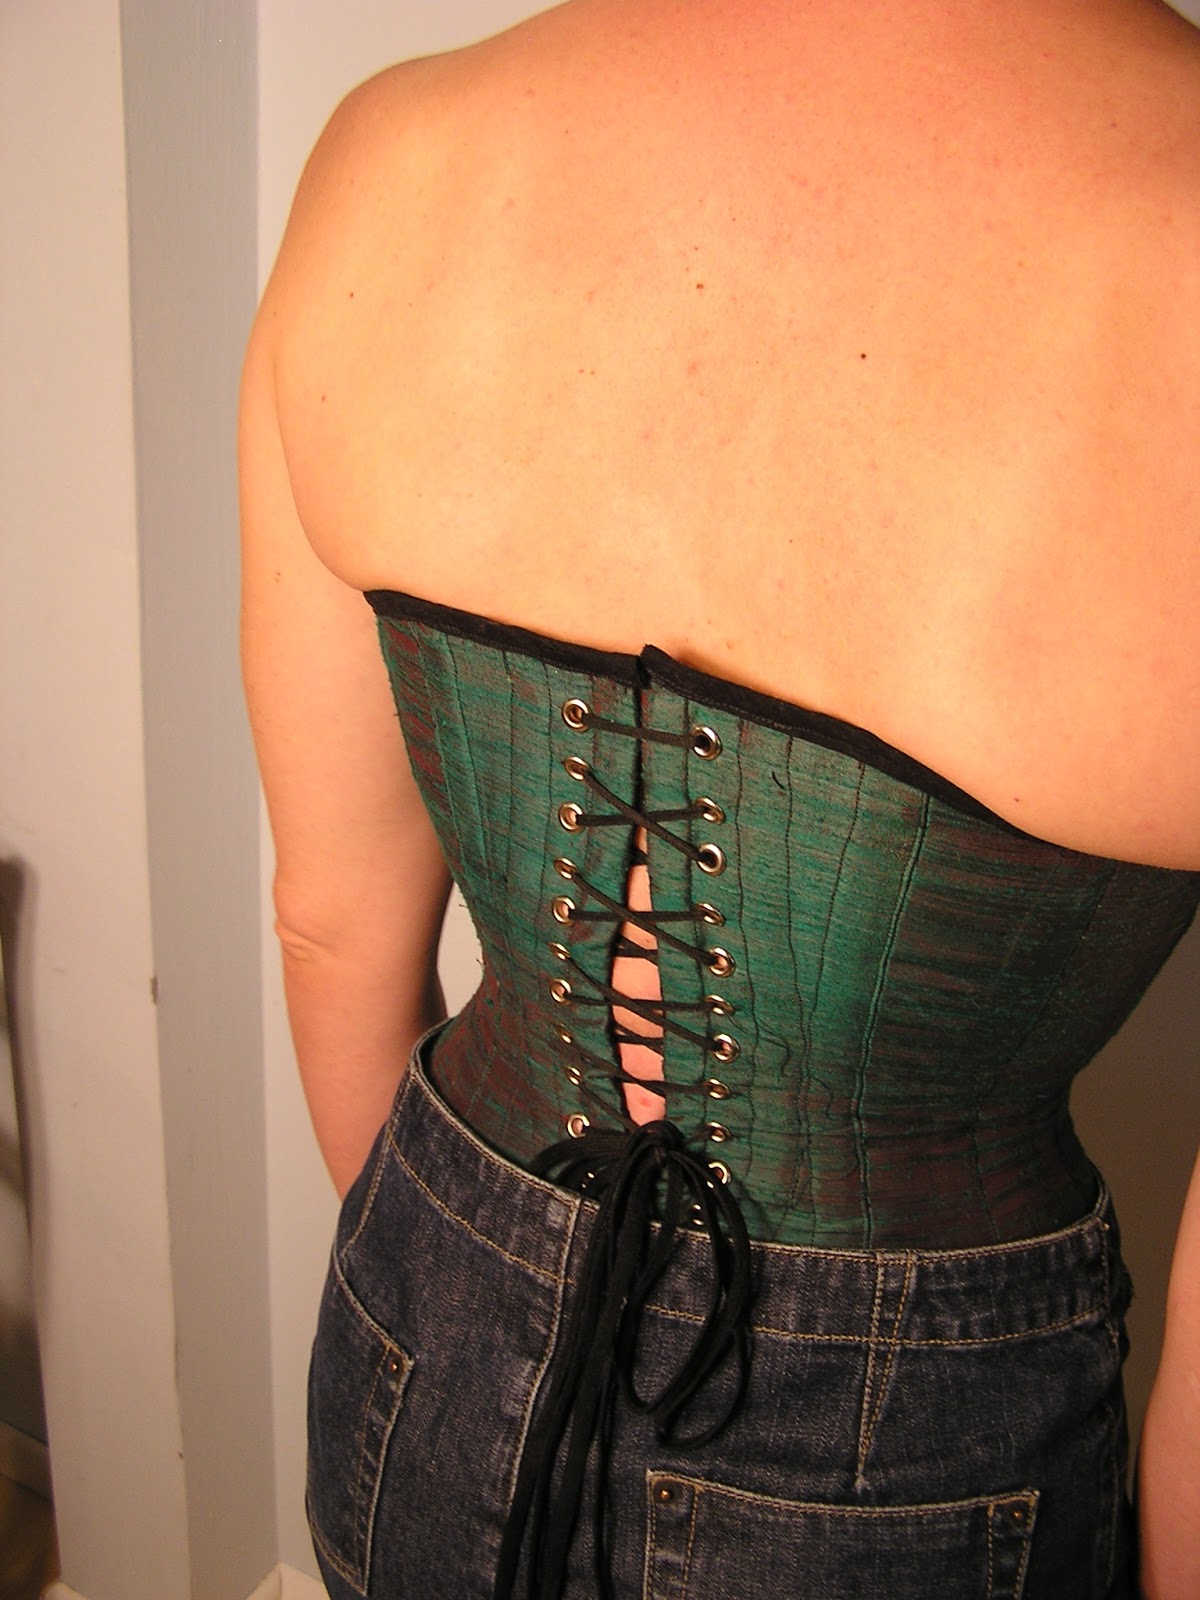
I followed the sizing of the pattern, grading between sizes to get the waist reduction that I wanted. I ended up wishing that I had measured the pieces, because my first muslin ended up being too big. I adjusted and re-stitched the muslin. Ideally, the corset should fit in such a way the the lacing is parallel on the back.
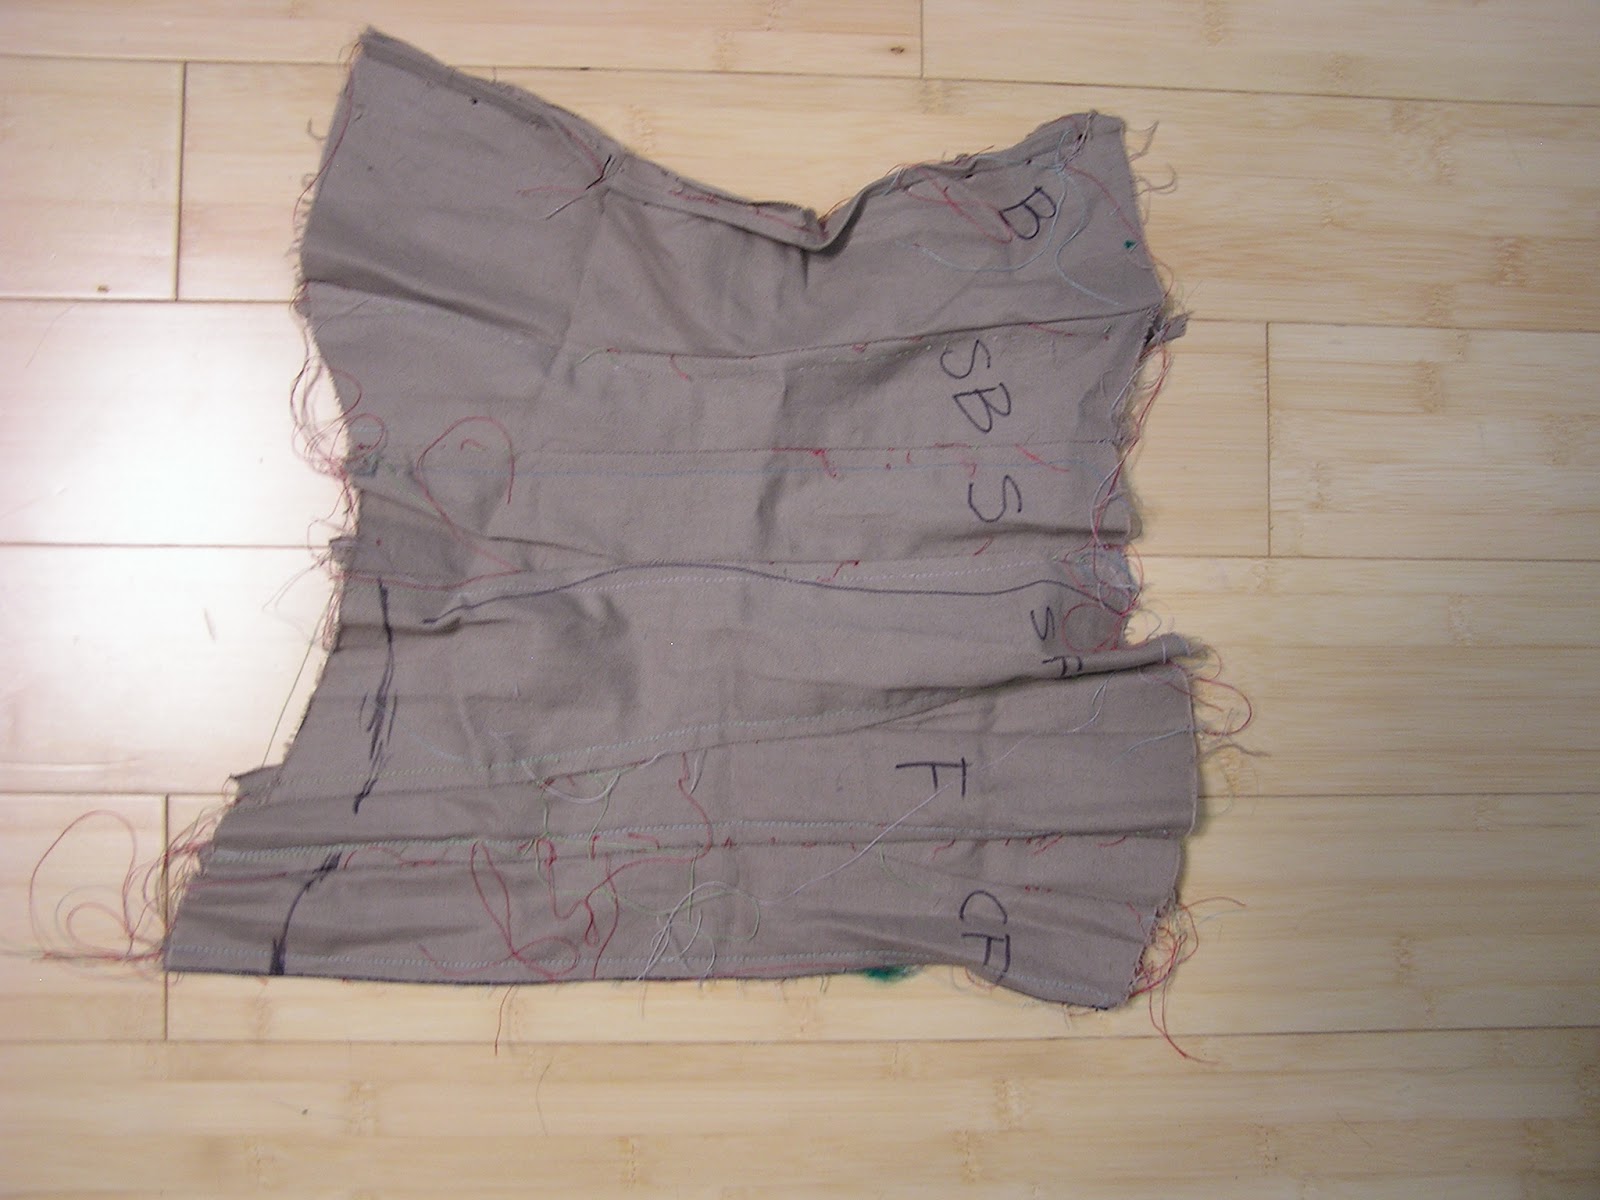 |
| My muslin. |
I then cut the pieces out in the silk, the coutil, and a quilting cotton that I am using for a lining. I machine basted the silk to the coutil and thereafter treated them as one layer. The first thing you have to do in making a corset is to attach the busk. I bought a kit based on the size indicated for my measurements, which unfortunately included a busk that was too long. I did not want to have to re-order the busk, so I used wire cutters to score the metal and then bent it back and forth until it broke. I then snipped off the corners and wrapped it in electrical tape to keep it from wearing through the fabric. Definitely not the most elegant solution, but I figured that you won’t see it.
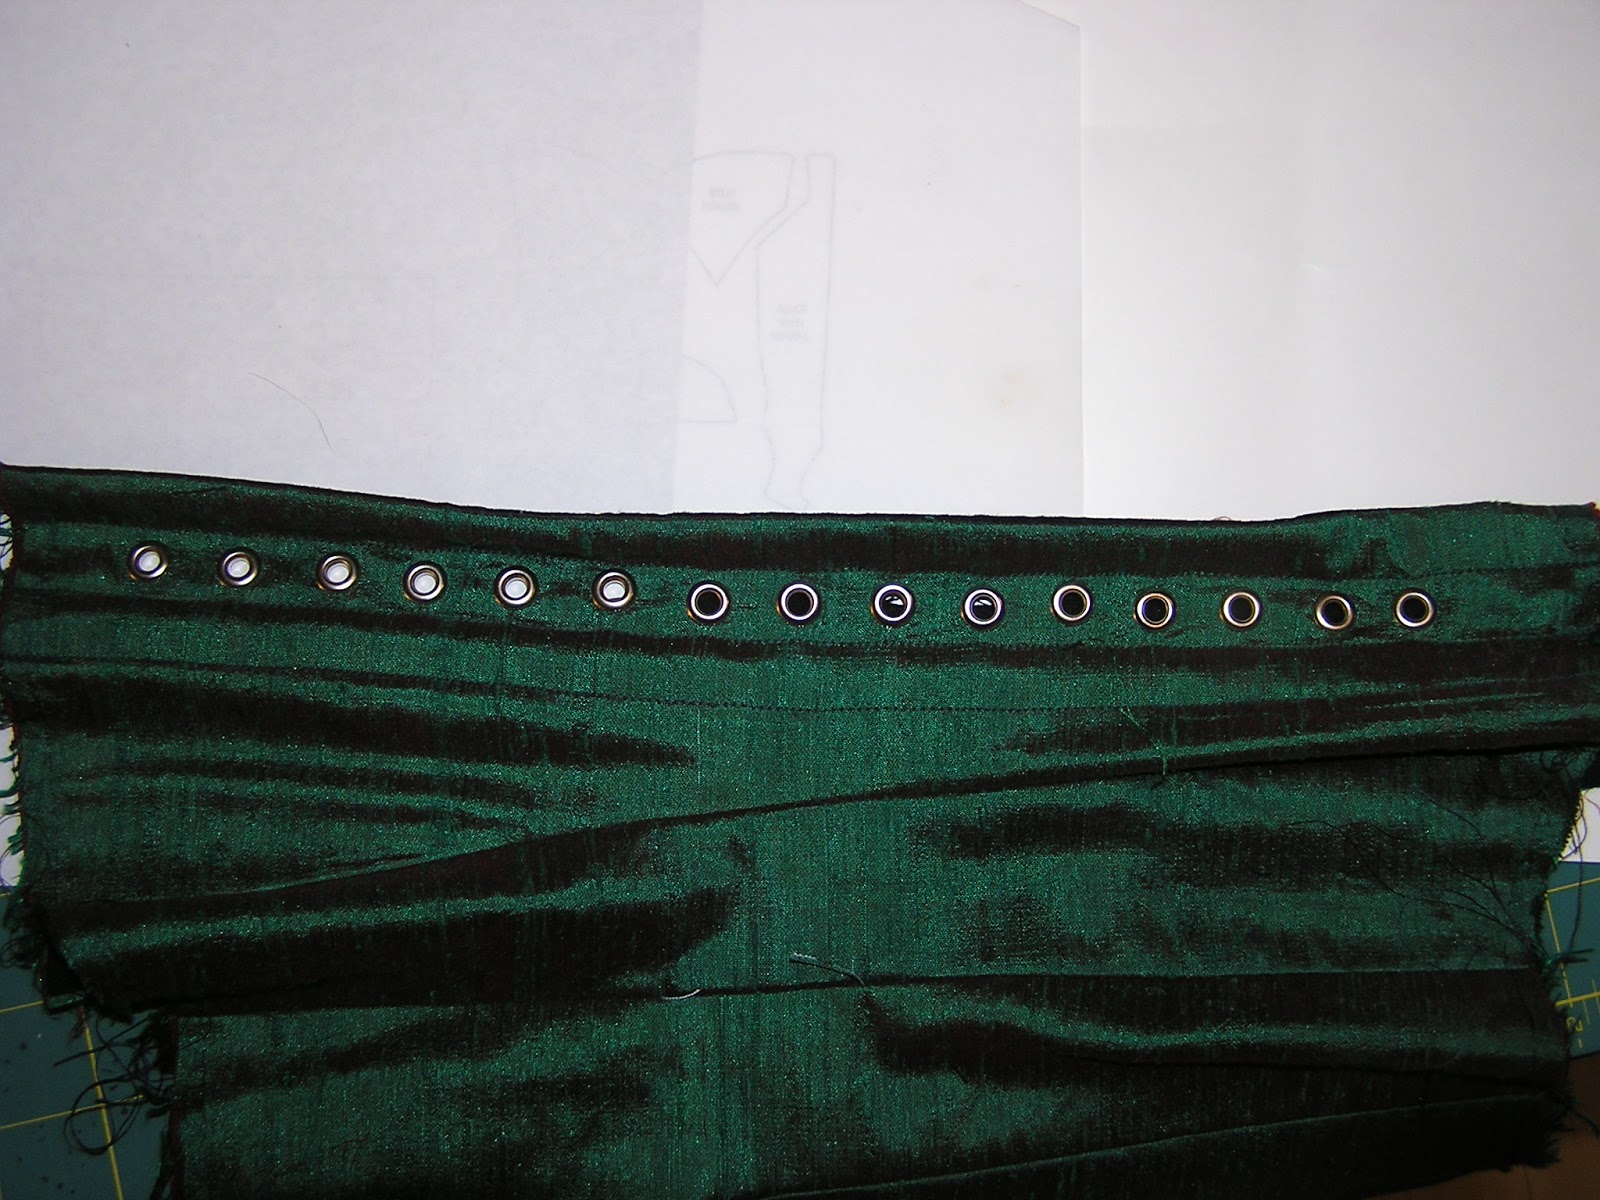 |
| The inserted grommets. |
Next, you have to prepare the back for the grommets. After I finished sewing the channels for the bones, I realized that I did not have a tool to insert the grommets. It was not included in the kit, and I wish I had realized that I needed it because I had to order it separately. Making a corset has a different feel to it than most garment sewing– you end up using all sorts of tools that you don’t usually use for sewing.
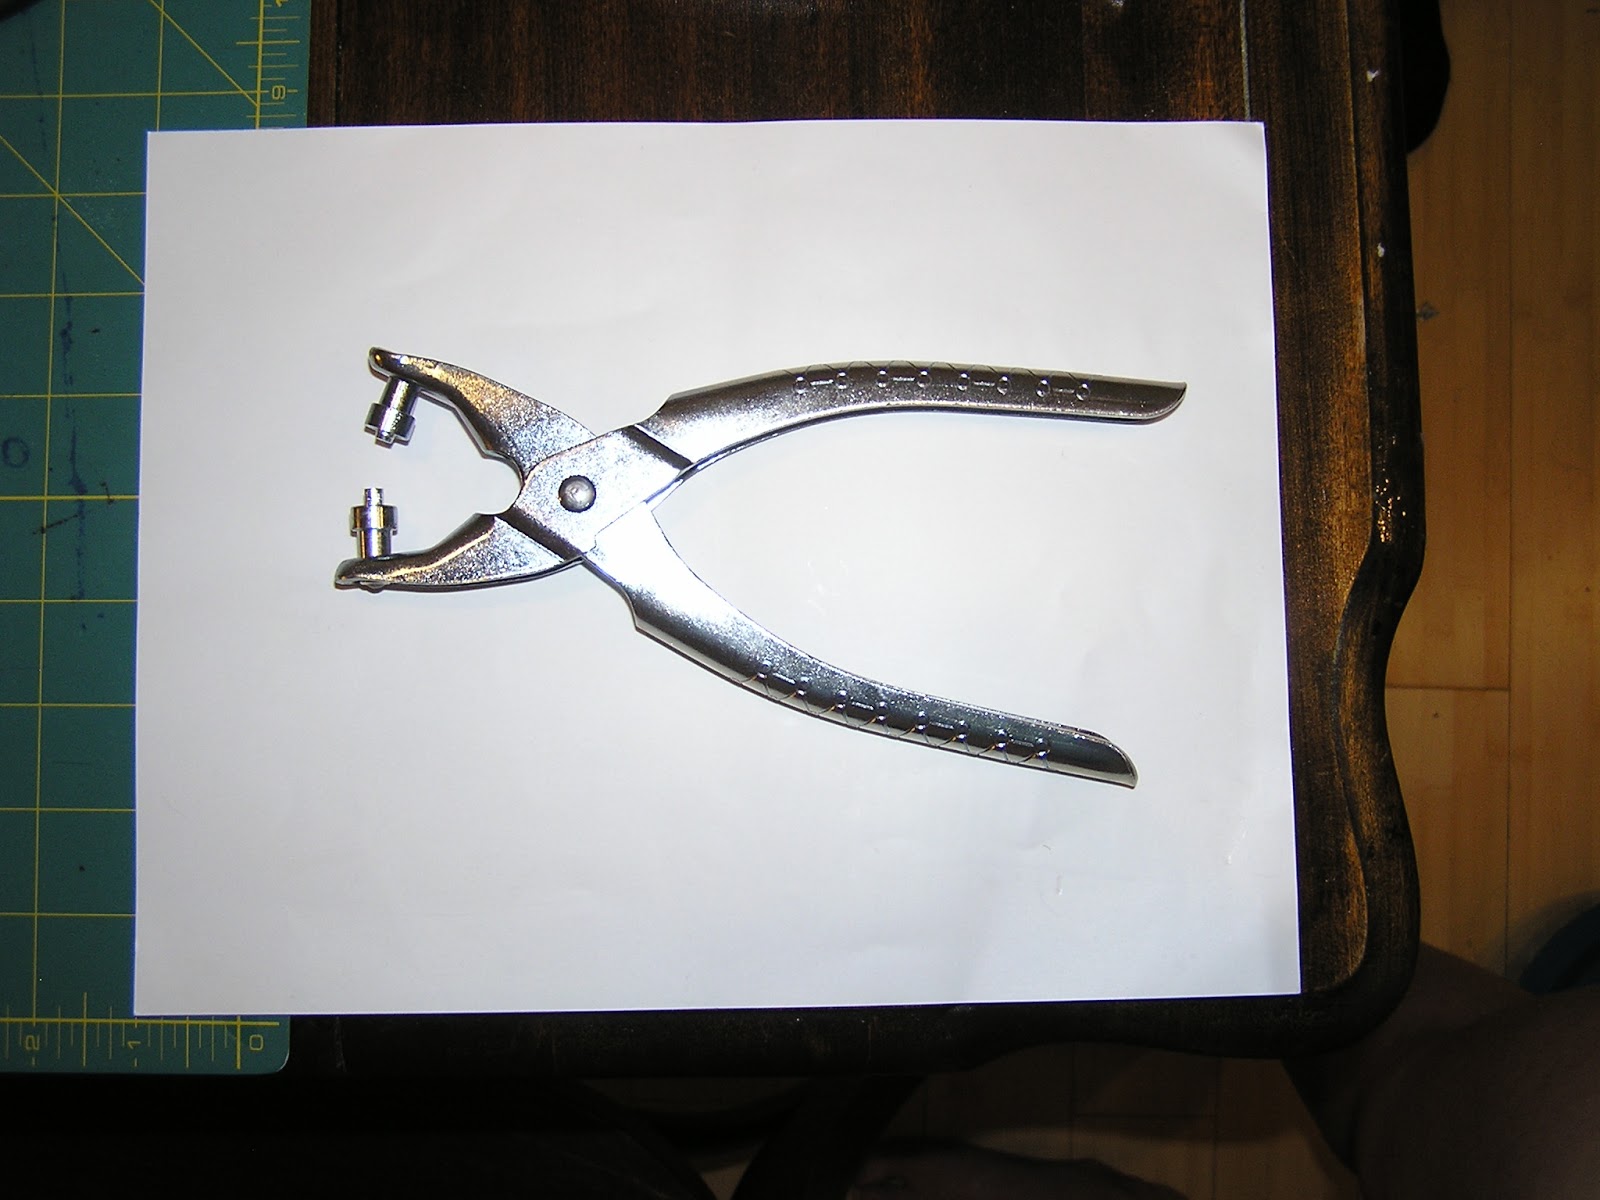 |
| Grommet tool |
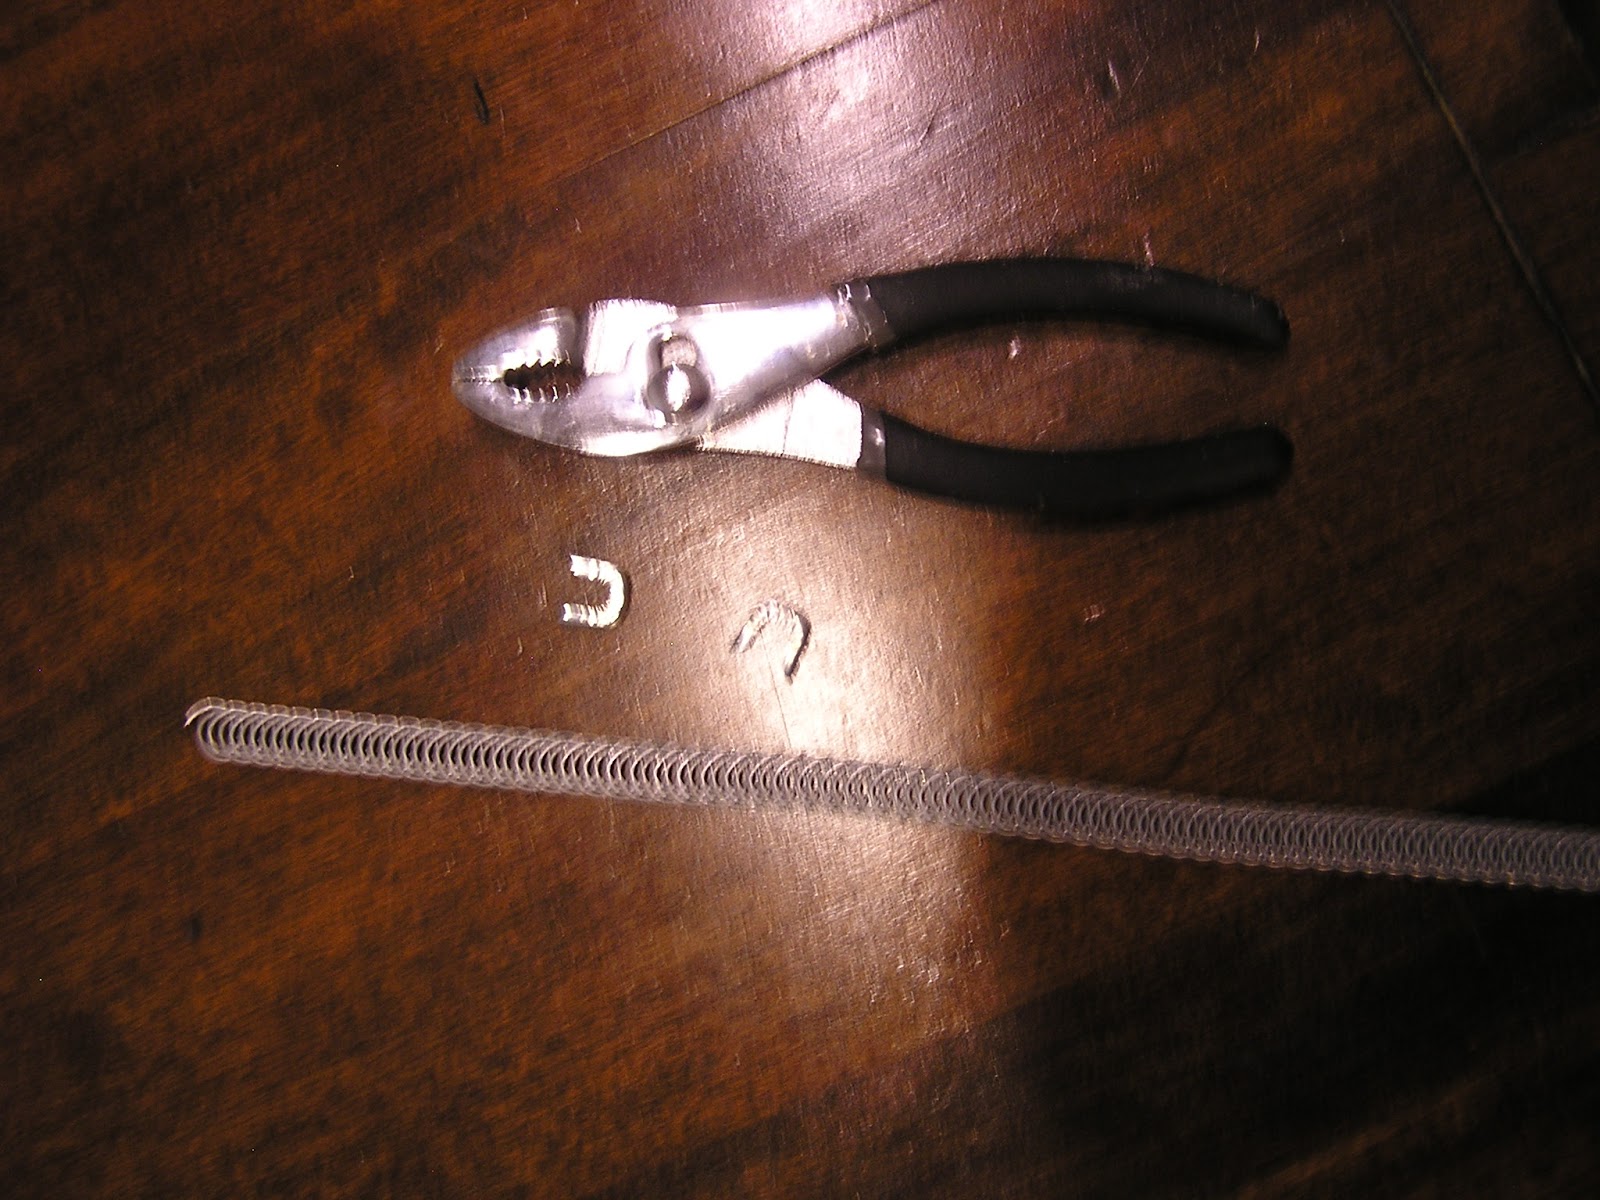 |
| Pliers for adding caps to the bones. |
Once the busk and back lacing are done, you can sew the rest of the corset together, keeping the front and back lining out of the way. At this point, the pattern advises you to do a final fitting before sewing the lining. I actually found that the fit did change from my test muslin, possibly because the coutil has zero stretch. At this point, I also marked my natural waist, which is reinforced with twill tape.


The lining is then sewn to corset and boning channels are stitched between the two layers. I ended up not using the bones that came with my kit, and instead cut my own bones from a roll of spiral steel that I had. The corset is finished with black bias binding made from the lining fabric.
 |
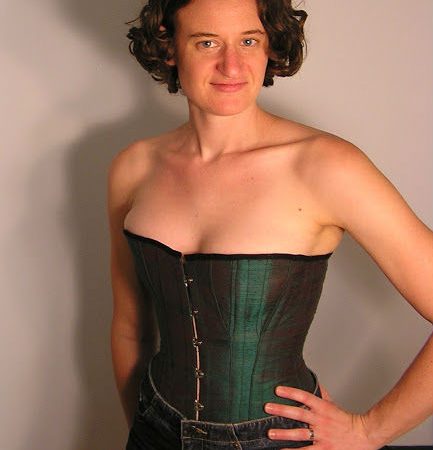
| Fitting still not totally perfect. |
As a final touch I plan to “floss” my corset. Flossing is embroidery on corsets that is decorative, but also serves the practical function of keeping the bones from sliding up or down. I will keep my flossing pretty simple, but check out this sampler for more decorative examples.
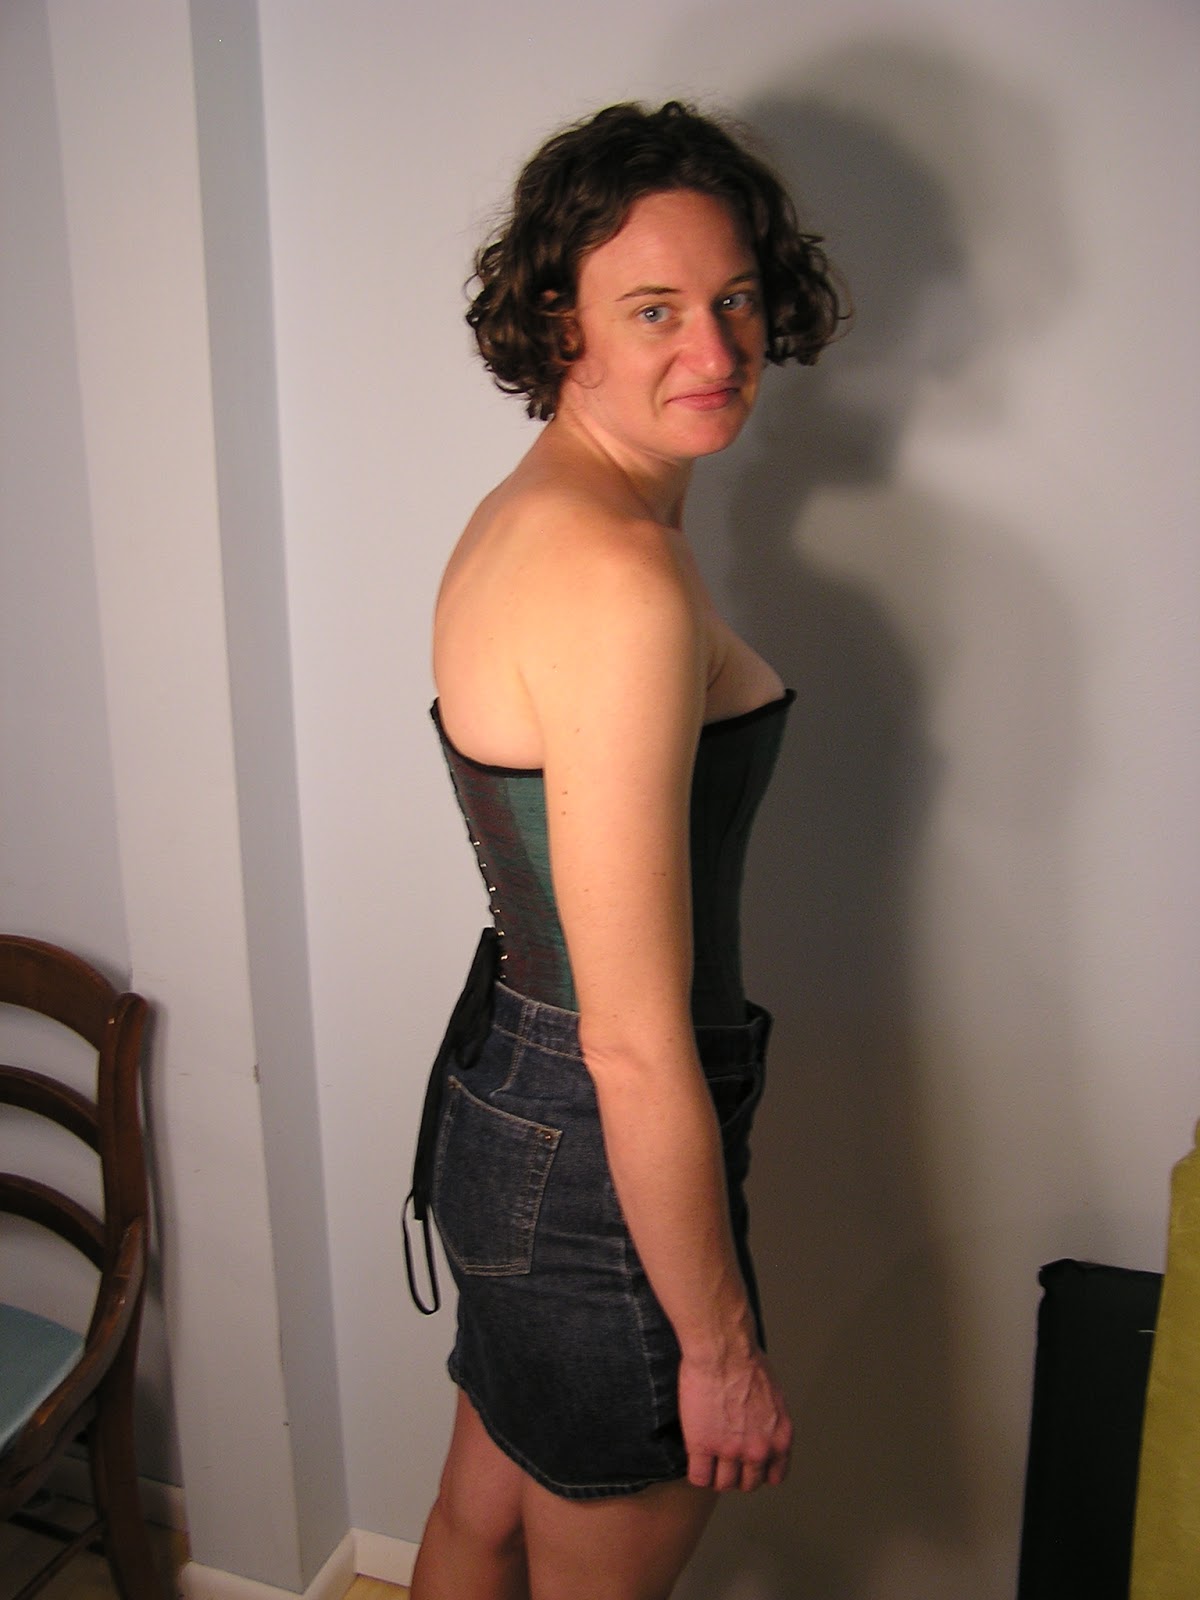 |
| Not sure what expression I am making in this pic. |
This is definitely not an everyday garment, but I had a lot of fun making it. I do have plans to wear it; I will be using it in my Halloween costume. In theory, I think that you could wear this is a more modern way (like maybe with jeans and a jacket), if it was the right sort of event.