OMG, it’s finished!!! To get caught up on my process so far see my first and second posts. The main construction of the dress went pretty fast, but then I didn’t work on it for months. One thing I noticed was that sewing this dress has made me care about the state of my nails more than I ever have in my life. The satin is so smooth that it snags really easily. As a result, I had to keep filing my nails and even my skin to avoid snags.
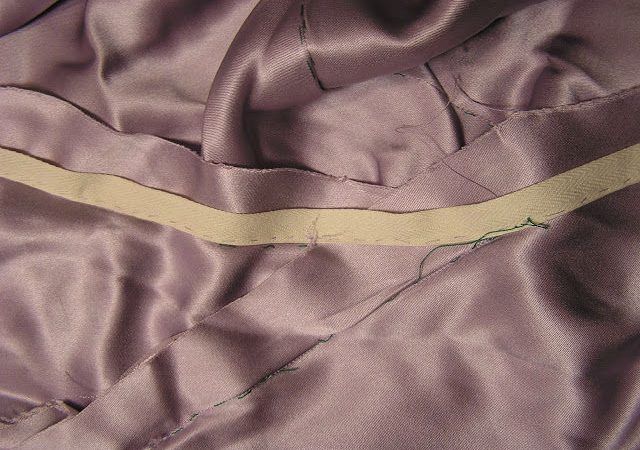
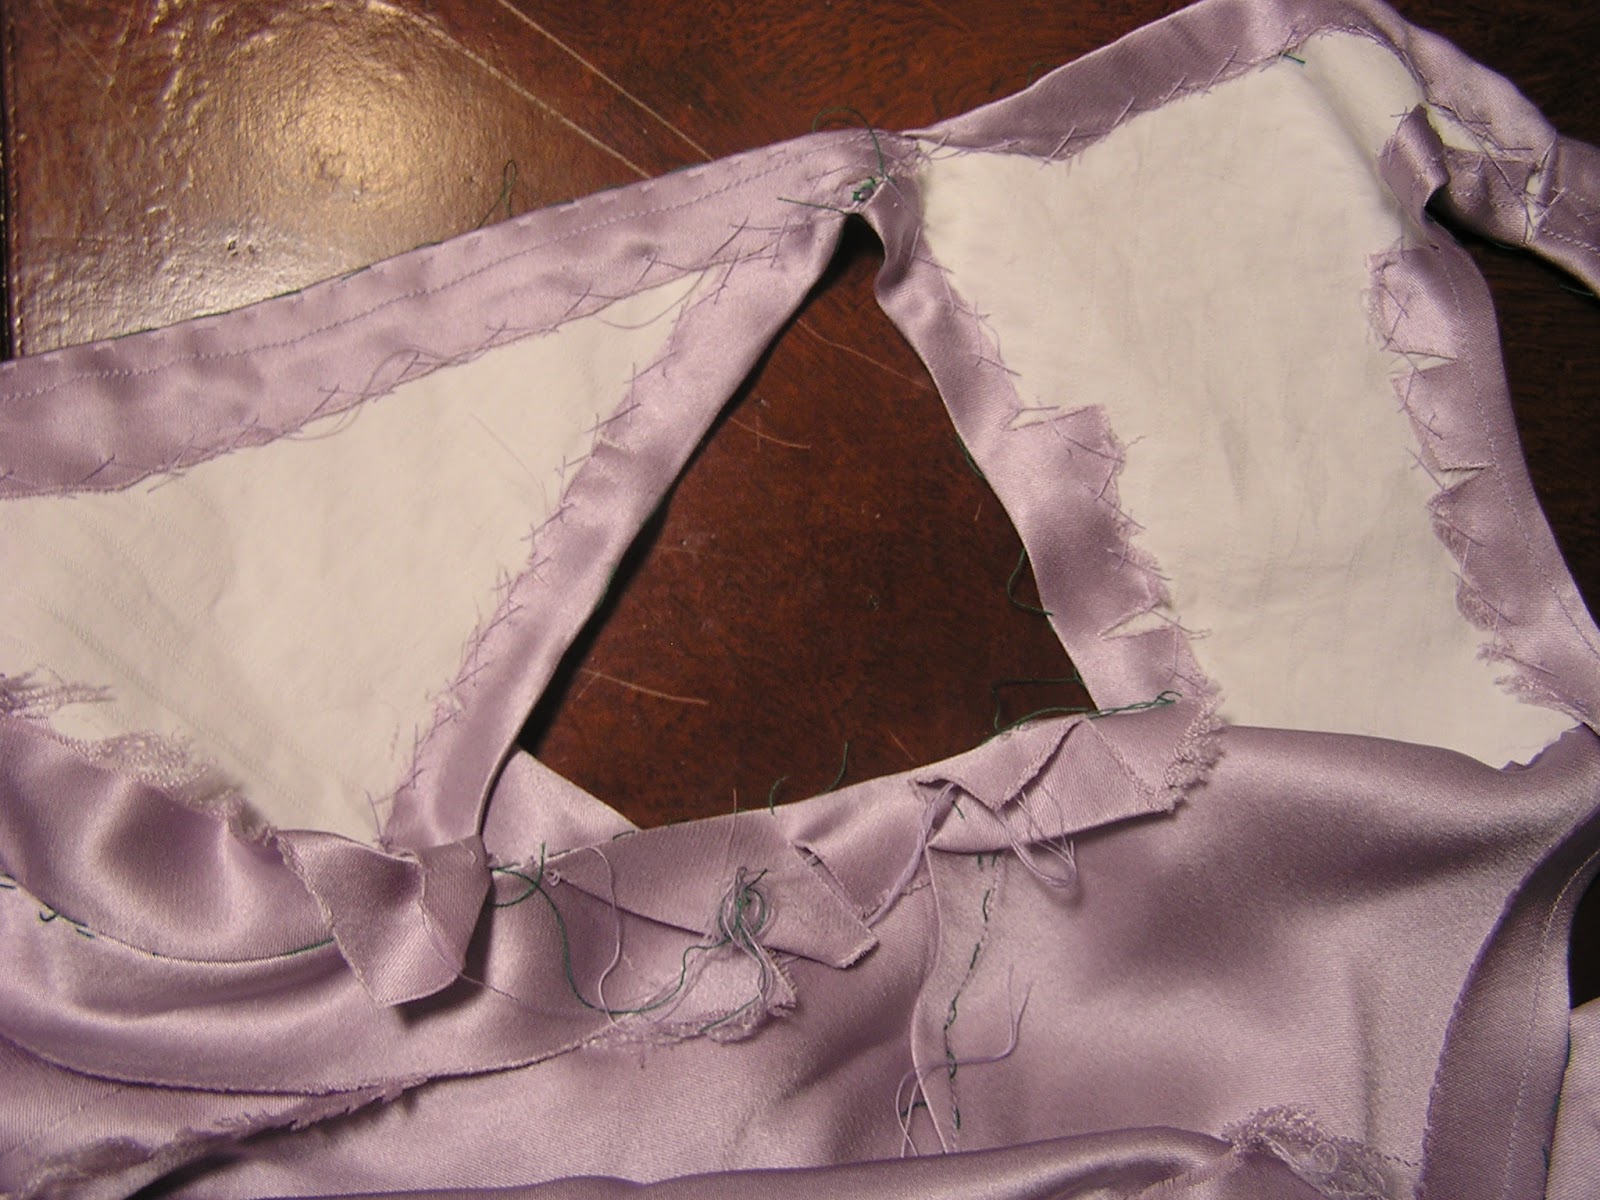
As I showed in my previous post, I thread-traced the seam allowances, so the seams were sewn by carefully aligning the seamlines. Once the seam was sewn, I removed the tracing thread. There was a bit of tricky sewing inserting a gore into part of the skirt, but luckily I pretty much got it right on the first try. My silk is actually sturdy enough that unpicking is not a disaster. In addition to using twill tape to shape and support the back neckline, I made a back stay out of a shirting cotton to reinforce the straps. They are quite narrow, but they support the entire weight of the dress, so I felt they could use some extra support. (Ordinarily, I could add extra support using a waist stay, but the low back precludes this.)
Once the dress was constructed, the large seam allowances were pressed back to essentially form cut on facings. I used pinking shears to tidy everything up a bit. The lining was then hand stitched to the “facings” using a fell stitch. The final step was the hem. I had to wait to do the hem because I had to buy the shoes that I am going to wear at my wedding. I had Mr. Kiri Knits help pin up the hem evenly.
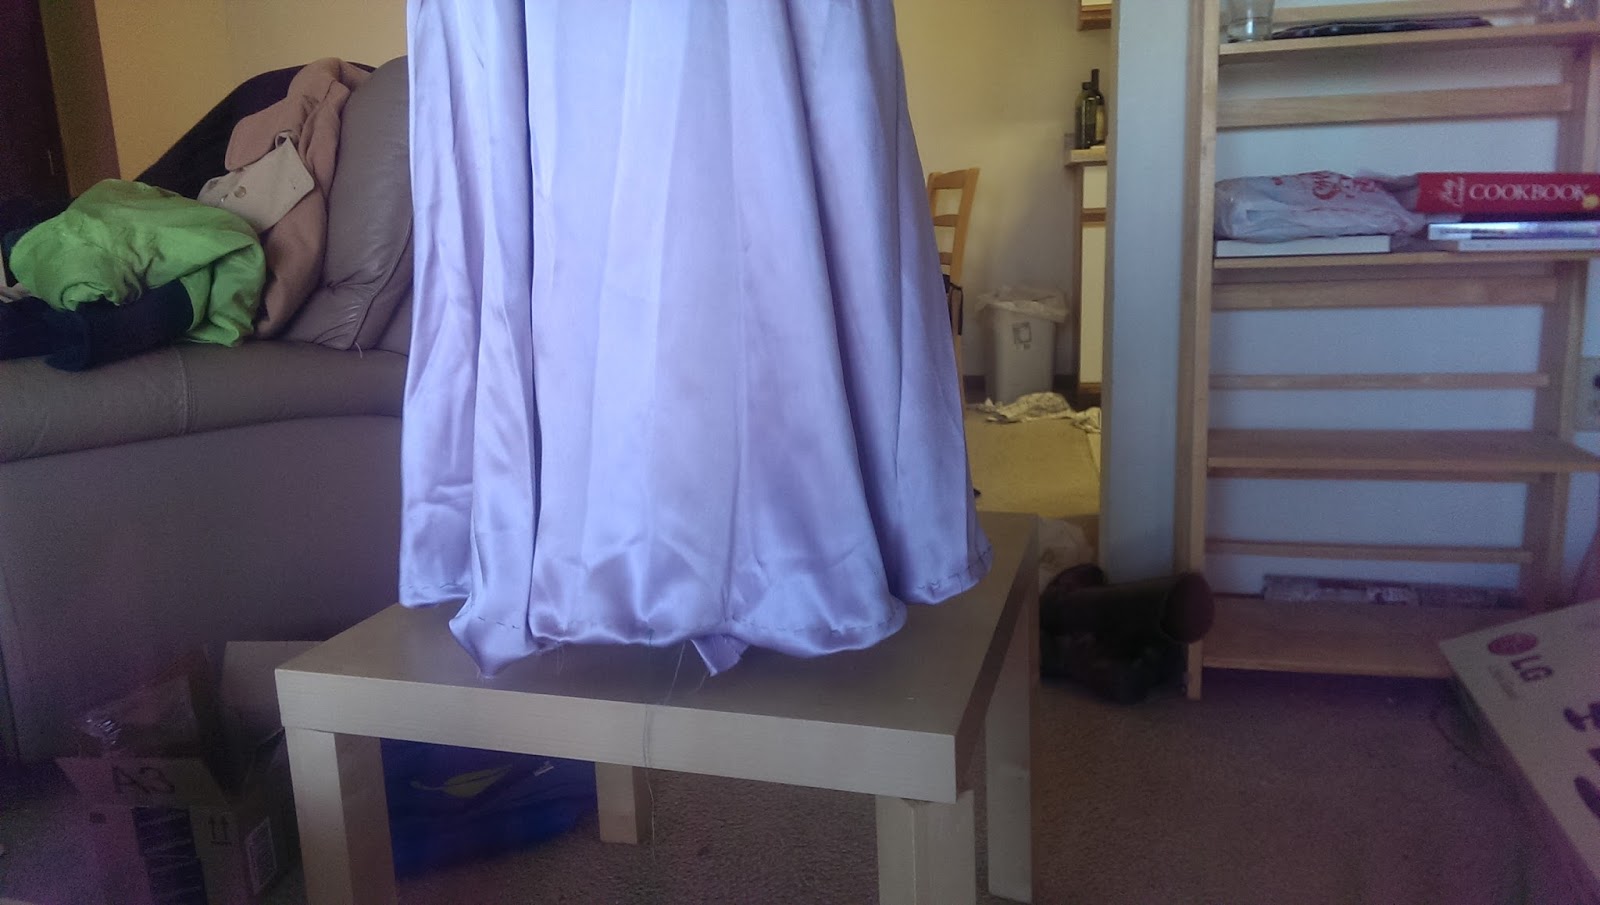 |
| This is the hem being evenly pinned up. |
The hem actually gave me more trouble then I thought it would. First, of all, I thought I had left a generous amount for the hem, but in some places I barely had enough. I used horsehair braid to give the hem a bit more structure, then it was blind catchstitched up. I had never used horsehair braid before, and when I finished, I realized the braid showed way too much. To fix it, I undid the hem, put a strip of fabric behind the braid them re-sewed the hem. It does look too pretty on the inside, but I think it looks better on the outside.
I can’t believe it’s actually finished! It has always been a dream of mine to sew a wedding gown and now I have. Unfortunately, the full reveal pics won’t be forthcoming for awhile– I’m not getting married until May. My wedding sewing is basically done; the only thing I have left is one elbow length glove.