I naturally like to make presents rather than buy them. Sewing gifts can be tricky if you are making a garment because it’s hard to guess measurements. Luckily, I keep a file of the measurements of my close family members to make my job easier.

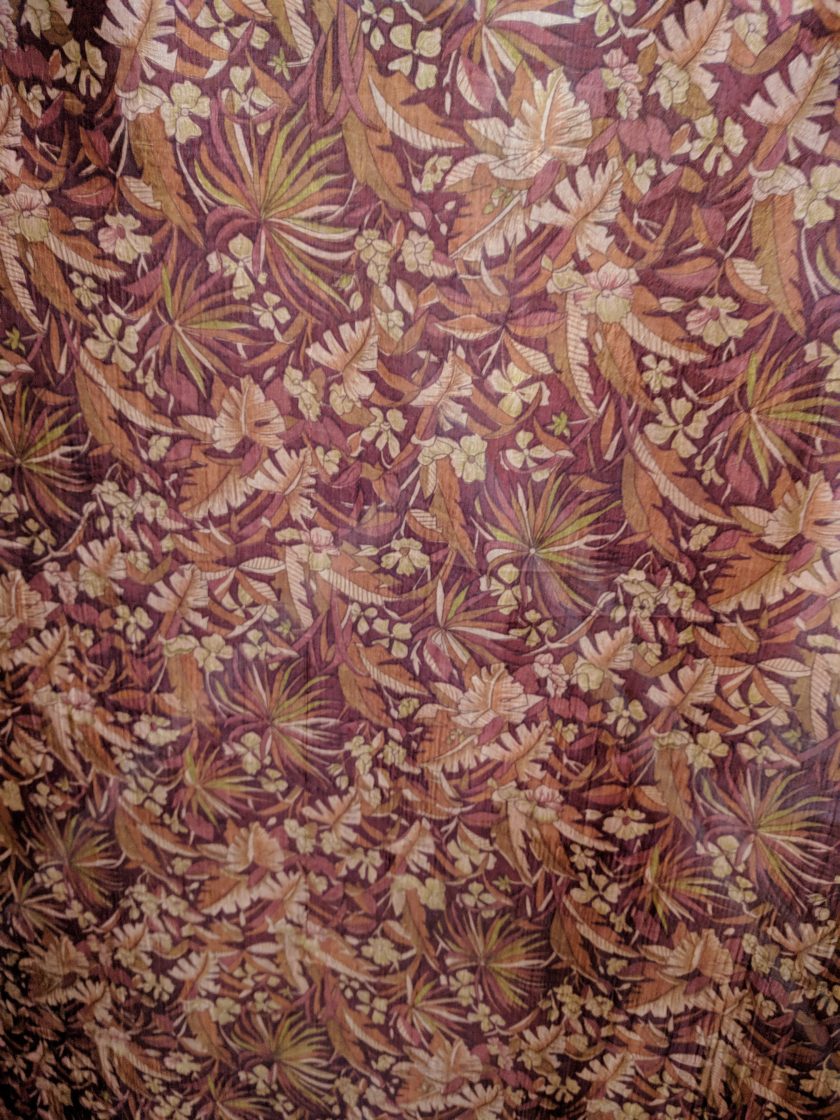
My mom’s present was something that I had been thinking about ever since I was sent this sari for free when I ordered several others. It was not my color, but I knew right away it was my mom’s color. When she was visiting this summer, she saw the sari and immediately noticed it. That was when I made up my mind to make her a top out of it.
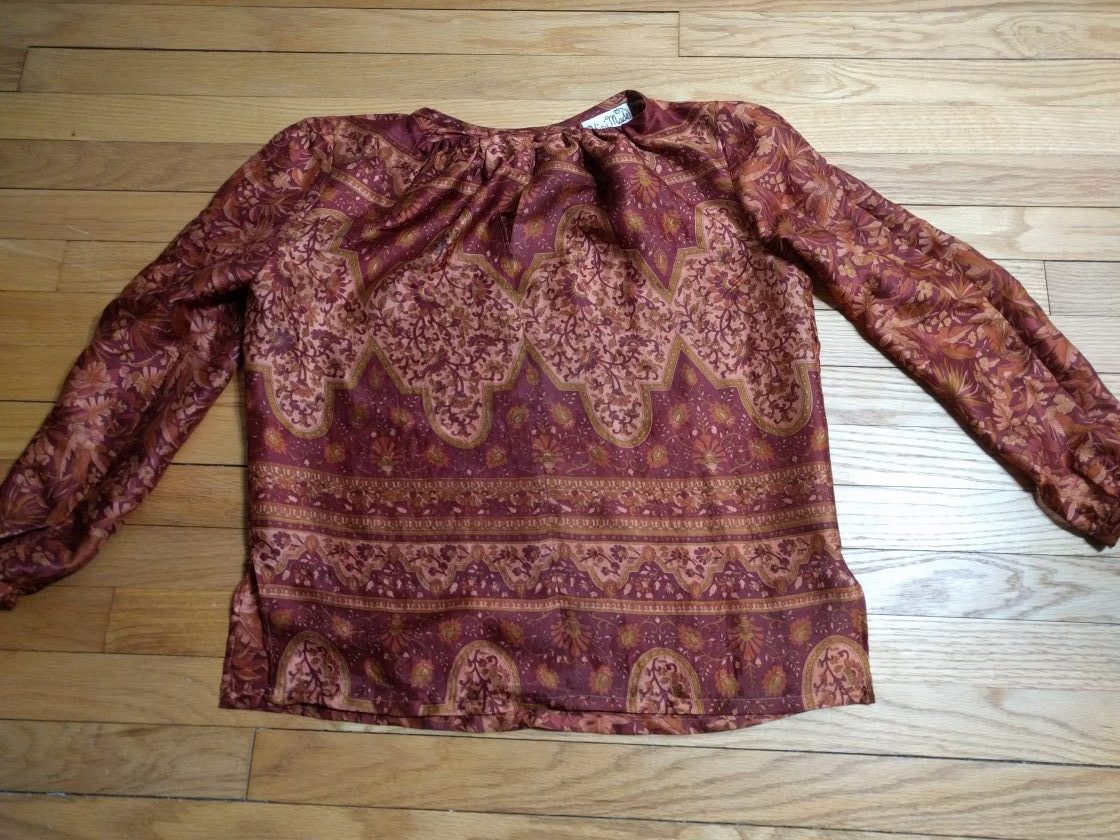
My next step was to search my Burdastyle stash to find an appropriate pattern. I settled on 11-2015-108 because it was fairly simple. The biggest change I made was to lengthen the sleeve and add a narrow cuff with a button closure. (The original had a tie closure that I did not like.) One interesting thing about this pattern is that the sleeve is a hybrid of set-in and raglan. The sleeve does not go all the way to the top as with a traditional raglan, but the sleeve is two pieces and is shaped like a raglan sleeve.
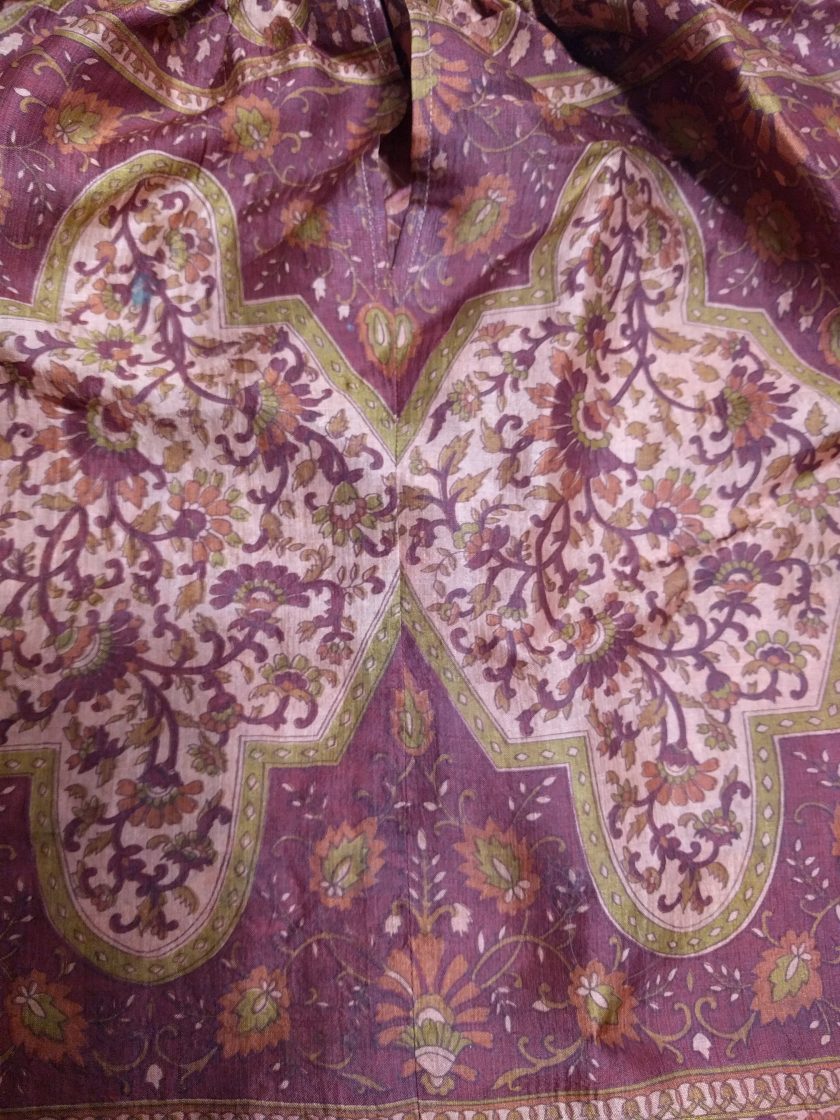
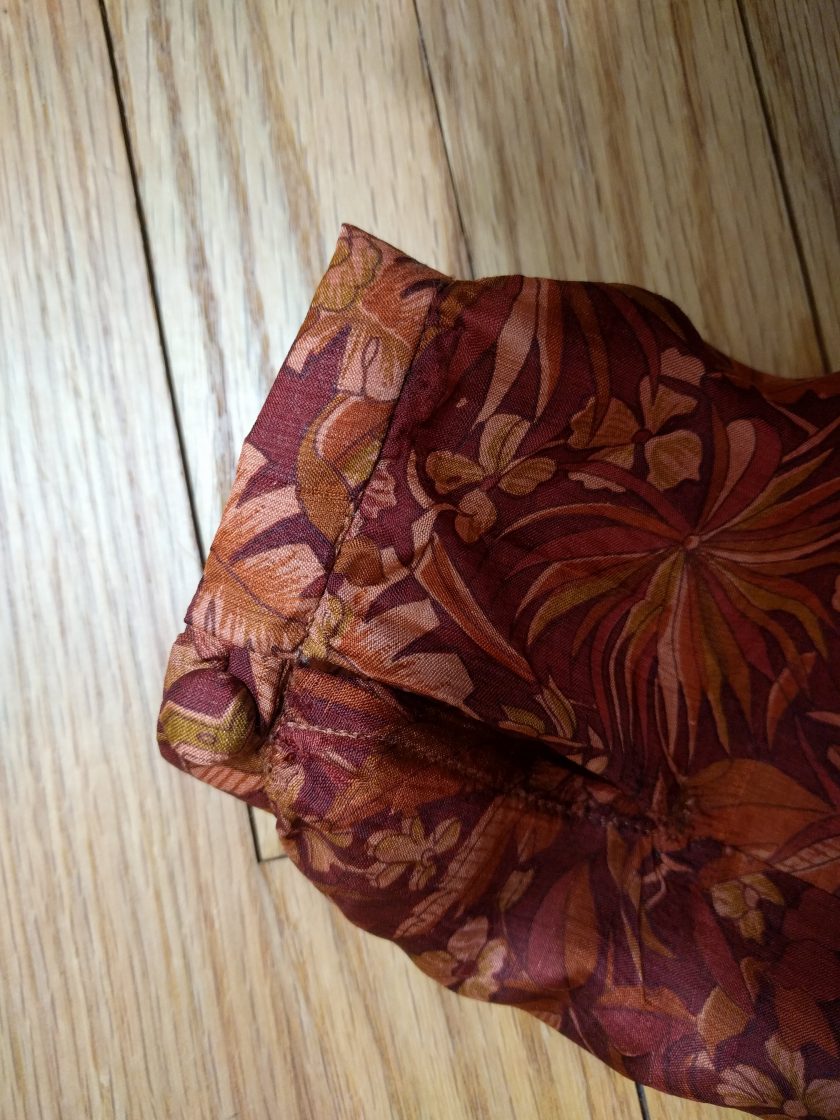
After considering the pattern placement, I decided to use the larger scale design on the pallu section of the sari as the front. I pattern-matched the front so that the front seam would be minimized. The straighter seams are finished with French seams and the rest are serged. The neckline is faced with a bias strip that is slip-stitched down. The buttons for the neck closure and cuffs are covered buttons made with the sari fabric. I interfaced the fabric before covering the buttons because I was worried about the thin silk fraying.
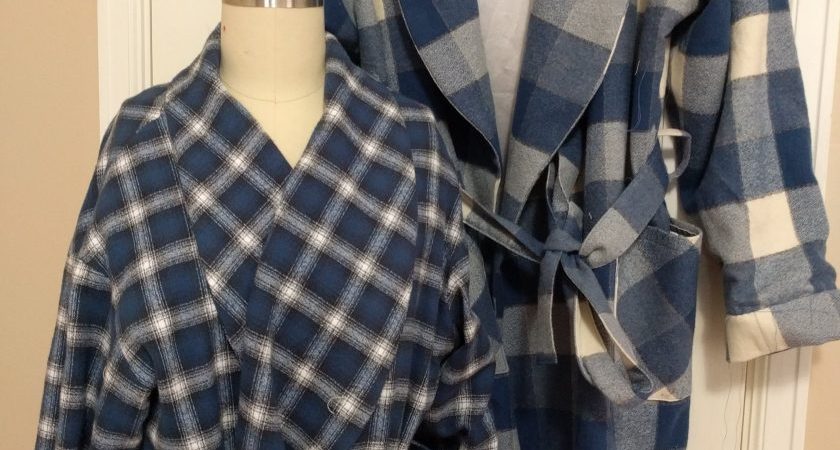
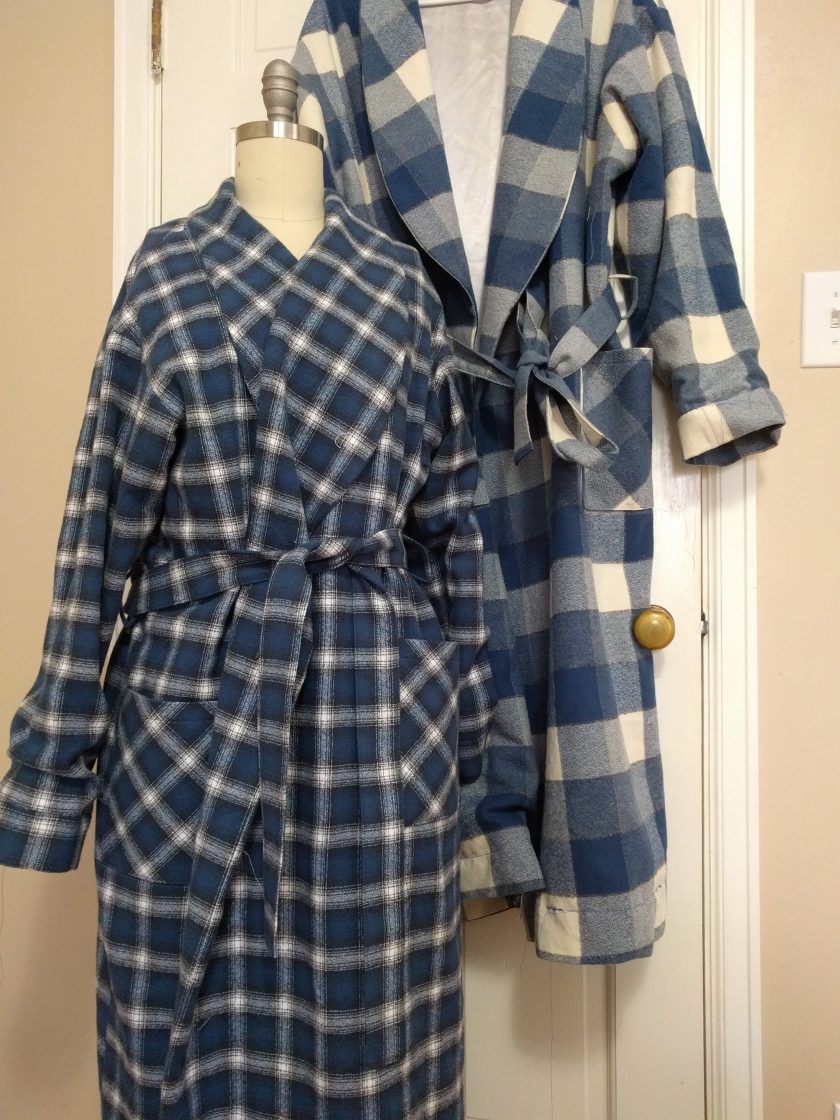
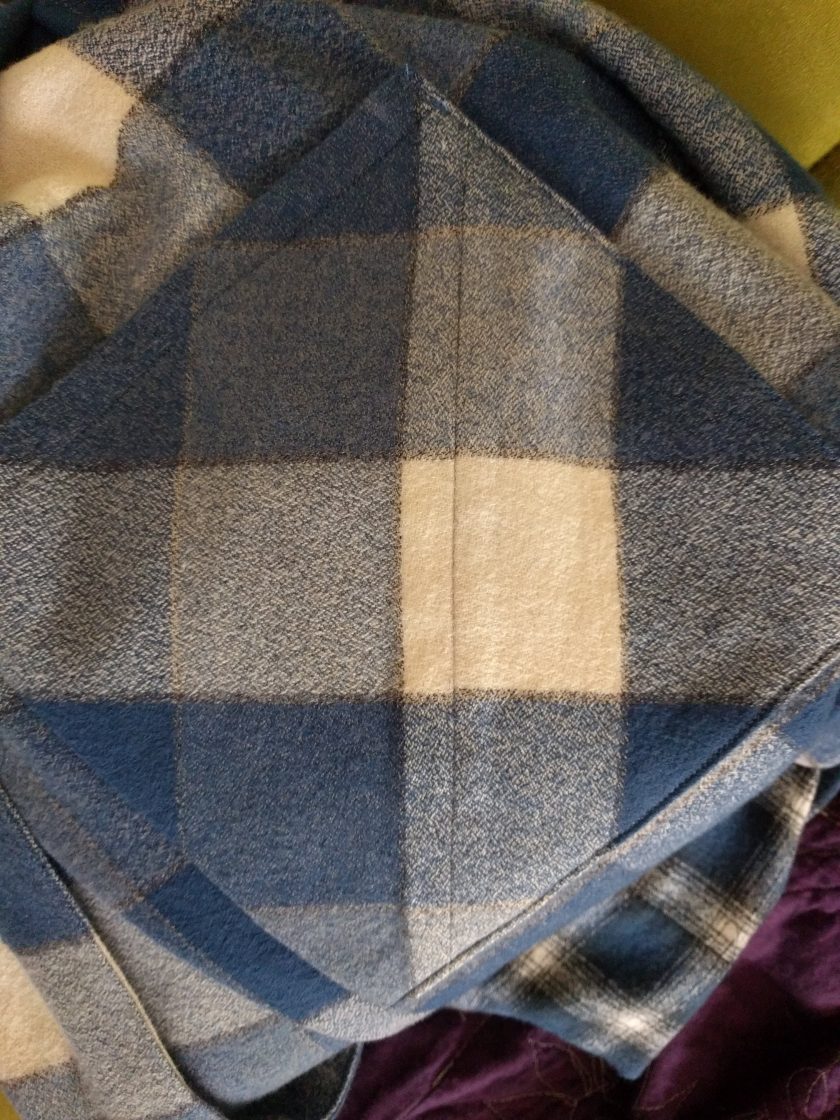
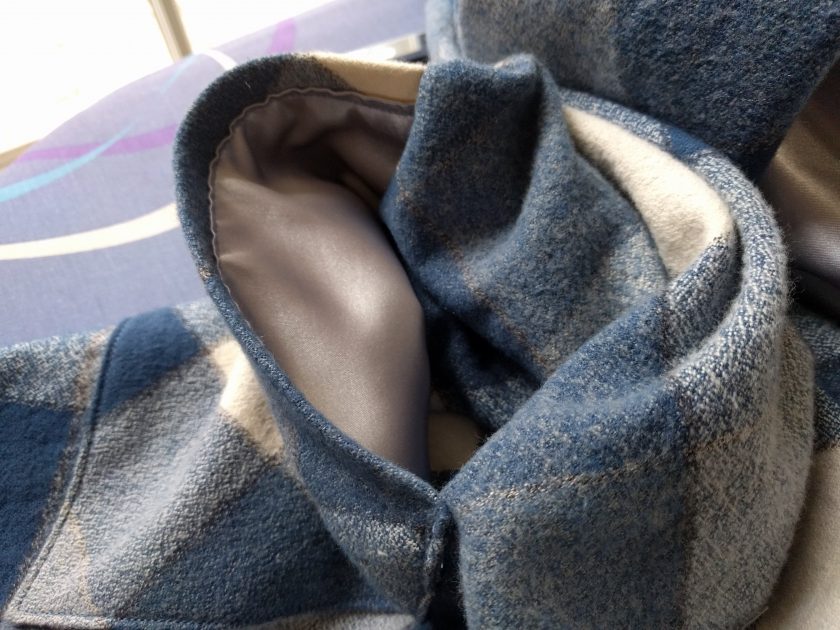
My second set of gifts is a good choice if you don’t have precise measurements for the recipients. Last year, I made my husband and I matching robes for wearing around the house. We really like ours, so I decided to make a set for my sister and her fiance. For their robes, I used two different colorways of Kaufmann mammoth flannel. It is a medium-weight flannel that has worked really well for our robes.
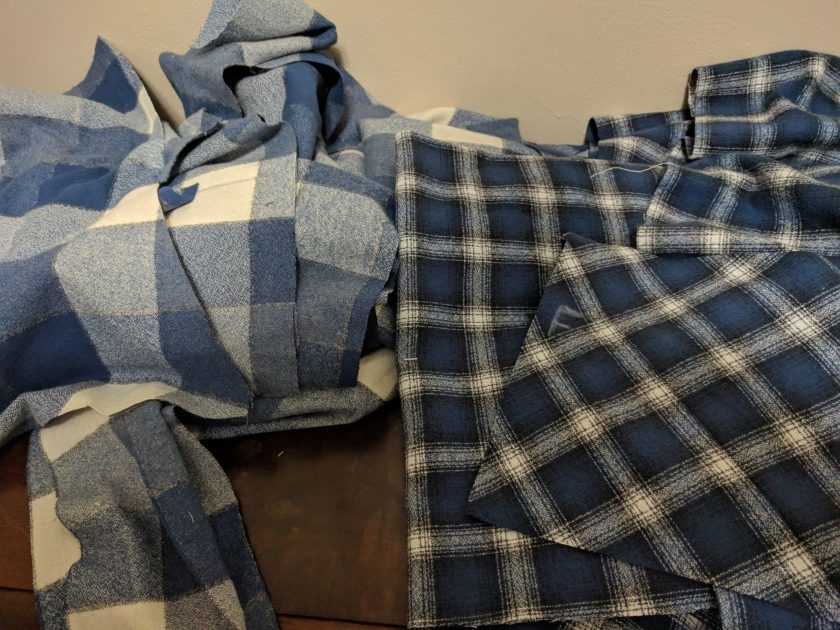
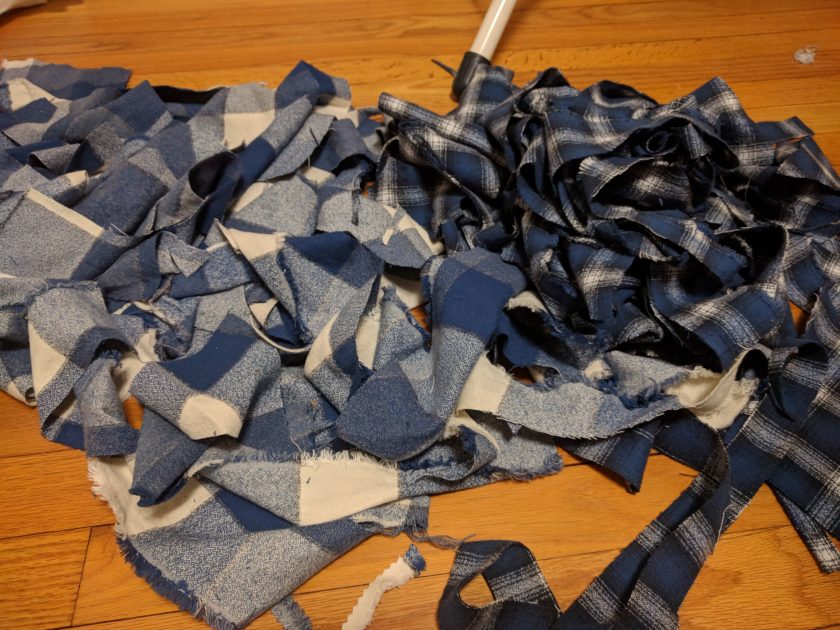
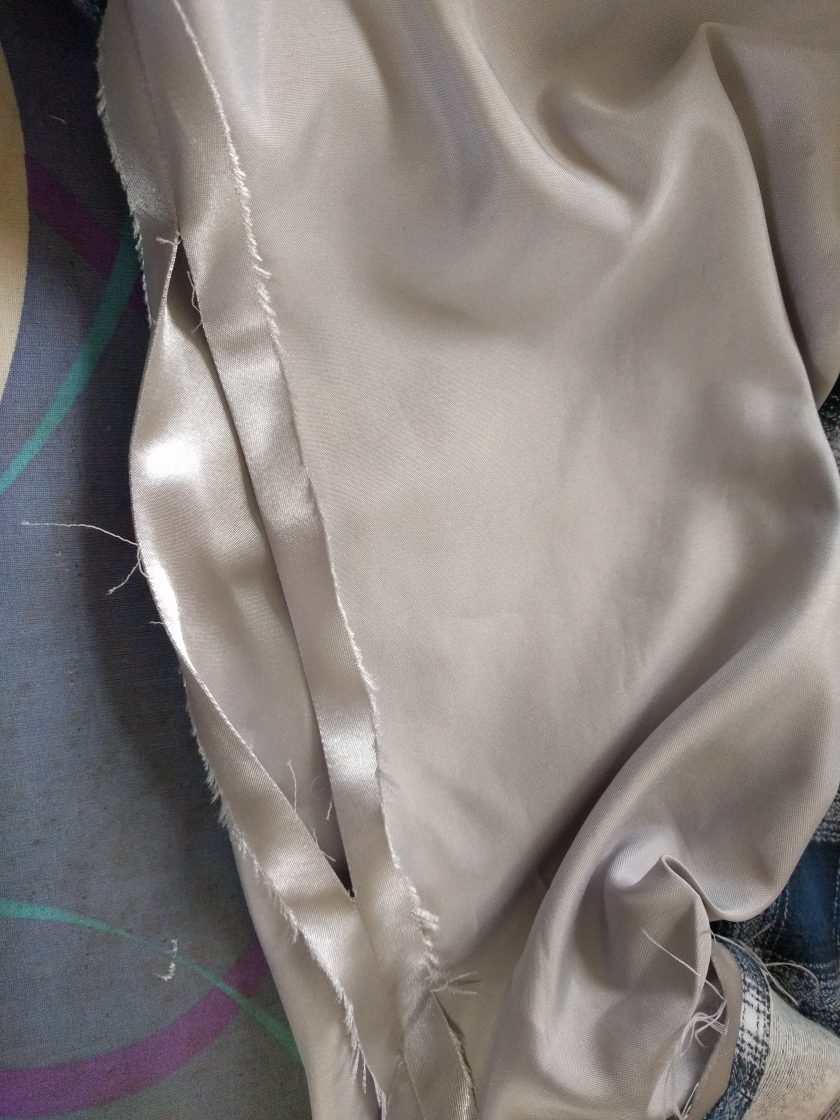
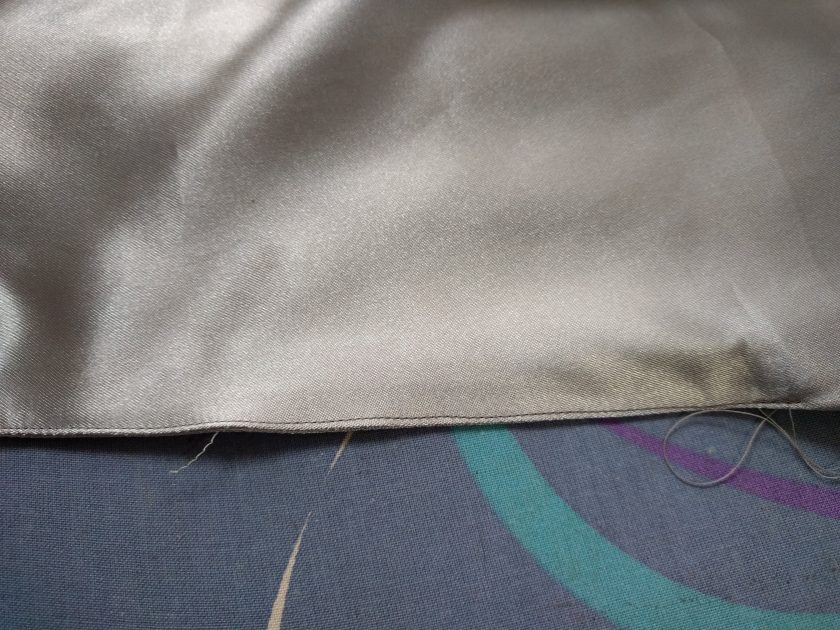
Unfortunately, I really should have bought at least an extra half yard of each fabric, and as a result, I had to piece in a couple places. I also was not able to do my usual pattern matching. I have noticed that most RTW does not bother with pattern matching, so I’m trying not to beat myself up about this. I used my usual light interfacing, Pro-Weft Supreme Light-weight Fusible Interfacing from Fashion Sewing Supply. The lining is a poly satin. When I made the first set of robes, I considered using silk, but I really wanted the robes to be something that could easily be tossed in the washer and dryer. The poly has worked fine so far, so I went with the same stuff.
The pattern I used is (PATTERN), but I think about any robe pattern would work. The original design did not come with lining pieces, so I had to draft those. It was totally worth the extra effort, though, because have a silky lining makes the robes feel really luxurious. The lining is fully bagged (sewn in by machine). Lining a bathrobe like this is exactly the same as lining a coat or jacket, but if you mess up it is far less noticeable, so this could be a good way to learn the technique. I have included some pics of the process.

The one thing that I wanted to change about my robe was lining the pockets, so the pockets of these robes were lined with the same satin before being sewn on.
I hope all the recipients enjoy their gifts!