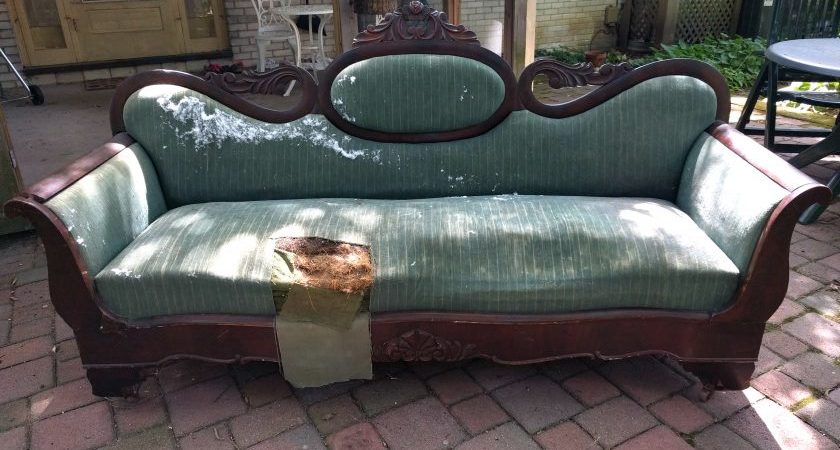
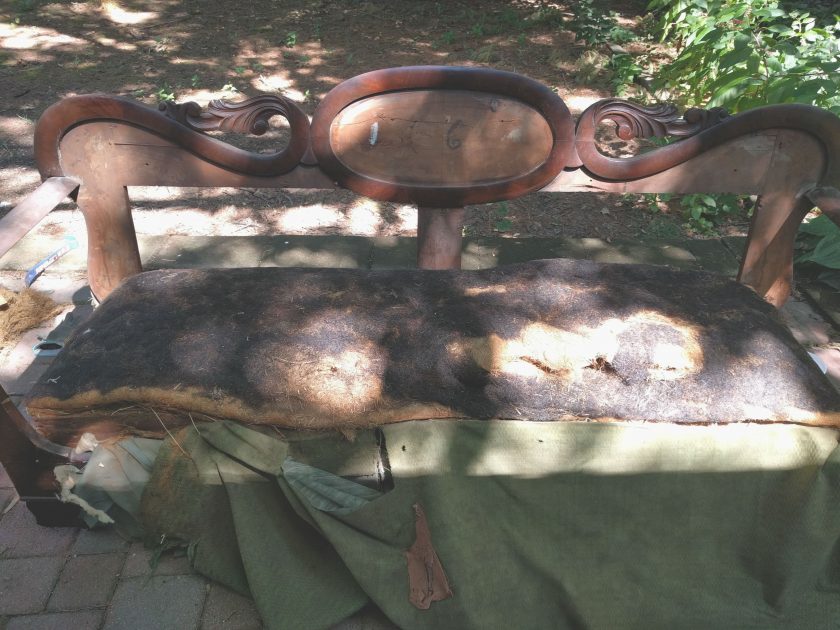
Aside from fabric, I really don’t like new stuff. I would much rather buy something off of Craigslist or from an estate sale than buy something new. I like that old stuff has stood the test of time. It makes me feel good that I am not causing more resources to be drawn from the earth. So when I spotted my dream couch on a Craigslist add a year or so ago, I was not about to let it’s dilapidated condition deter me.
Procuring this couch was quite the adventure as we had to drive 40 minutes out to a farm, and then somehow fit it in the back of our Outback. It fit, but only just barely and the back door wasn’t really closed. It also started pouring rain as we were trying to maneuver it into our car. We made it back home safely, but I’m pretty Wade was feeling less than enthusiastic about the whole endeavor.
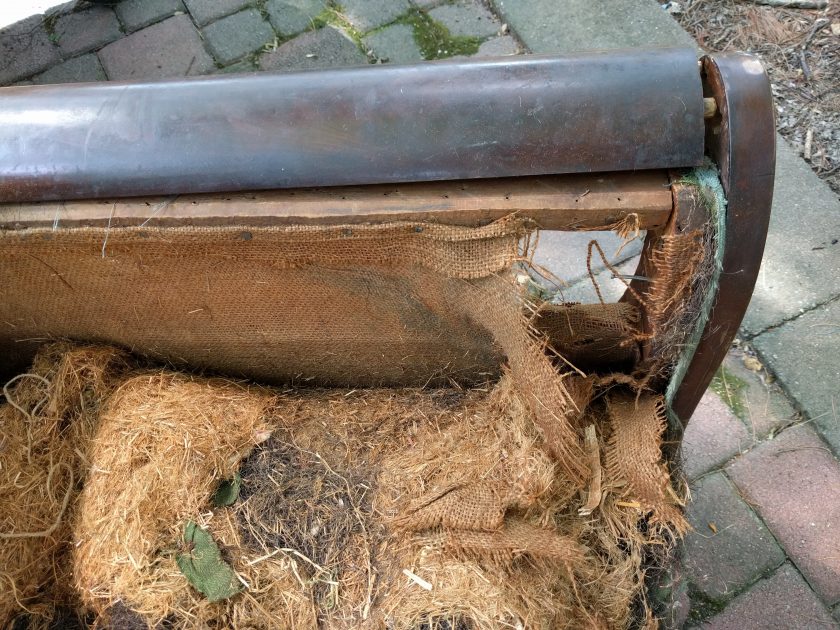
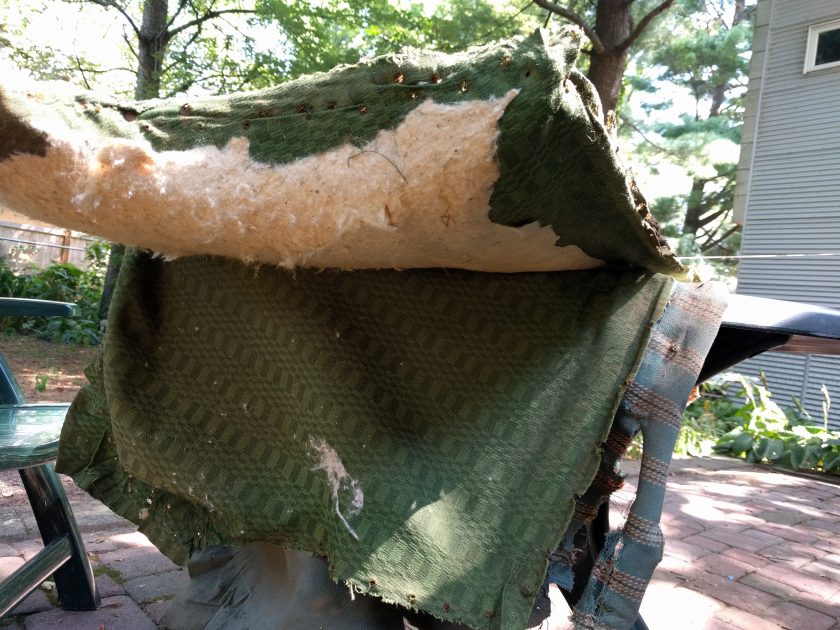
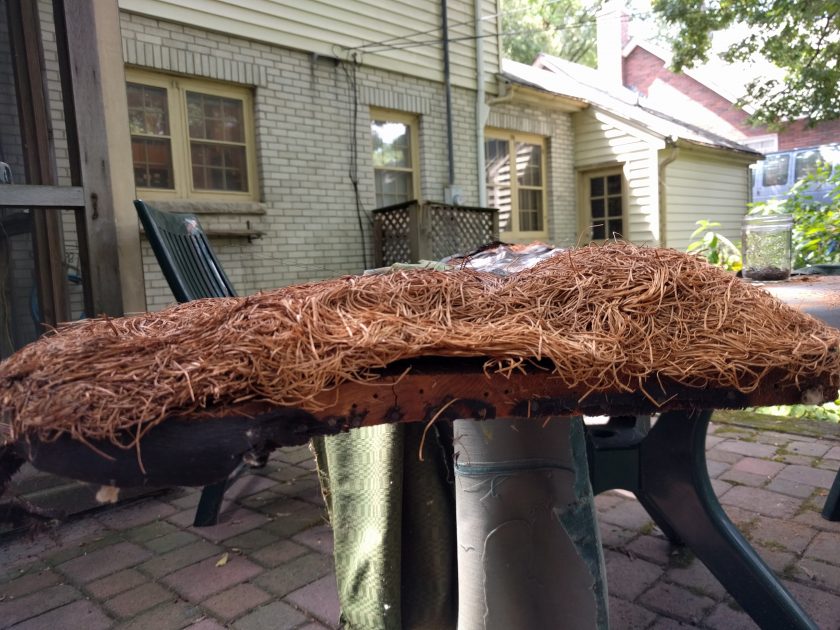
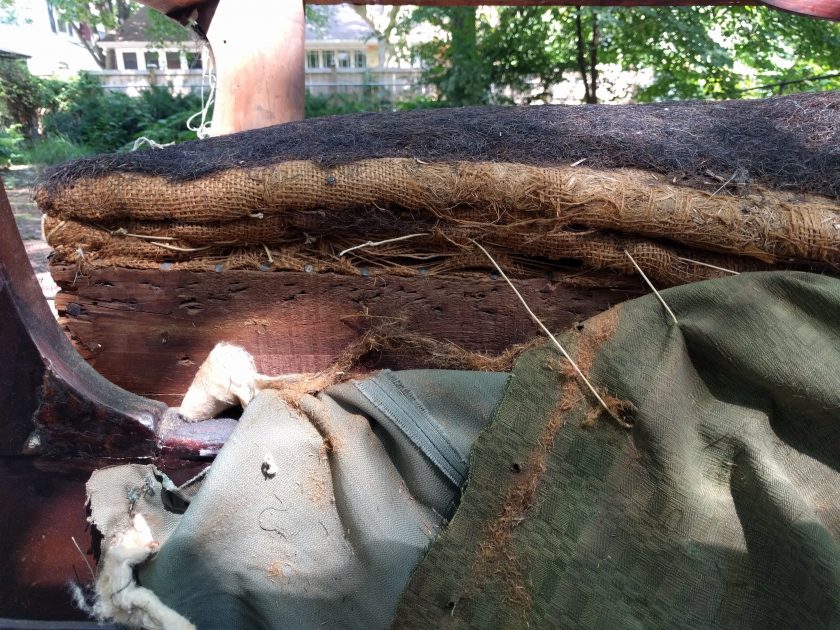
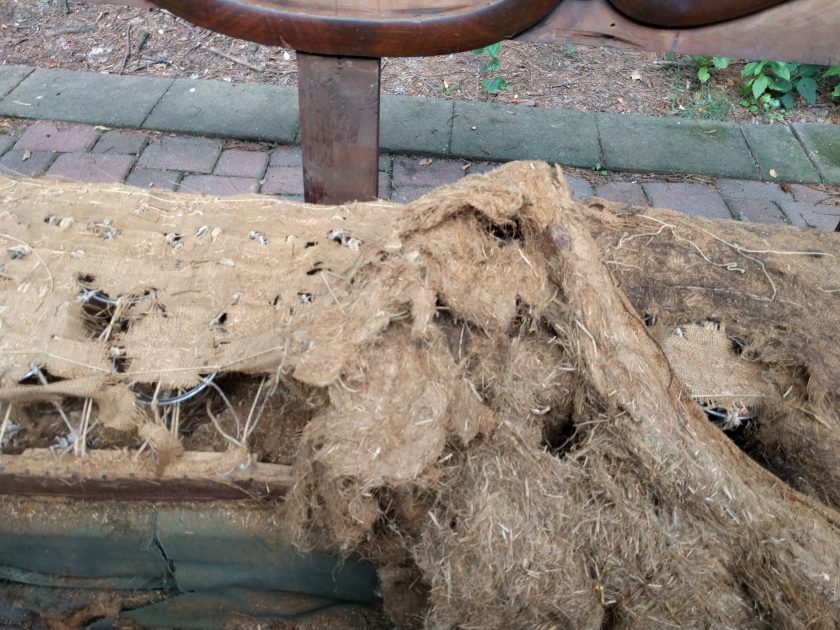
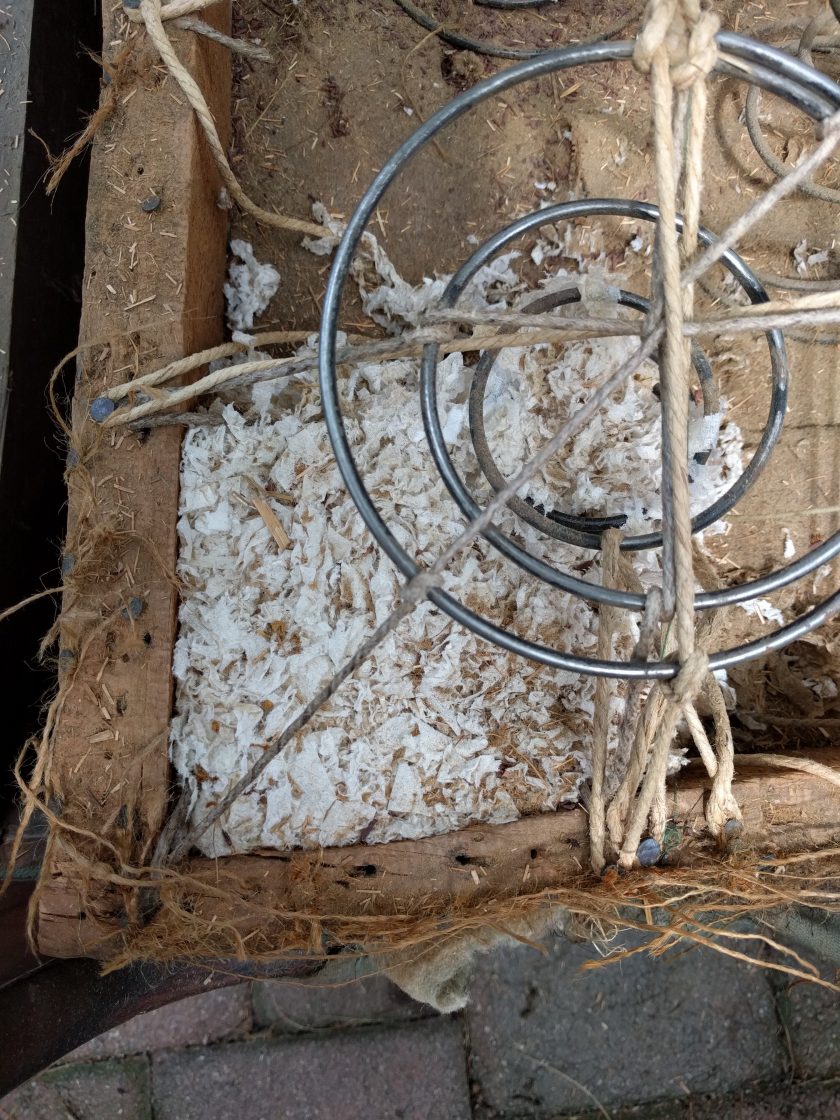
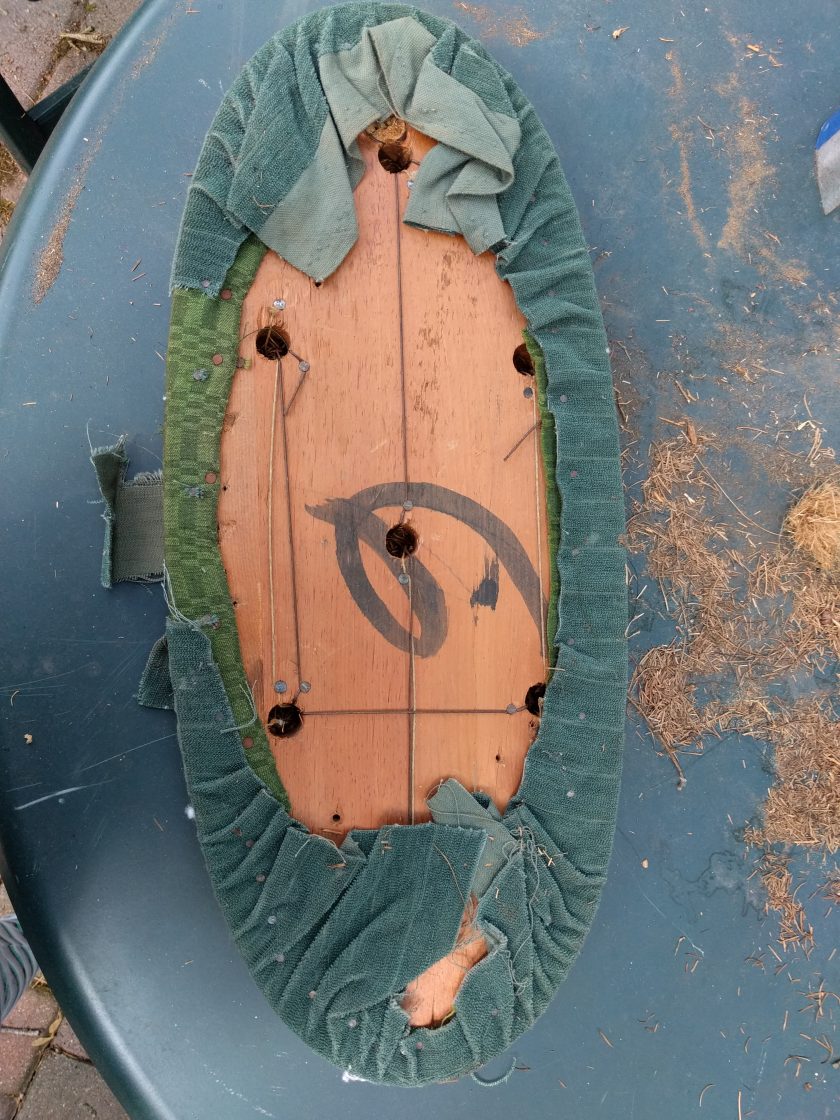
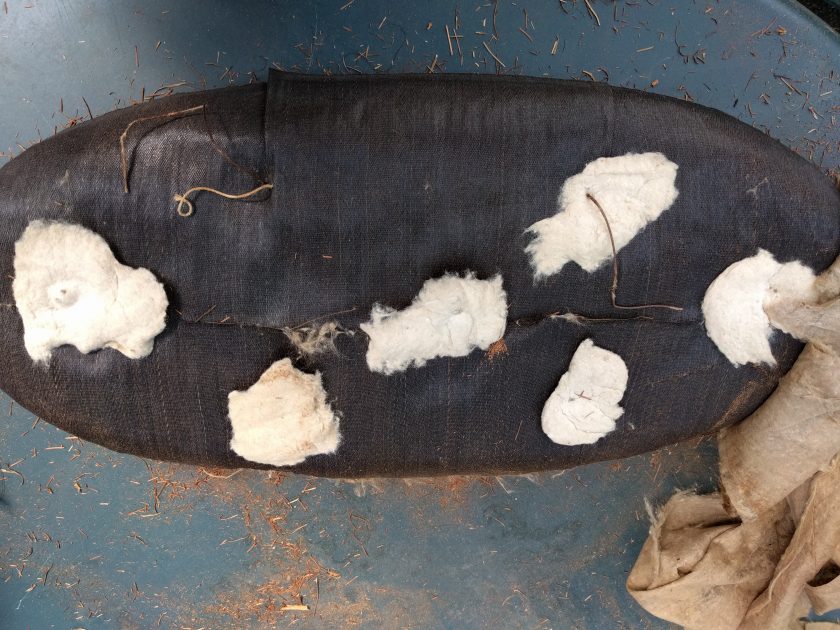
Since I was basically attempting this project with no idea what I was doing, I started with a little practice project by re-upholstering two chairs. That went ok, and I learned some things that I can apply going forward. The couch is a much bigger project, and I wanted to document everything really thoroughly as I disassembled it to aid me in putting it back together. I love learning about how things are put together, so there are a ton of pictures in this post. If you are not that interested in seeing the guts, please scroll to the end.
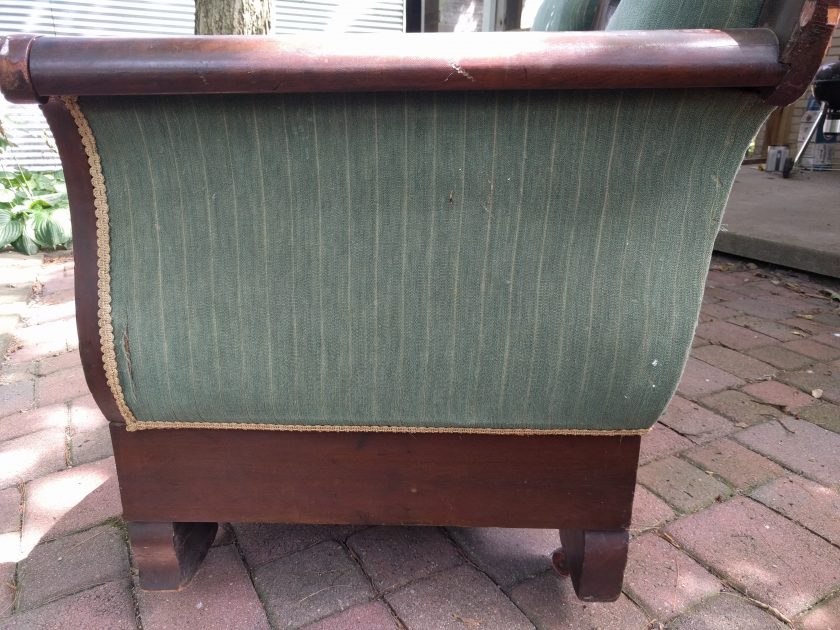
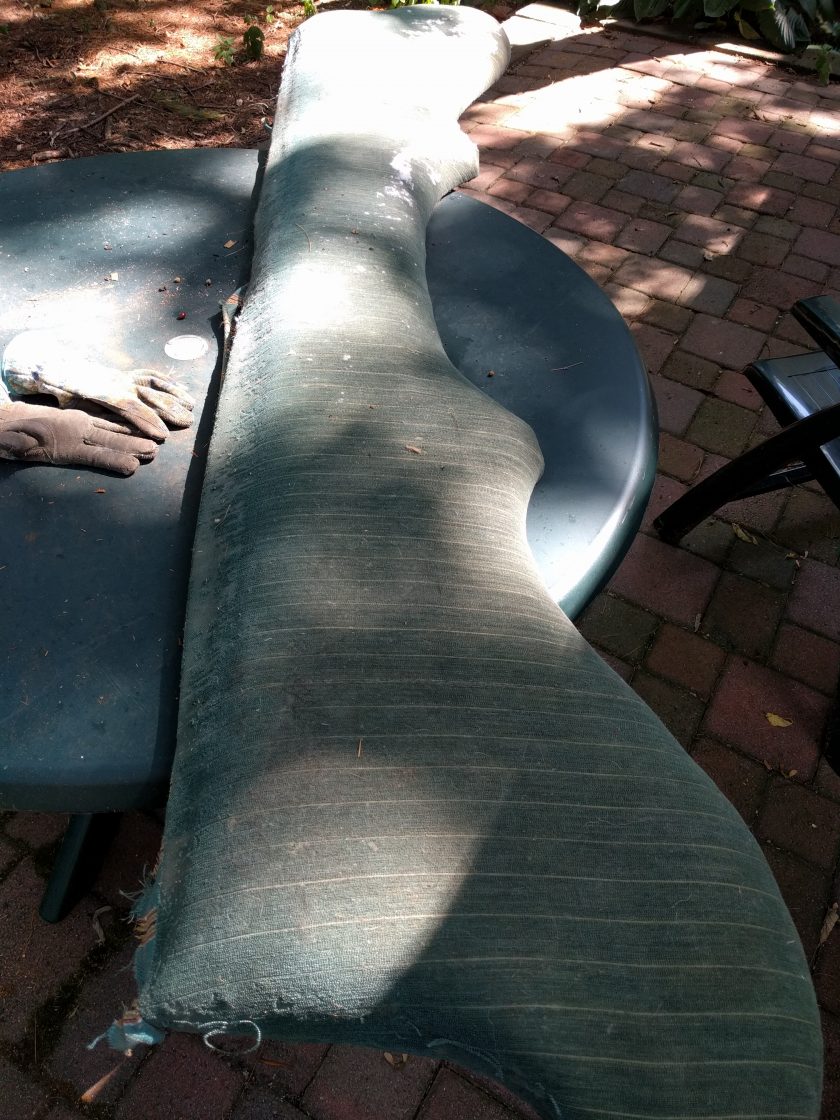
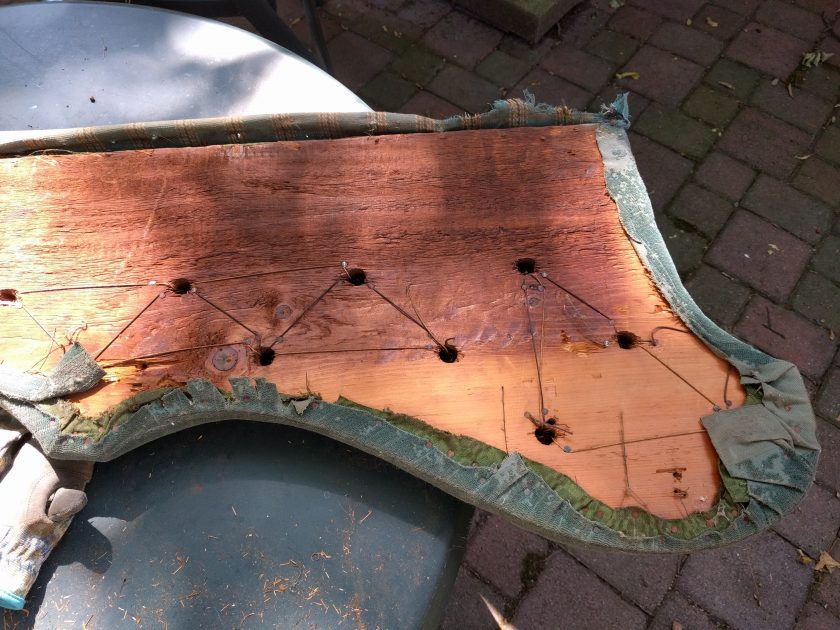
I wanted to do a really thorough job, so as I went, I removed all of the upholstery tacks from the previous times it had been upholstered. (If you ever attempt a project like this, a staple puller is essential as it saves so much time.) As you can see, there are two fabrics on the couch, but I don’t think either one was the original fabric.
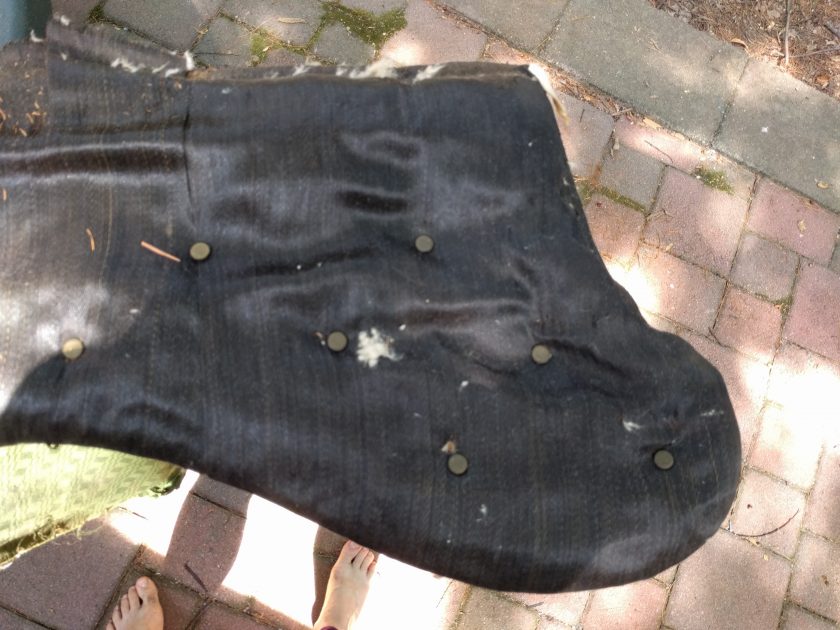
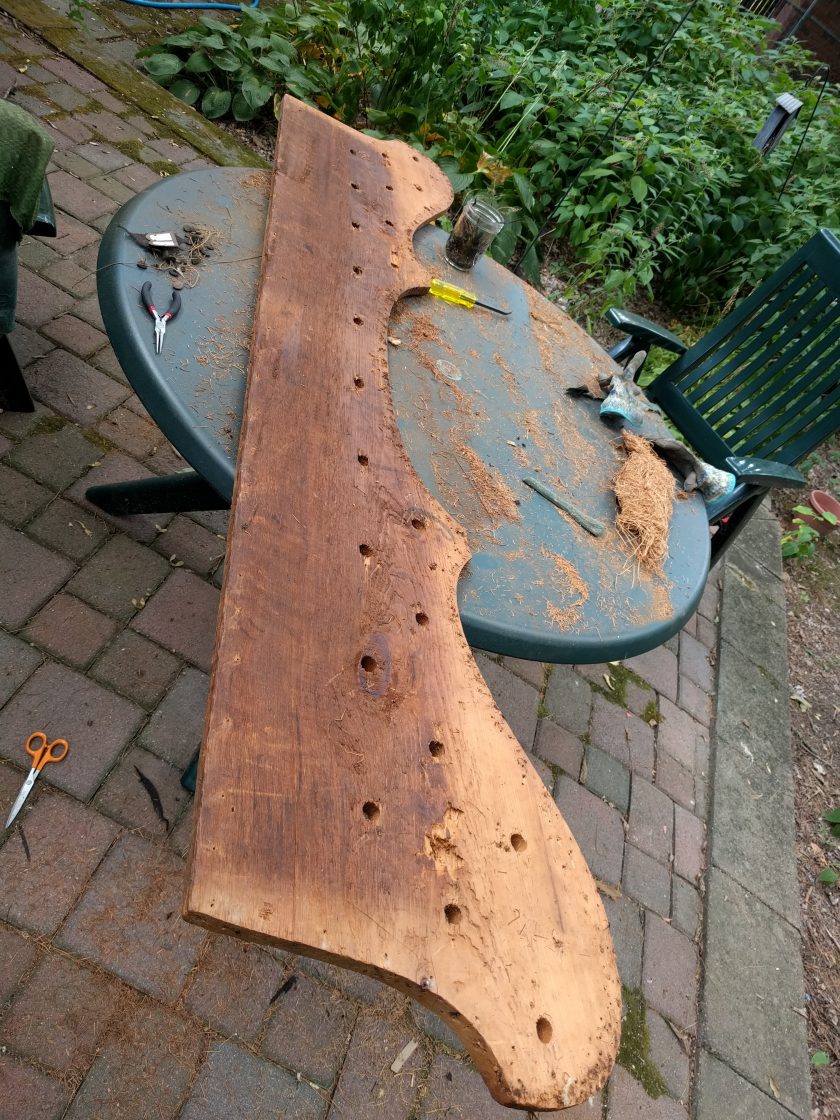
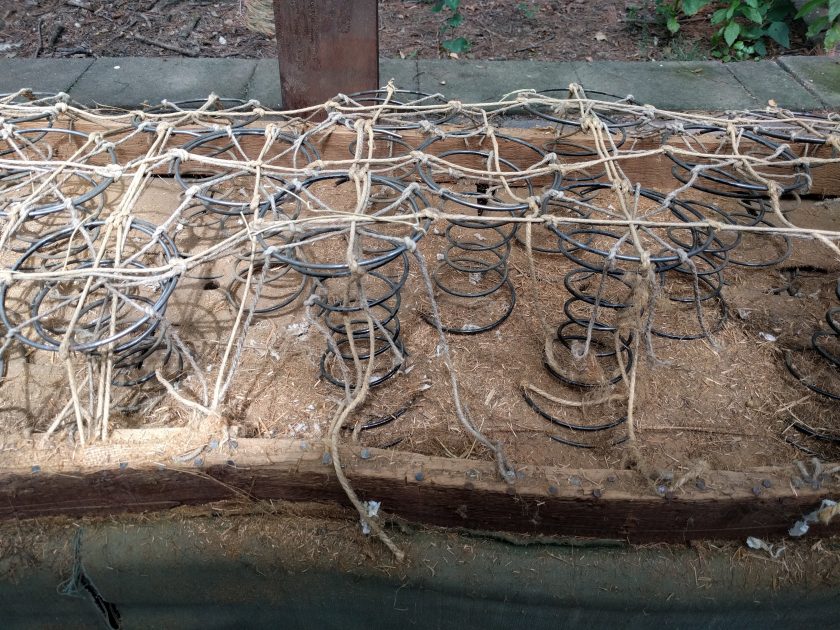
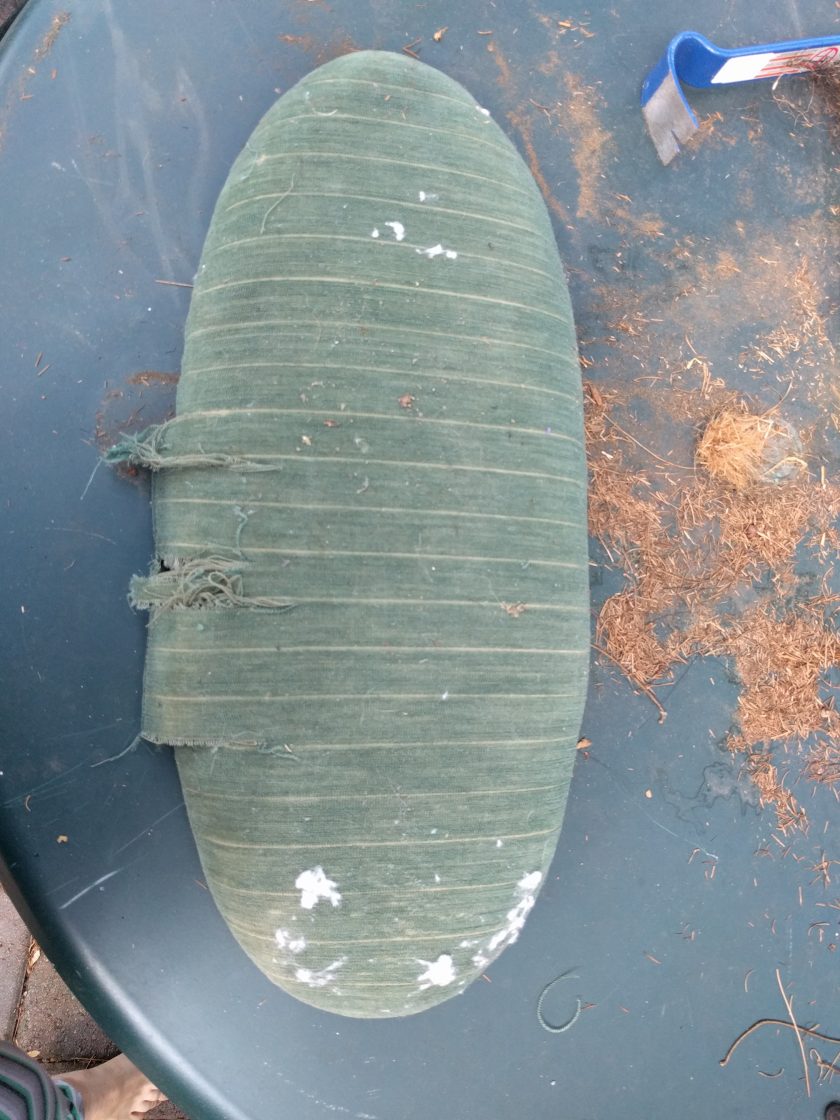
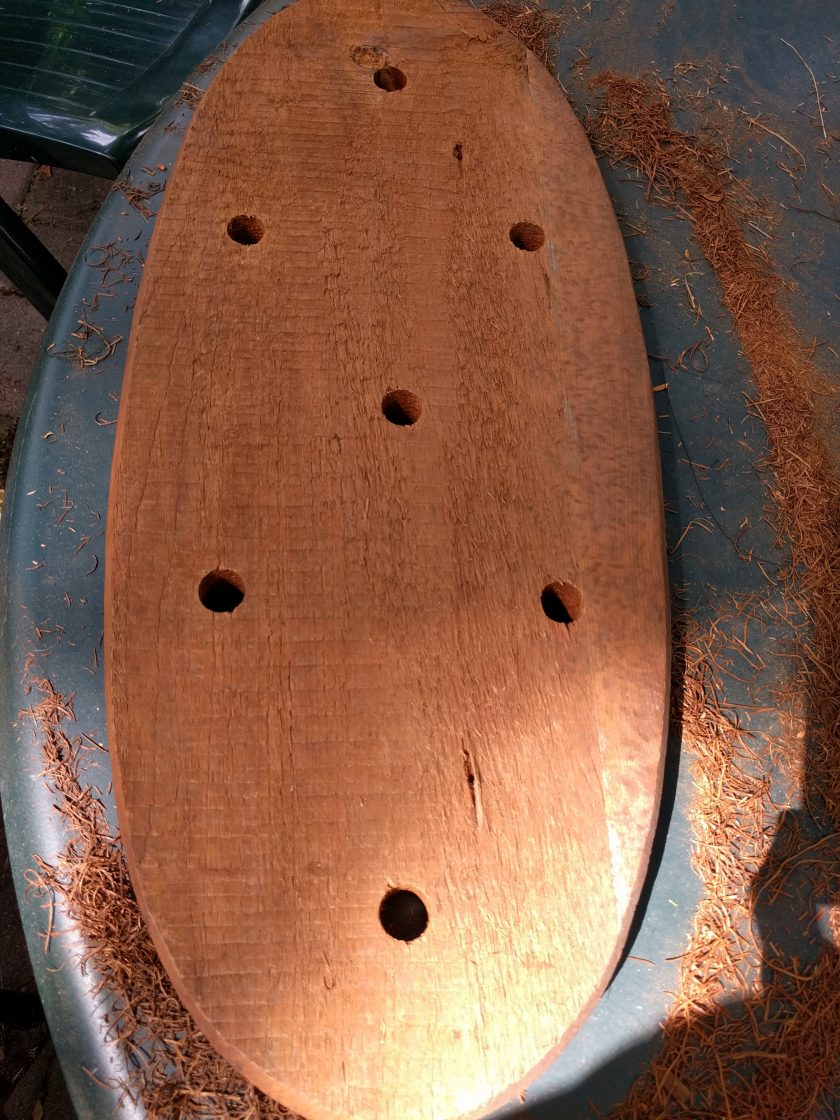
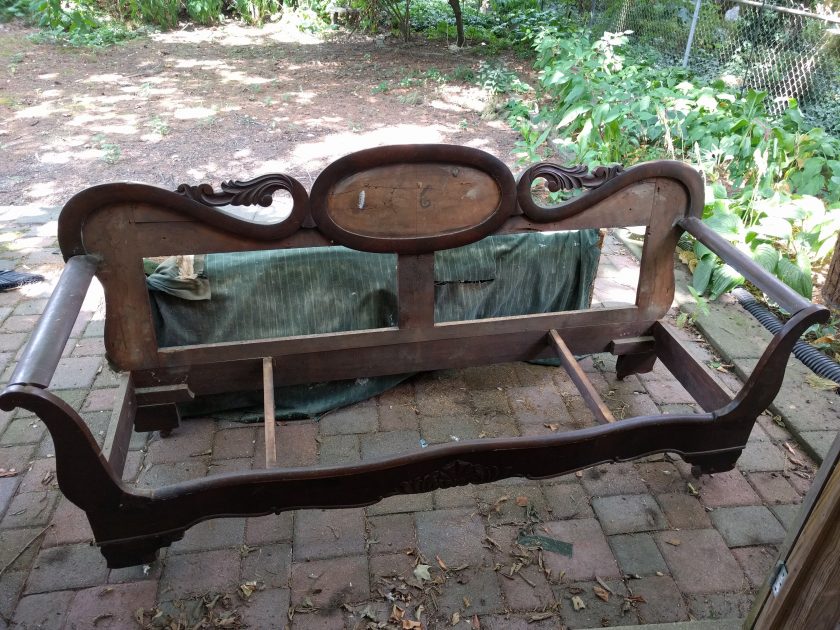
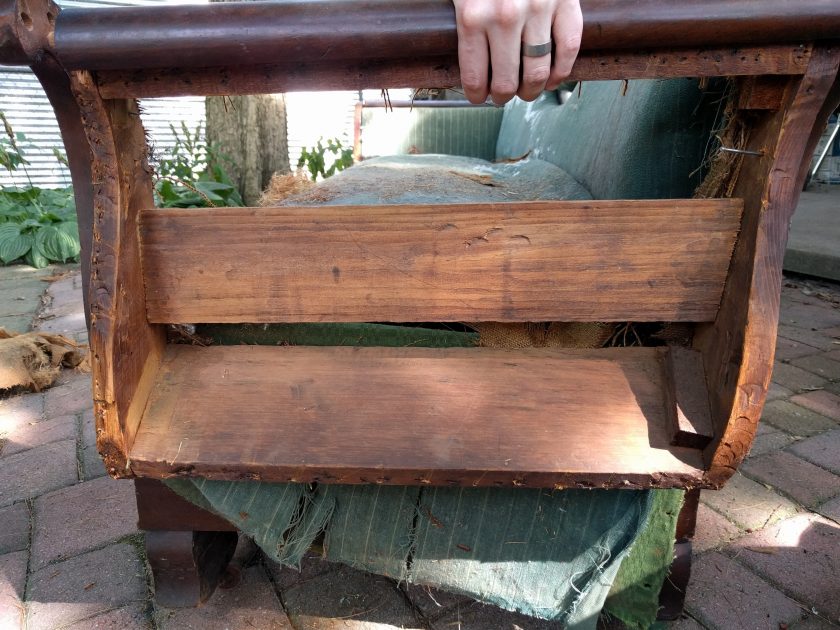
And that’s it! The couch is separated into it’s components and ready to be cleaned up. I learned that it separates into many more pieces that I thought, which will actually make the upholstering much easier. The next step is cleaning everything and doing some minor repairs of the frame.