I have been slowly expanding Wade’s wardrobe. I first started with his awesome coat (there is a pic of it here). Then I realized that he didn’t have any non-hoodie layers, so I made him some cardigans. The next thing I decided he needed was a short-sleeved button up shirt because he didn’t have any options other than t-shirts for hot weather. He has worn that one so much that I thought it was in danger of wearing out rather quickly, so I picked up a couple more shirting fabrics from my favorite online fabric store Fabric Mart. (I am not associated with them; I just love them!)
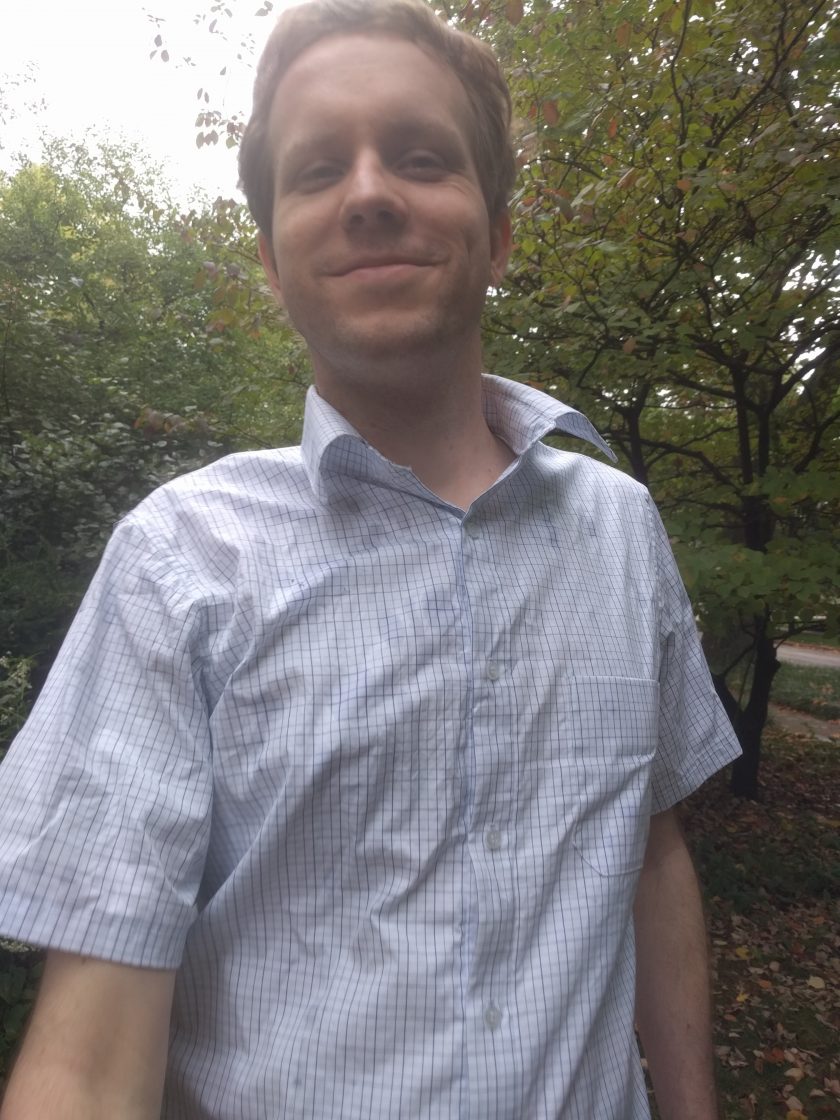
These two shirts are the same pattern (Kwik Sew 3422) as the previous short-sleeved shirt and the plaid flannel one I made him last fall. The shoulder has been narrowed slightly and the sleeves made slightly shorter than the first version. I have made close to a dozen shirts at this point, so the basic construction was pretty straight forward. I sewed both of these using flat felled seams so that it is completely clean inside with no serging. Wade really likes it when the pockets are matched to be almost invisible, so I did that on both shirts.
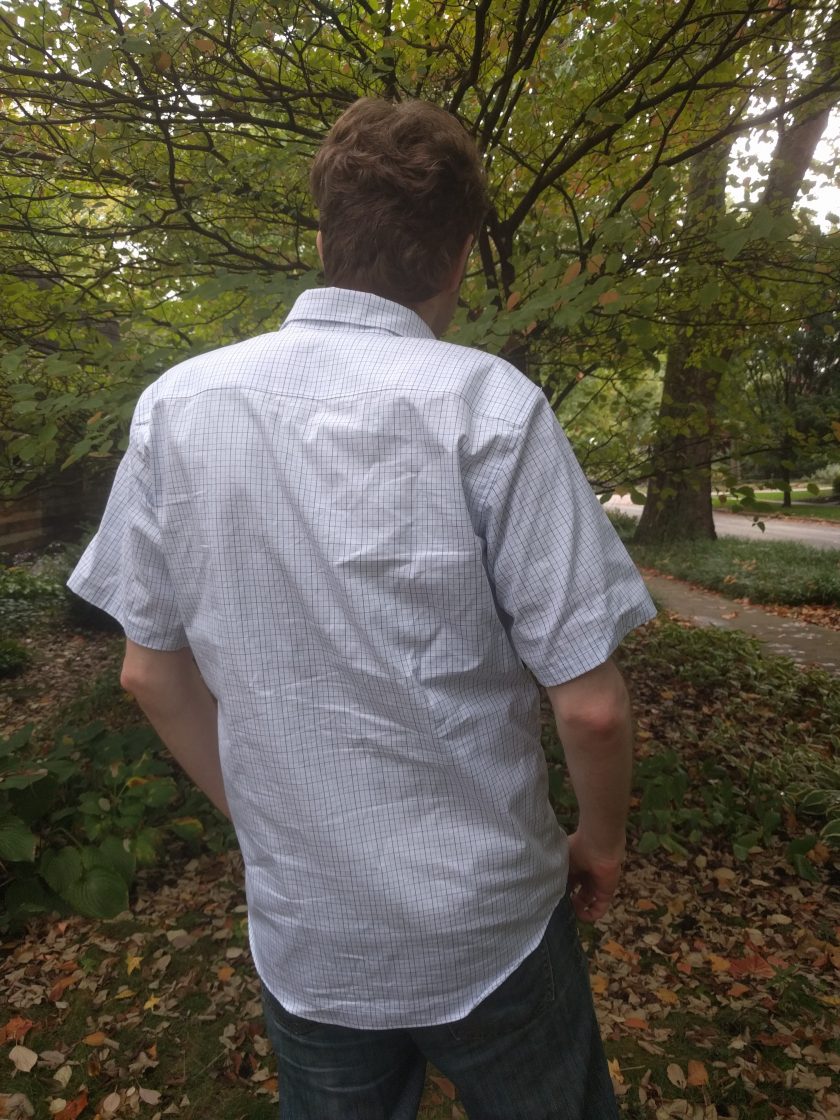
I used a different interfacing this time, the ProWoven Shirt Crisp from Fashion Sewing Supply. I liked this interfacing much better for the collar and the button band, but I will probably use a different interfacing for the yoke as I thought it was a bit too crisp for that.

I have recently discovered the joy of my rolled hem foot, which makes doing the hem much easier. It also gives a much neater result than I can achieve by hand (and I don’t burn my fingers using the iron to press those tiny turns). There is a similar foot that can help do a flat felled seam, and I am thinking about purchasing it because I do make a fair amount of shirts.
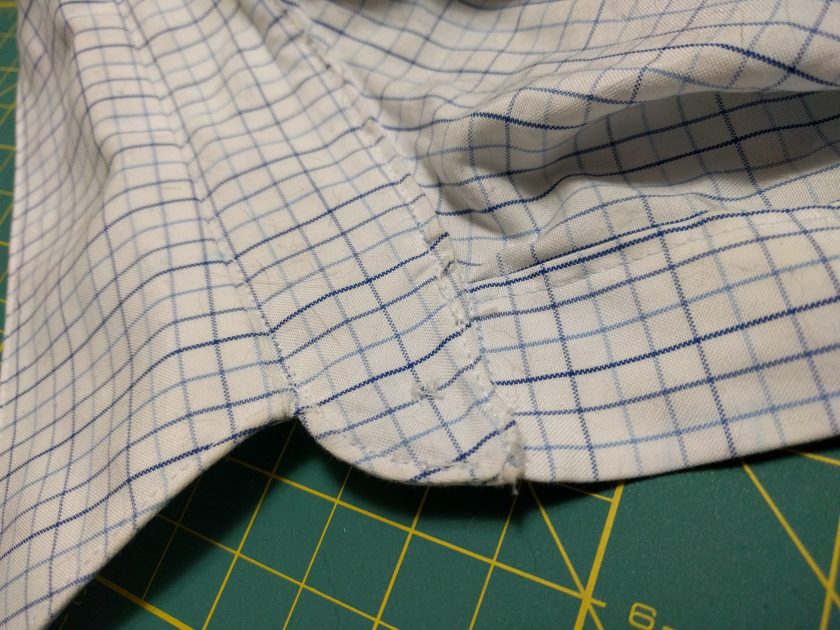
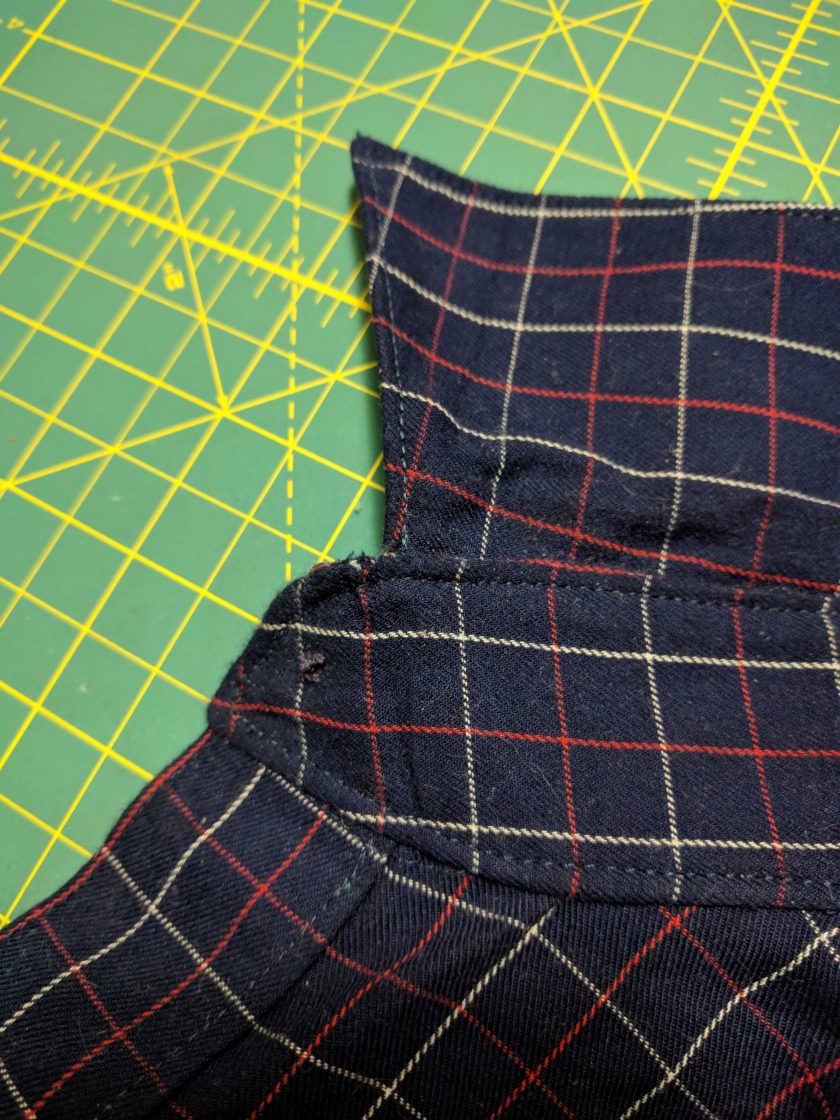
The collar on the white shirt is one of the worst I have ever done. I have never been really happy with the finishing of my collars, so I checked out David Coffin’s Shirtmaking (which I have seen recommended by other bloggers) from the library . His method has you attach the collar stand to the neck first and then attach the collar rather than the usual method of attaching the collar to the collar stand and then attaching the whole unit to the shirt. His book seems to have a lot of quality information overall, and I may be buying my own copy.
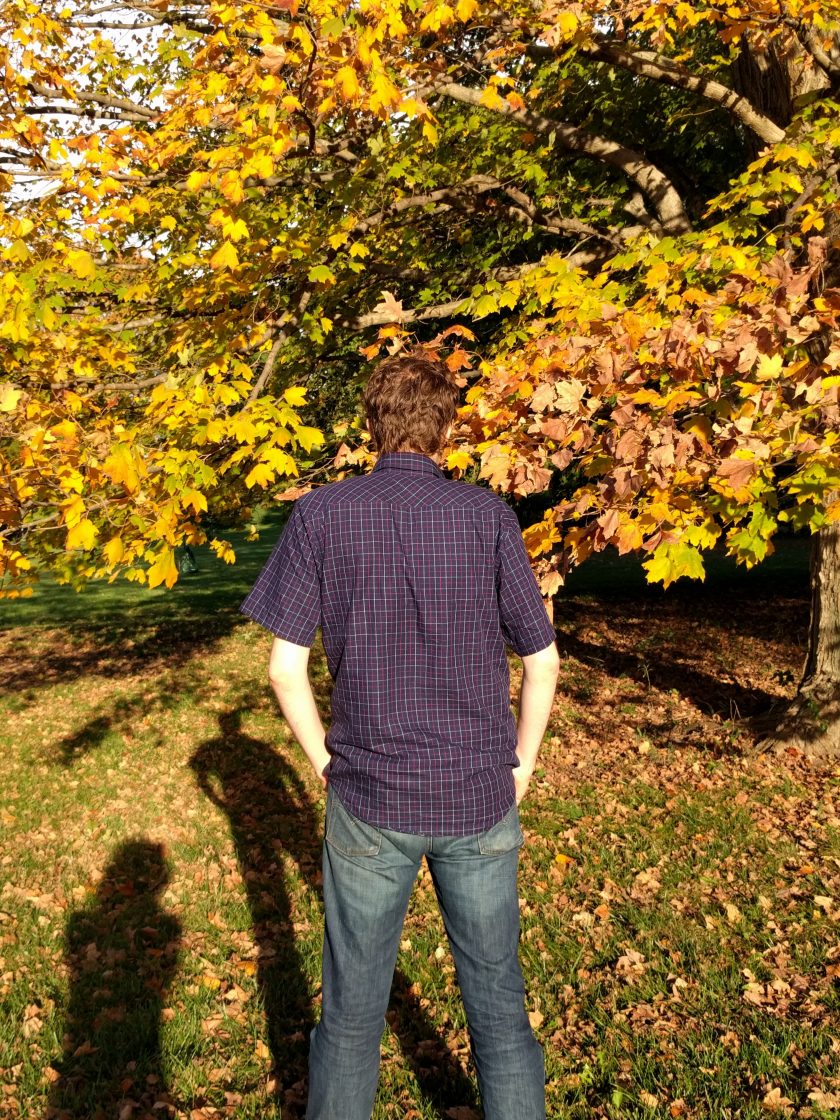
Using this new method, I got a much better result with the collar on the navy shirt. The rest of the construction of the blue shirt was pretty much the same as the white one.
Not much else to say about these shirts. Wade seems to like them, and so I’m sure they will get a lot of wear. Hopefully this will take some of the pressure off the first one. I just bought another plaid shirting to do a long sleeve version, so stay tuned for that.


Handmade means surrounded by love! Wade must feel that too!
He’s actually really getting into having me make him shirts. He’s already asking for the next one.