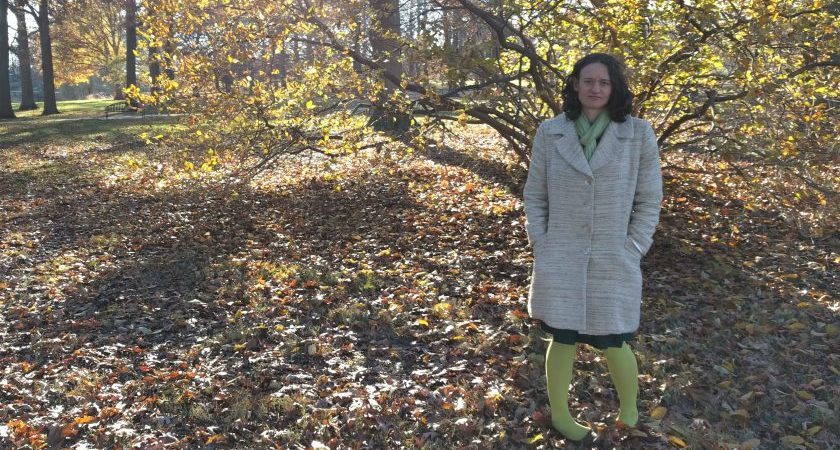
This coat has been in the works for awhile. I started it in the spring, but by the time I was close to finishing, it was already too warm to wear it. I lost motivation at that point, and it sat on Annie (my dress form) all through the summer.

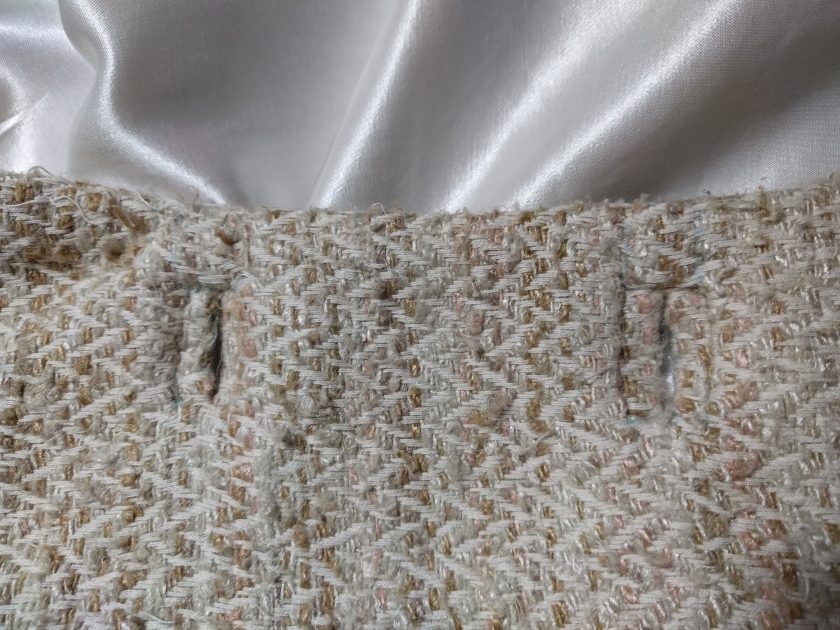
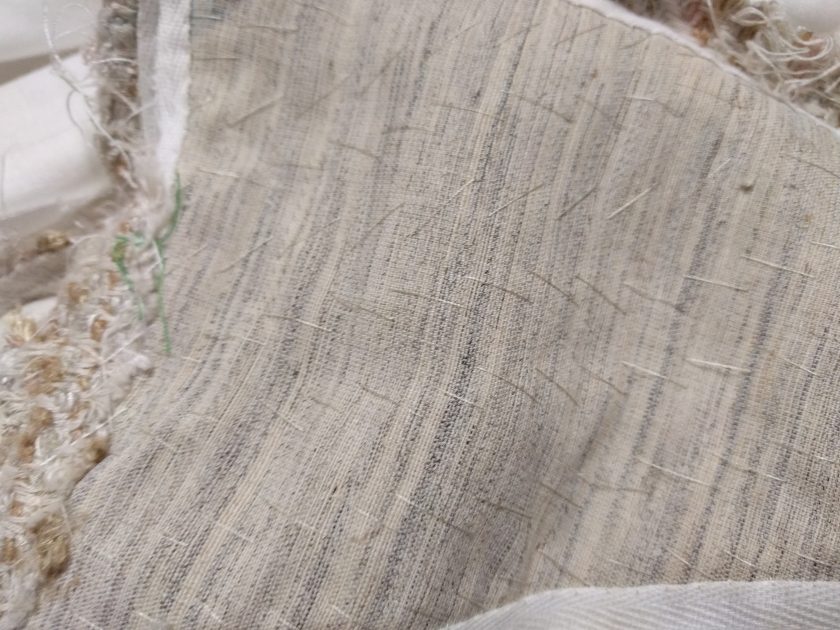
The fabric is a silk coating with a herringbone weave. I got it from Fabricmart awhile ago. It loves to unravel, so I used a narrow zigzag on all of the edges after cutting out the pieces. The lining is an American-made rayon coat lining that I got from Gorgeous Fabrics (which is now closed). It is quite thick and feels luxurious. I used the same fabric in black for a coat I made for Wade, and it has worked really well.
The pattern is Marfy 3204, and I liked it because of the collar shape and the longer length. I’m hoping to use this coat as a replacement for a wool navy peacoat that I wear in early fall and late spring. (I replaced the lining of the peacoat in a too thin fabric, and the new lining is ripped.) Silk is actually much warmer than people think, and I think that between the thickness of the silk and the hefty lining it will be quite warm.
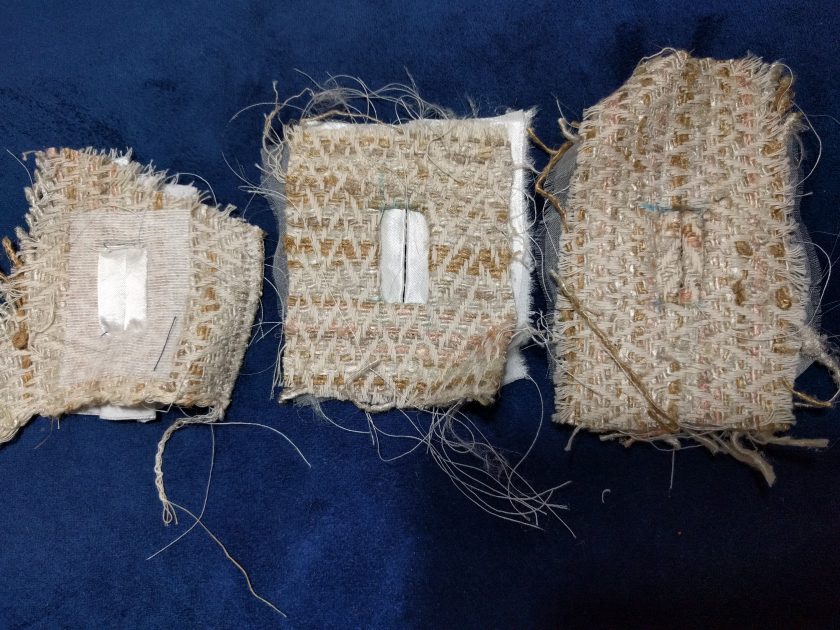
This coat was the first time I have ever sewn bound buttonholes. Since I wanted them to look good, I actually practiced making samples using several different bound buttonhole techniques. Unfortunately, since I did this so long ago, I can’t remember which sample is which technique. I am not 100% happy with my buttonholes, but they are not terrible for a first attempt.
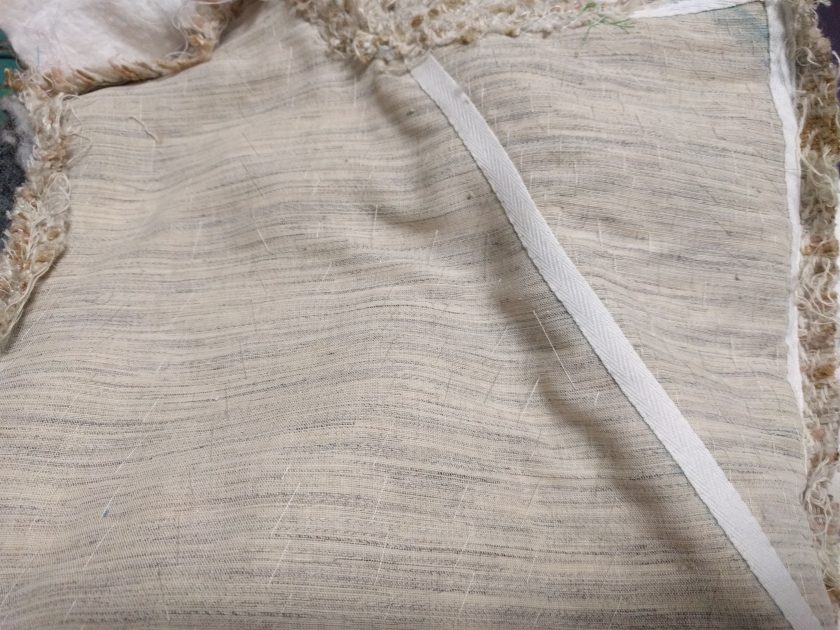
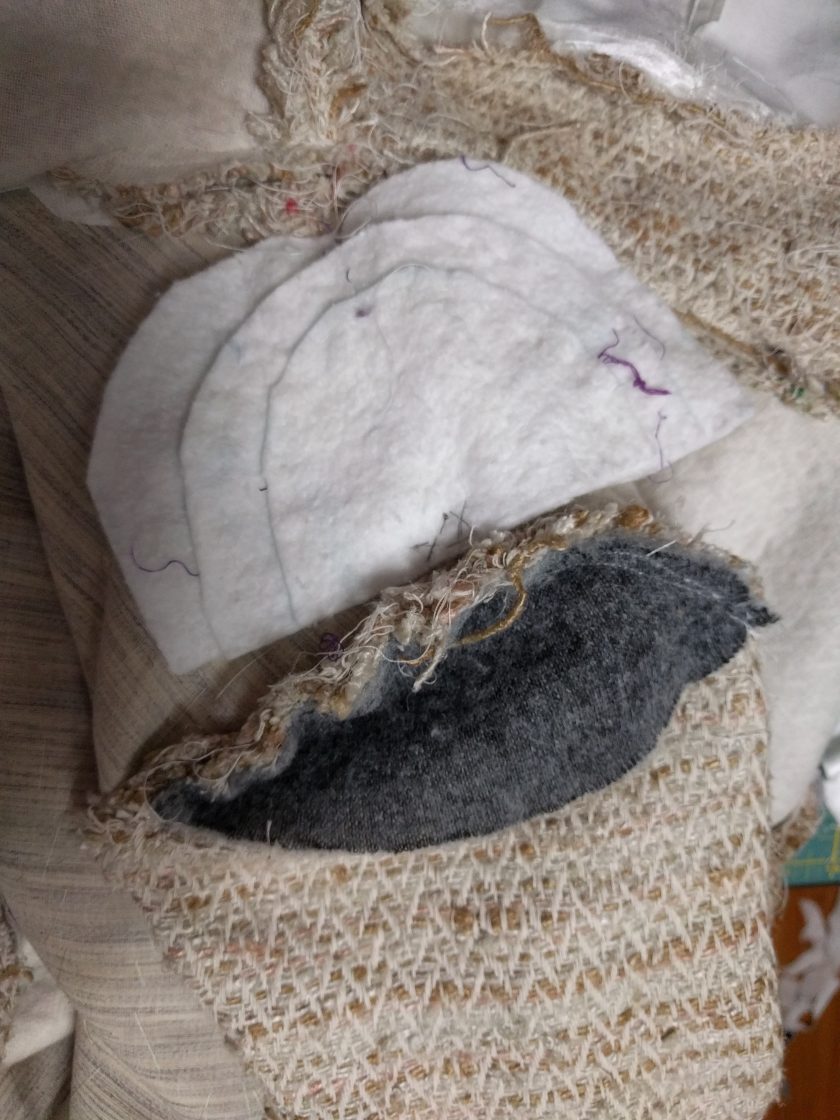
I have done several tailored pieces at this point, using both hand methods and fusible interfacings. For this coat, I combined techniques. On the collar and front lapel where I wanted really good control and shaping, I used hair canvas and padstitching. I also taped the roll line and front lapel by hand. However, for the back stay, which only provides strength, not shaping, I used fusible interfacing. I also used fusible interfacing on the hem and front facings. I added custom shoulder pads and sleeve heads. I used several books as guides: The Vogue Sewing Book, Tailoring (an old Singer book), and Couture Sewing by Claire Shaeffer. The tailoring and construction all went really smoothly, and I had that part finished in the spring.
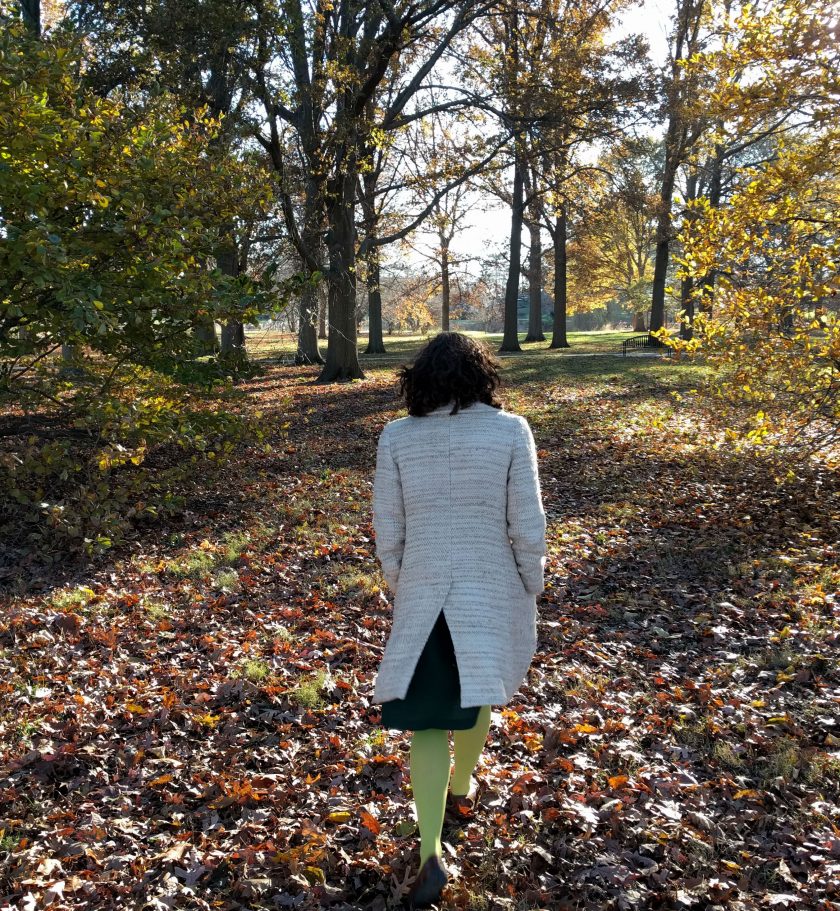
I got stuck on installing the lining. I wanted to do a fully machine-sewn (bagged) lining, but I wasn’t sure how to do that with the back vent. Marfy patterns do not have any instructions beyond numbering the seams and a few descriptions such as “ease” or “fold here”. Grainline has my go-to tutorial for how to bag a lining, but it doesn’t include a vent. I finally found a nice video that describes how to sew a lined jacket vent. It doesn’t discuss how it works with bagging the lining, but what I did was basically incorporate the technique from the video as part of sewing the bottom hem (step 6 on the Grainline tutorial). Not sure that was the proper way to do it, but it seems to have worked out.
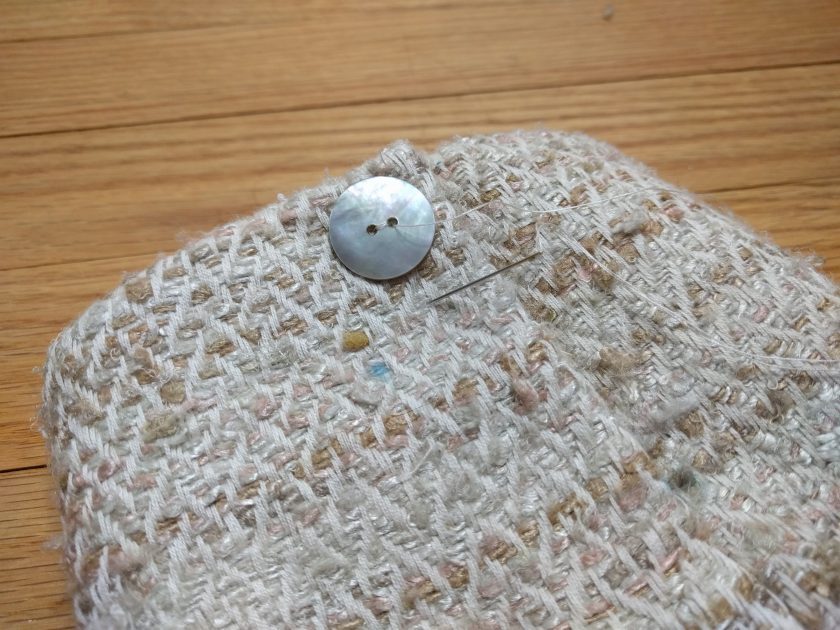
Once the lining was in, it was just a matter of sewing it to the bound buttonholes (by hand) and sewing on the buttons. I originally bought some horn buttons for this coat, but the color was all wrong. Instead, I found some large real shell buttons from Wawak. I love these, and think they really make the coat special.

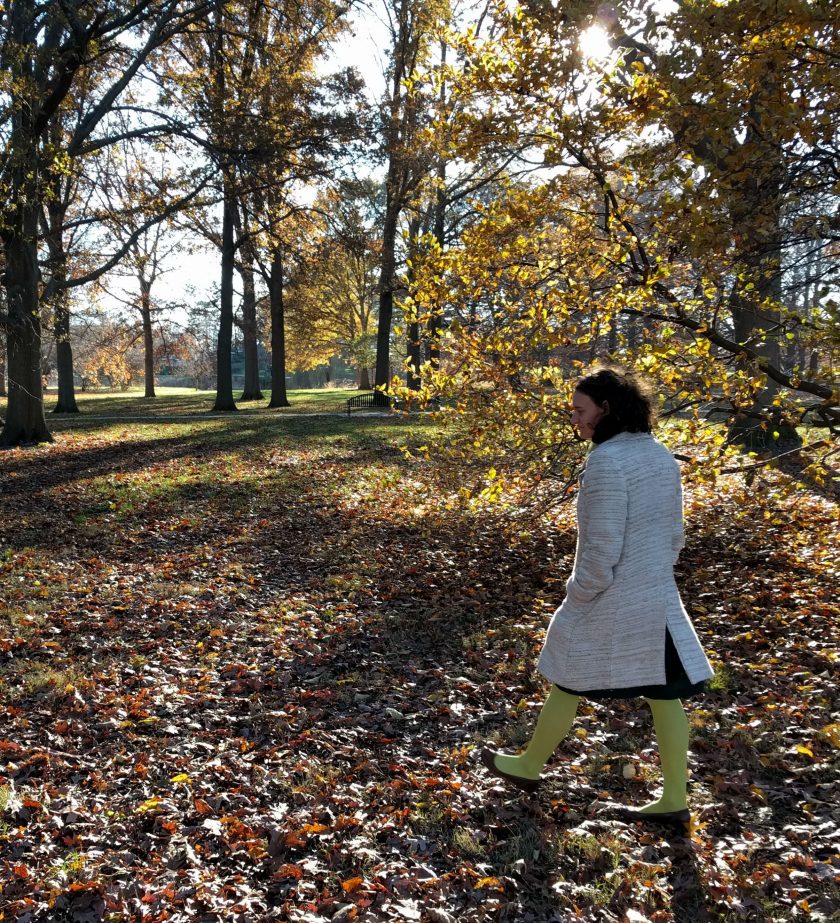
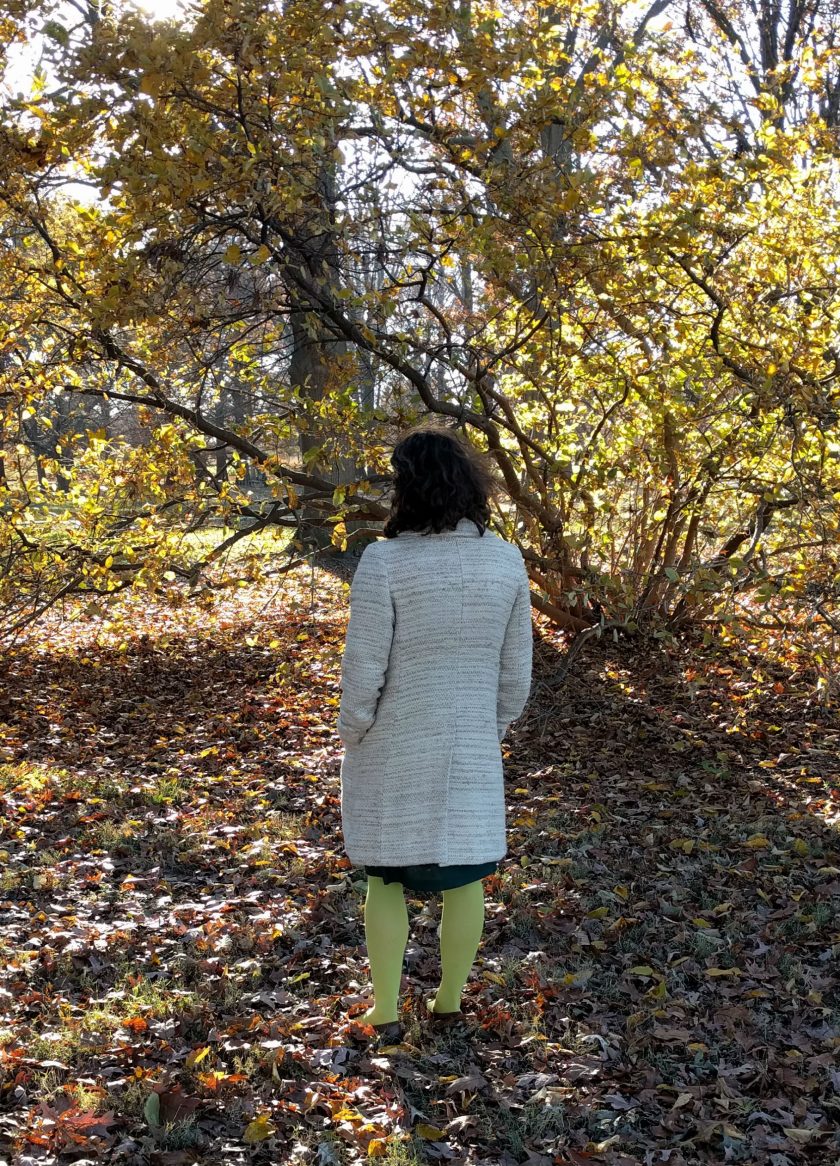
I’m hoping this will be my main coat for transitional weather. I love the overall look, but I do notice some minor imperfections. I’m not happy with the vent, and somehow the front hems are slightly different lengths (this is fixable, but I will have to open up the lining). The buttonholes are only ok. However, I have learned that most people don’t notice as much as I do, so I’m sure the errors won’t keep me from wearing it.