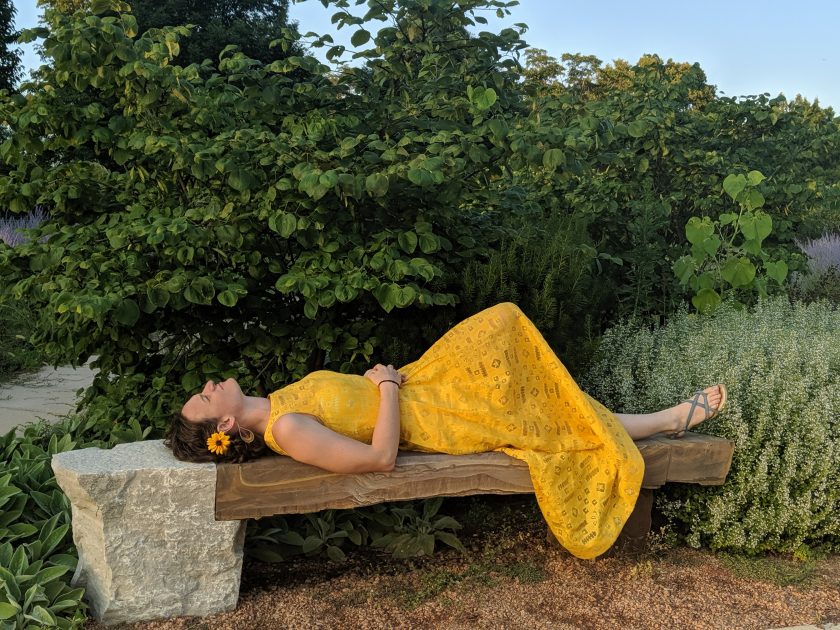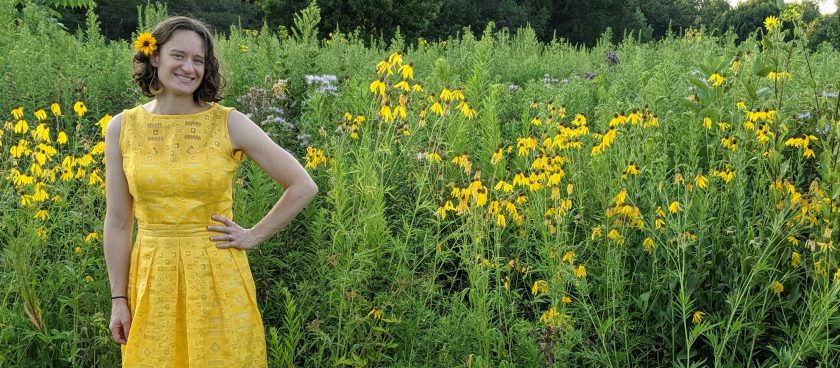
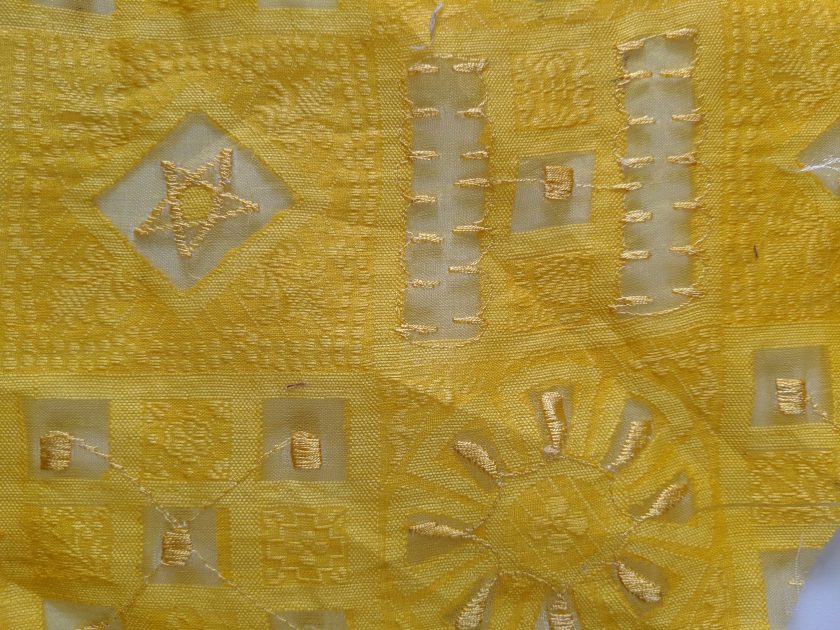
This dress just makes me happy! However, this was not a simple project. Like another of my recent projects, this all started with the fabric. This fabric is yet another find from Fabric Mart Fabrics. It is a silk organza, but instead of being a plain weave like most organzas, it has brocade-like patterns and more opaque areas contrasting with more transparent ones.
I thought it would be really cool to play with using it as an overlay over a strapless bodice. Since organza tends to be quite structured and not drapey, I wanted to take advantage of that and have a skirt that would stand away from the body a bit.
I first thought about trying to mash together a couple different patterns, but then I found Butterick 6415, which was exactly what I wanted. I made two significant changes to the pattern. One was that I wanted the underbodice to be totally separate and to have structure built in. The second was that I wanted the over skirt to be totally separate, so that I could wear it as a stand alone piece. I actually did a muslin and slightly shortened the back overlay as well.

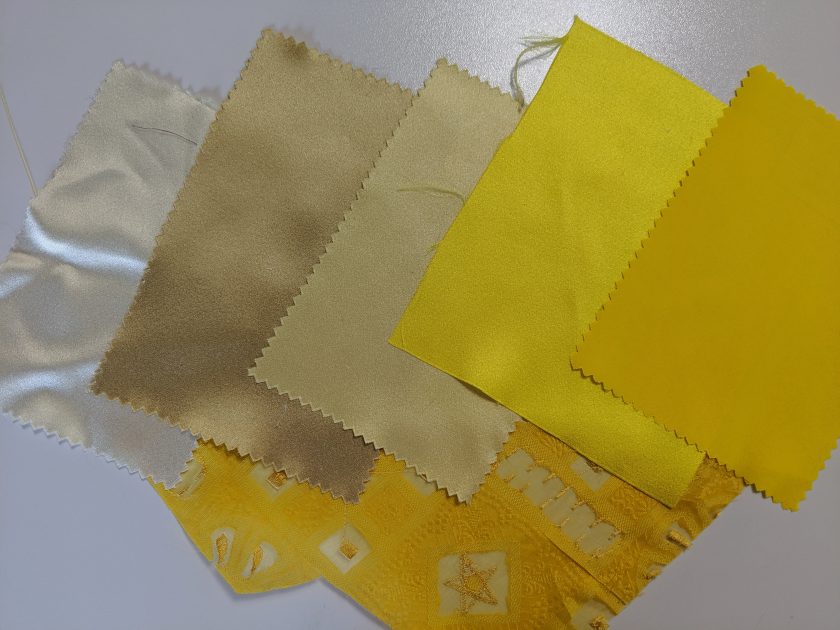
My first challenge was finding a silk satin to go under the organza. I got a bunch of swatches because I knew that getting the right color was critical. I didn’t really find exactly what I wanted, but I found something that worked although it was a little lighter than I wanted.
As I was waiting for my fabric to come in the mail, I started to work on the understructure for the bodice. I wanted a sturdy fabric, so I ended up using a cotton that used to be my curtains in my condo. (I used most of this fabric to make the petticoat for this costume.) I used different strapless bodice pattern that fitted me well as a guide to get a tight fight on the structured layer. After fitting it, I ripped it apart and transferred the changes to my pattern to cut the silk layer.
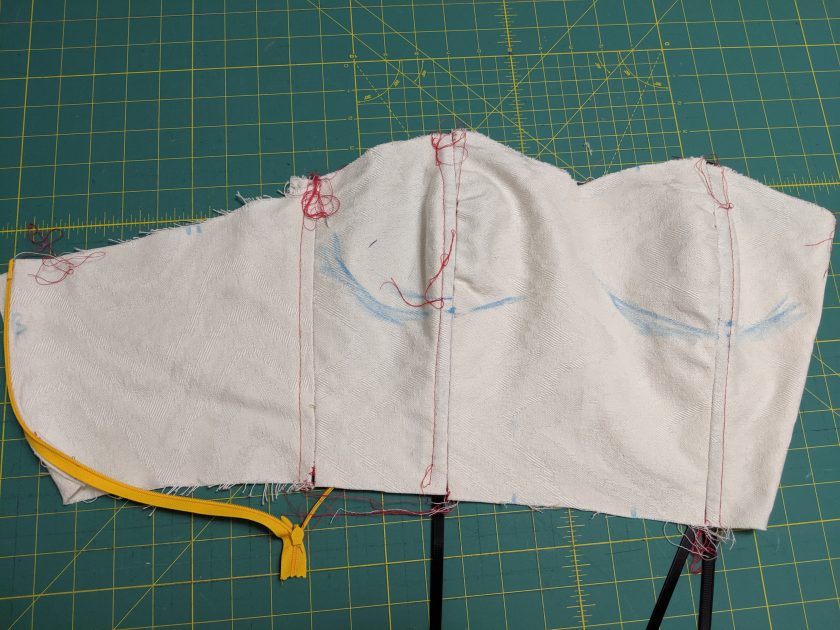
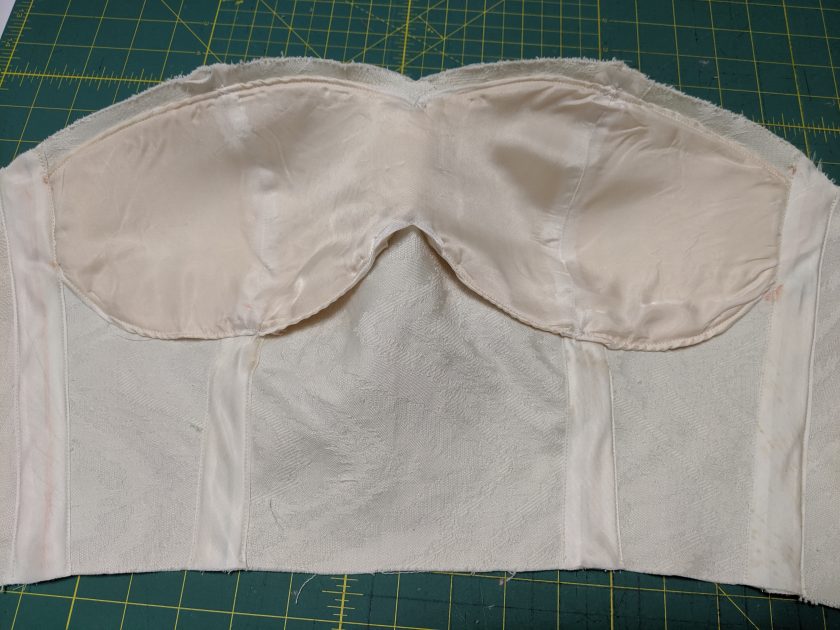
I knew I wanted boning in my bodice, and this is where things got a little crazy. I realized that if the boning channels were next to the silk, they would show through. The obvious solution was to put the boning channels on the inside, but then I would have exposed seam allowances on the inside. The obvious solution was to add a lining, but I really did not want another layer, as there were already three. Since I was planning to wear the dress in July, staying cool was a big concern. I ended up covering the seams with bias strips, and also covering the bras cups. It actually looks pretty nice, but it was probably more difficult and more work than just using a lining.
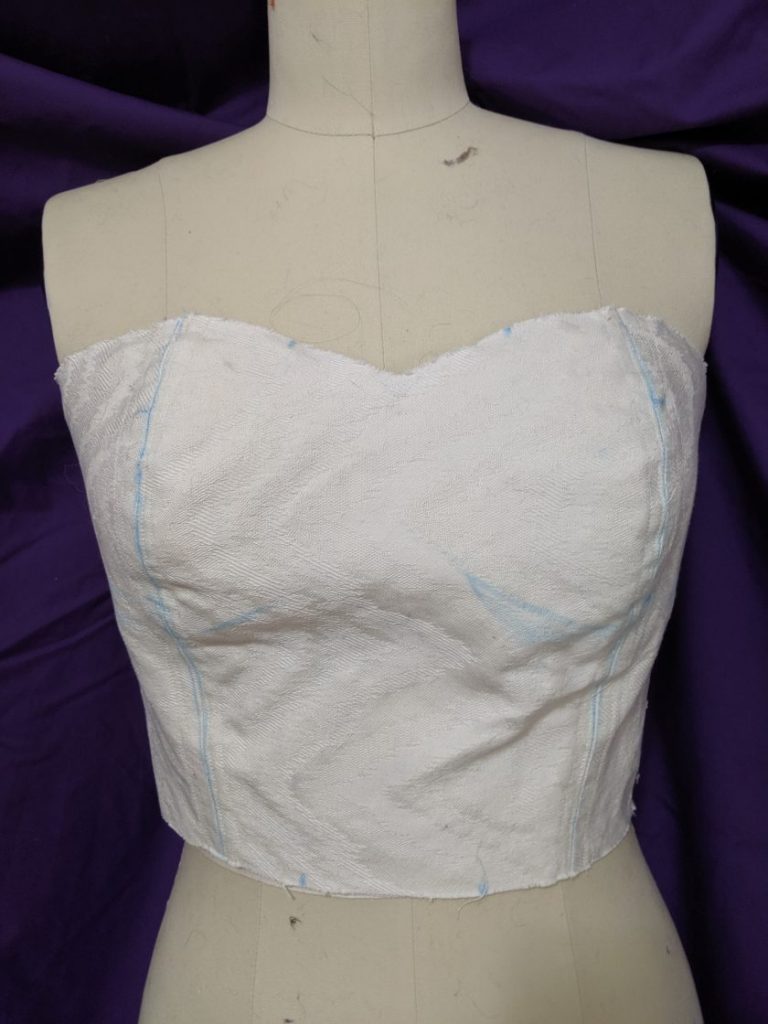
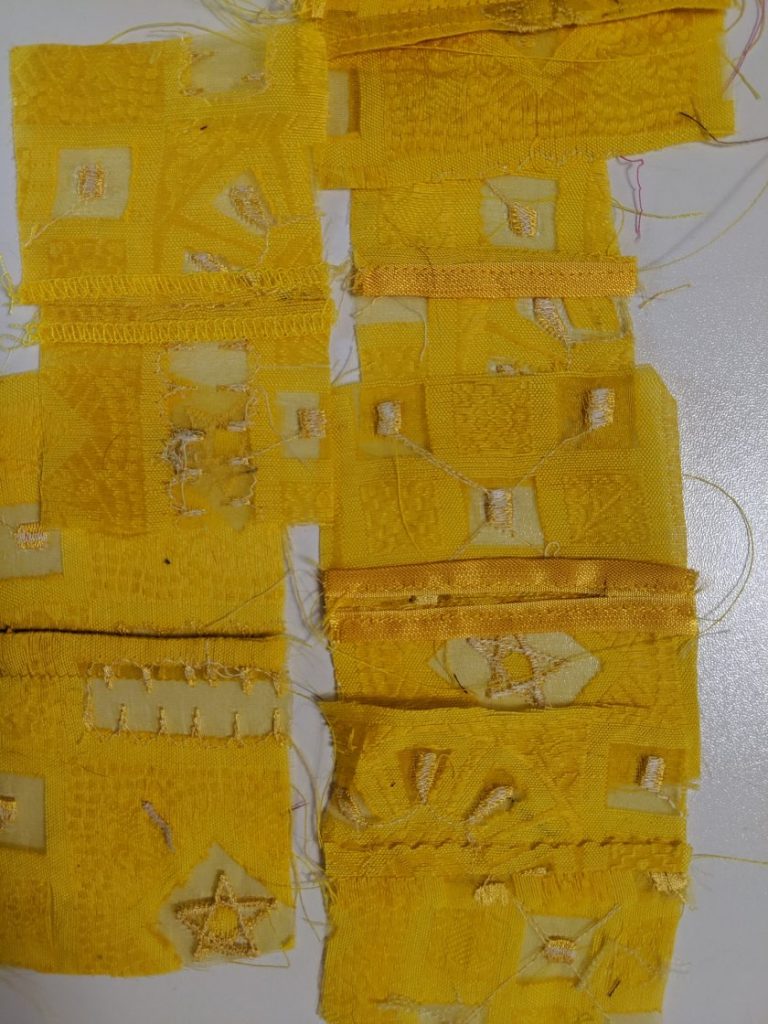
The final bit of experimenting that I did was to make a bunch of samples to find out the best way of finishing my seams. Usually, I serge my seams but with a see-through fabric, the finishes become a lot more important. I ended up using three different seam treatments in different places. The shoulder seams are flat-felled. The side seams are french seamed, but I did not want to use a french seam over the curved bust seams. Instead, I pressed the seams open and then turned and stitched.
For such a special project, I’m really glad I took the time to get the materials, fit, and finishings right. Stay tuned for more of the construction and more pics!