These two projects are done with hand manipulated techniques. I made both of these while at the Vävstuga Immersion Program. My first post about my experience is here. The fuzziness of these pieces is accomplished by creating knots around the warp.

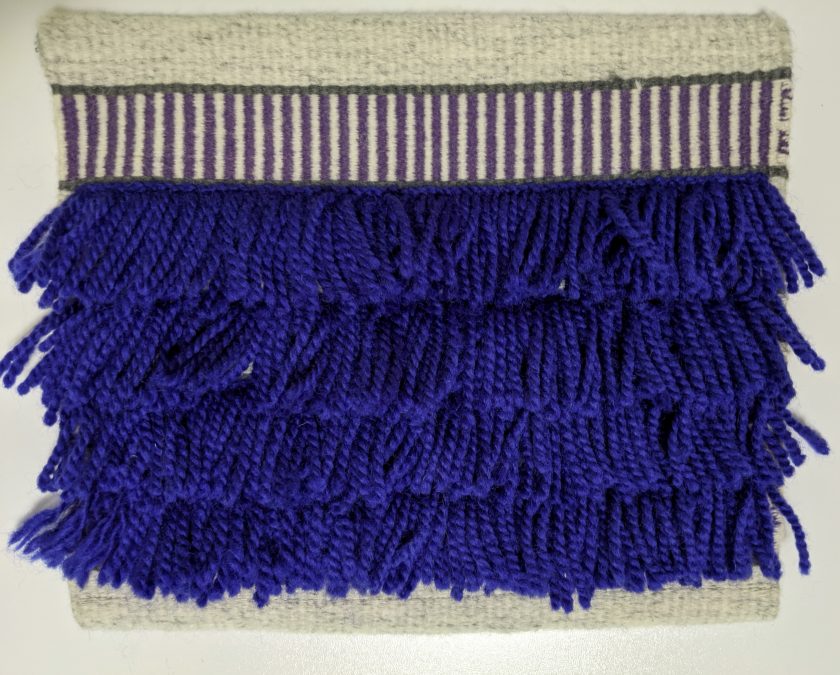
The first one is a technique called rya, and this particular version of the technique is supposed to create a cloth that resembles sheepskin. (Rya can also be done to create a more carpet-like effect, similar to my second piece.) Supposedly, these rya pieces were woven to create “sheepskins” that could be used by fishermen to keep warm while on their boats. The leather in real sheepskins could not stand up to the salt water conditions, but the fabric version could. This little piece is just a sample, but I think a big version would make an incredible (and warm!) coat.
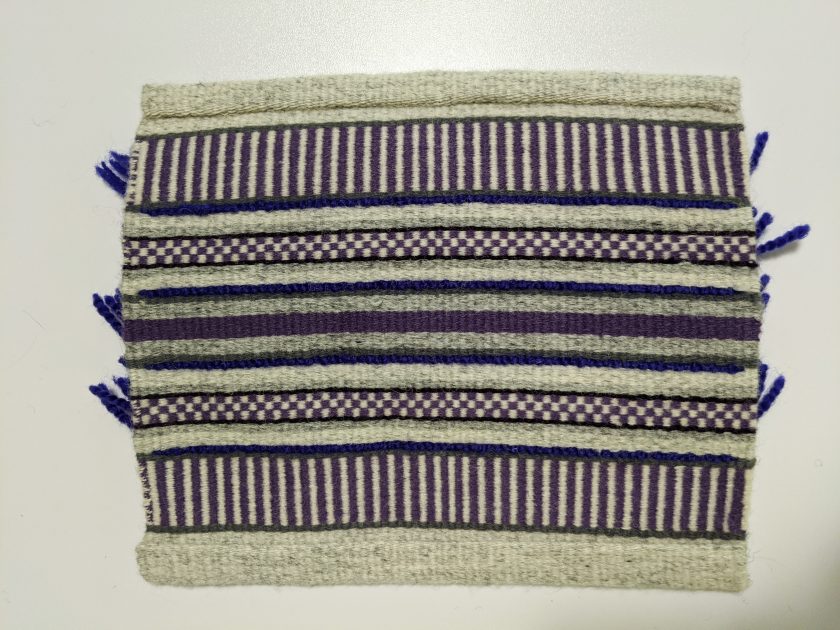
For my version, I obviously did not stick with realistic sheepskin colors. One nice thing about this type of weaving is that the non-shaggy side makes a quite nice weft-faced cloth. Since this was toward the end of the program, I did not spend much time on the design. I basically just went with my favorite purple and gray color combination and made it up at the loom. The warp, which is not visible, is an unbleached linen rug warp. The wefts are a single wool yarn and the knots are a 2-ply wool.
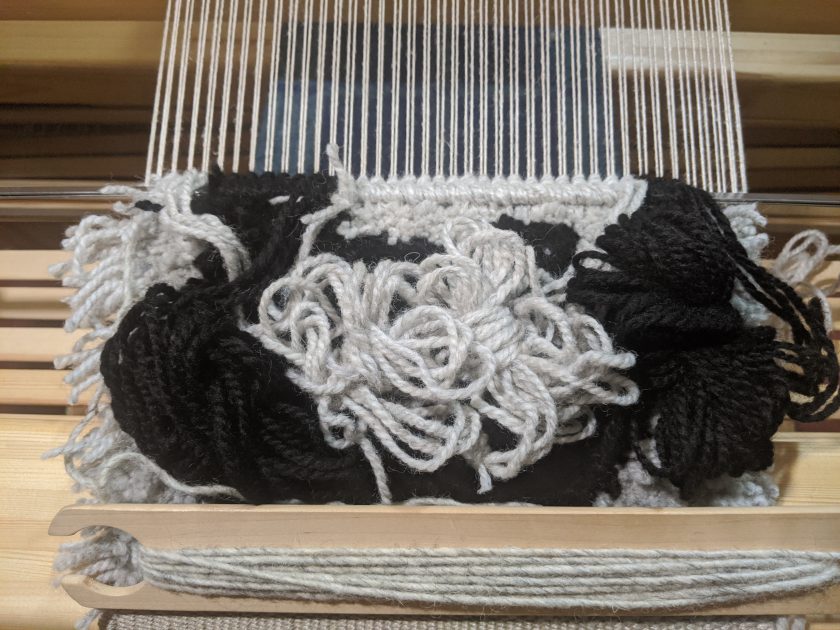
For rya, the yarn for the knots is pre-cut into pieces, using a jig to keep them uniform. I used a special knot to loop the little bits of yarn securely around the warp. After I completed a row of knots, I did an inch and a half or so of plain weave. Since the rows of knots are fairly spaced out, this is much faster than the second knotting technique I learned.
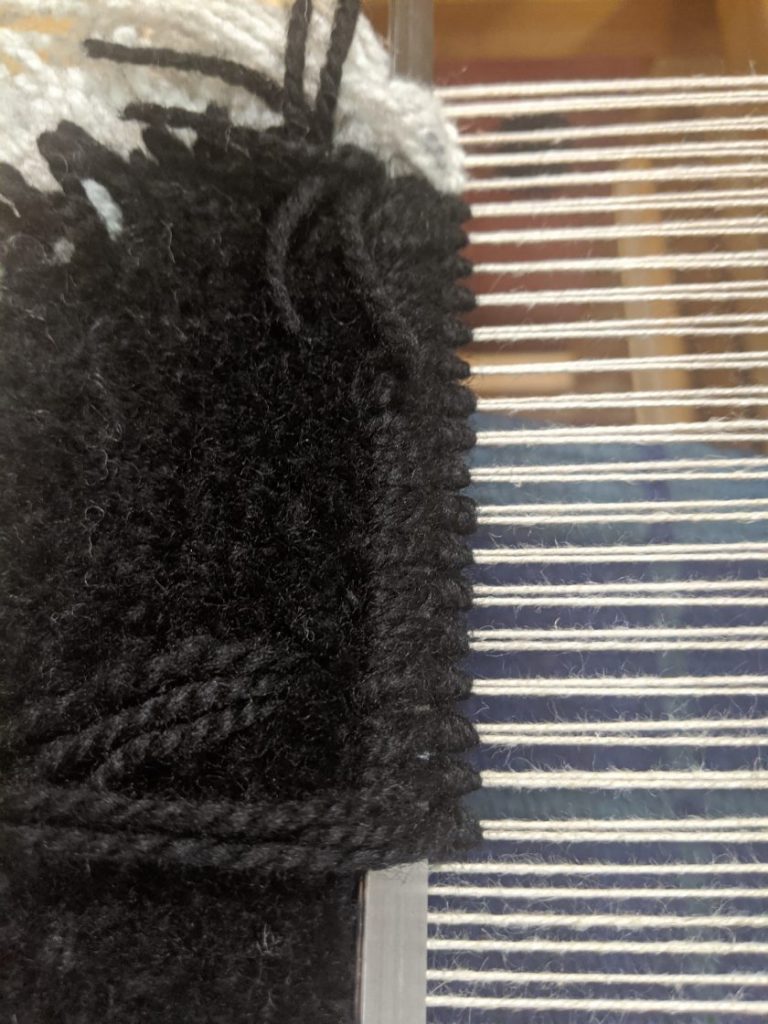
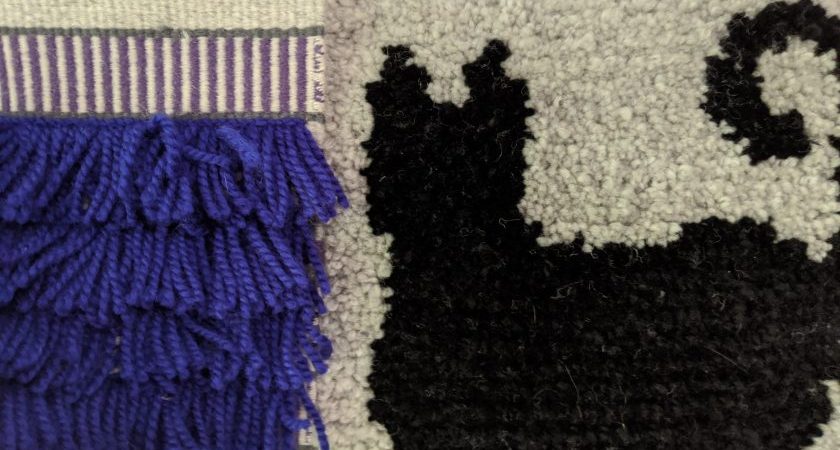
My second piece uses a technique called flossa. It basically makes a carpet! The knots are the same, but instead of pre-cutting the yarn, I knotted one continuous piece of yarn around two metal bars. Once the whole row of knots is complete, I slid a knife between the metal bars to cut the yarn. Luckily, my teacher had a neat little gizmo that kept me from slicing my warp. After a row of knots are a few rows of wefts, but much fewer than in the rya, so that from the front, you can only see the fuzz.
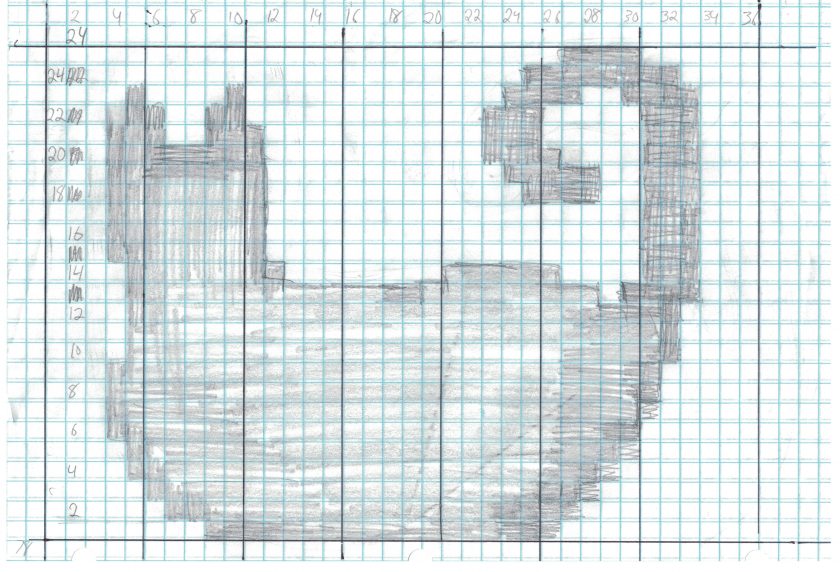
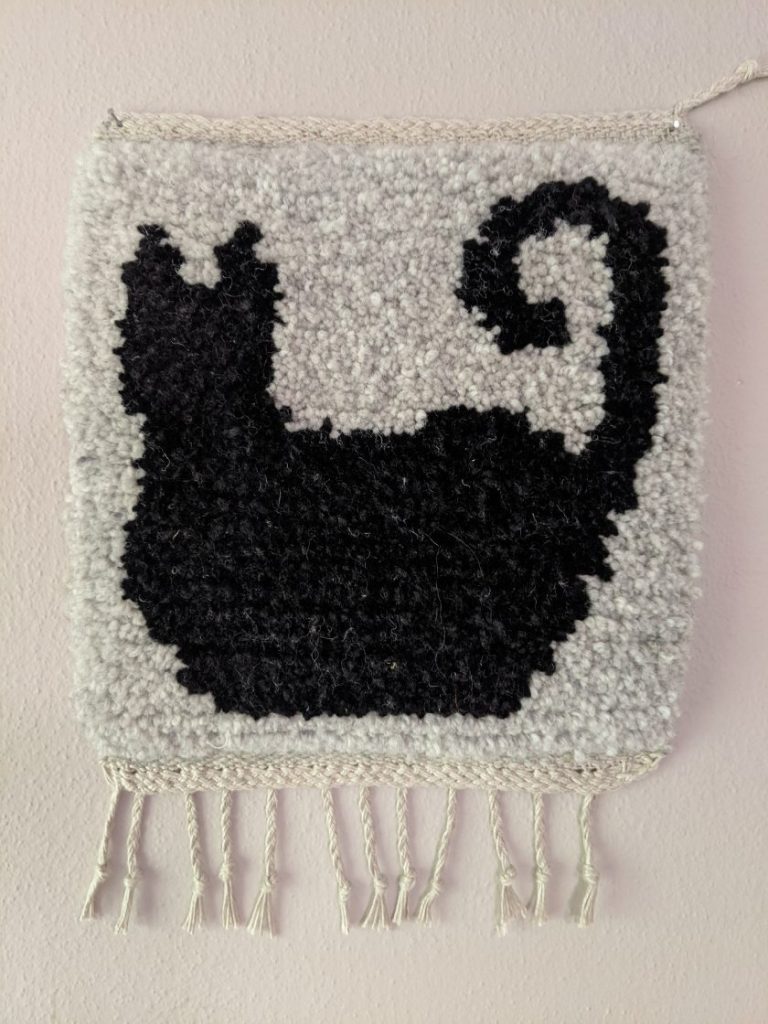
Since you are working the knots by hand, you can create essentially any pattern you want. It is best to graph it out ahead of time, although I suppose you could wing it. I wanted to keep mine simple, so I used only two colors. My inspiration was my cat Mia sitting as she looks out a window.
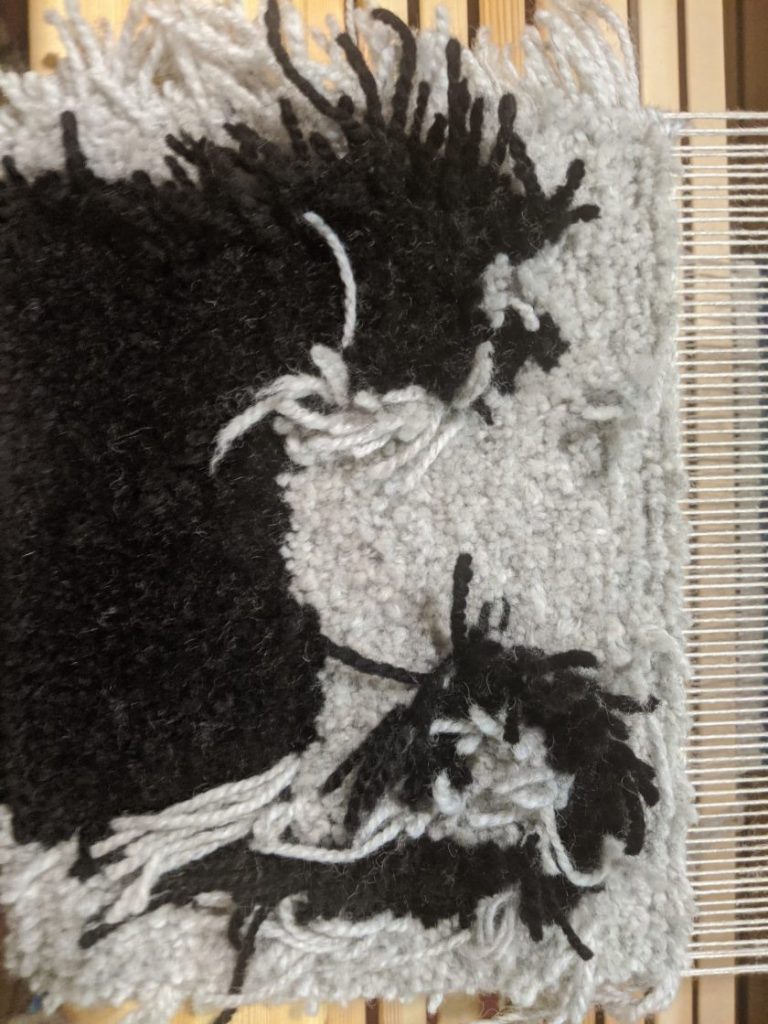
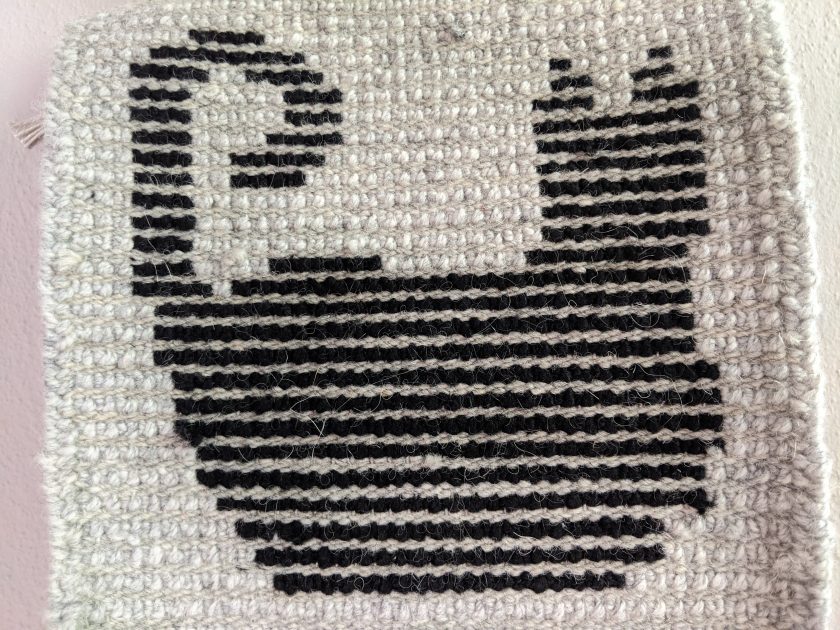
Overall, I’m very pleased with how my cat came out, and I enjoyed learning a very different type of weaving. I did not beat quite hard enough, so my cat is a little stretched out lengthwise. I actually find it quite amusing because it makes the cat look kinda chunky while my real Mia is a skinny little cat. Since moving into my new studio, I have kept a very strict “no cats” policy, so I hung this in my studio to keep me company instead.
Although I don’t have any immediate plans to use these techniques, they were a really fun learning experience. I’m glad that I learned something a bit different than loom controlled patterns.