I am writing a series of posts describing the process of weaving, from thread to cloth. The first post discusses how woven fabric differs from knitted fabric. Last week I talked about designing. This week, I start showing how to turn that design into a finished piece. (If you want to see winding a warp in action, the video version of this post is on YouTube.)
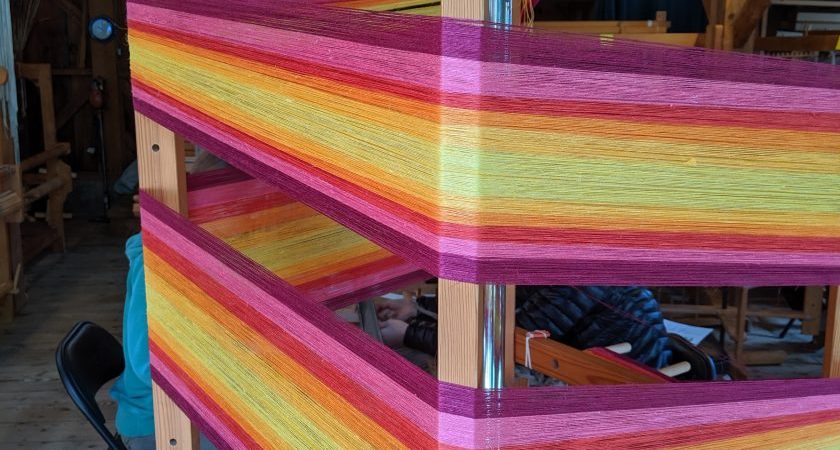
The first step to weaving (after designing your cloth, of course) is usually winding the warp. (Some looms, such as the rigid heddle shown here, can be warped directly without winding.) The warp is the group of long threads that are held under tension by the loom. On floor looms, the warp is wound around a beam. In order to maintain even tension, the threads must all be the same length. If the warp has multiple colors, the colored threads must also be wound in the correct order.
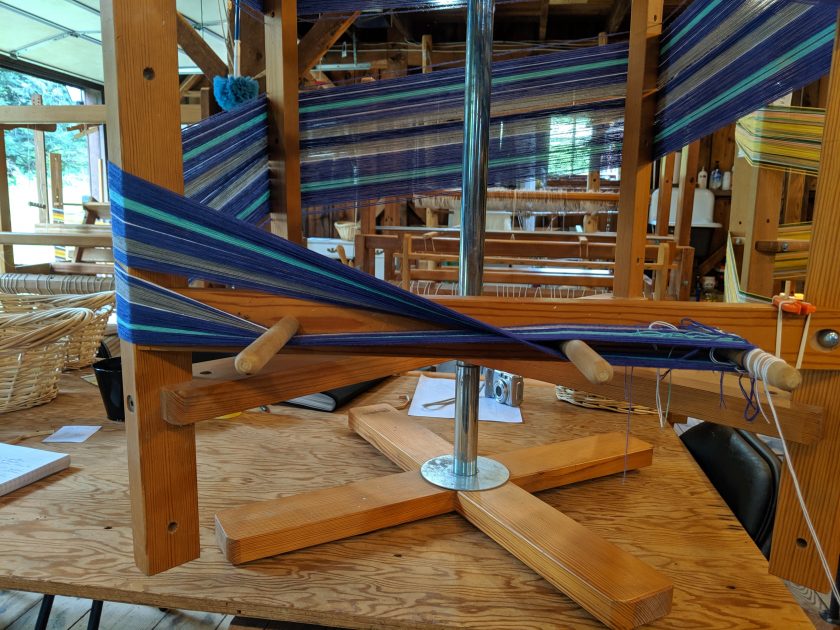
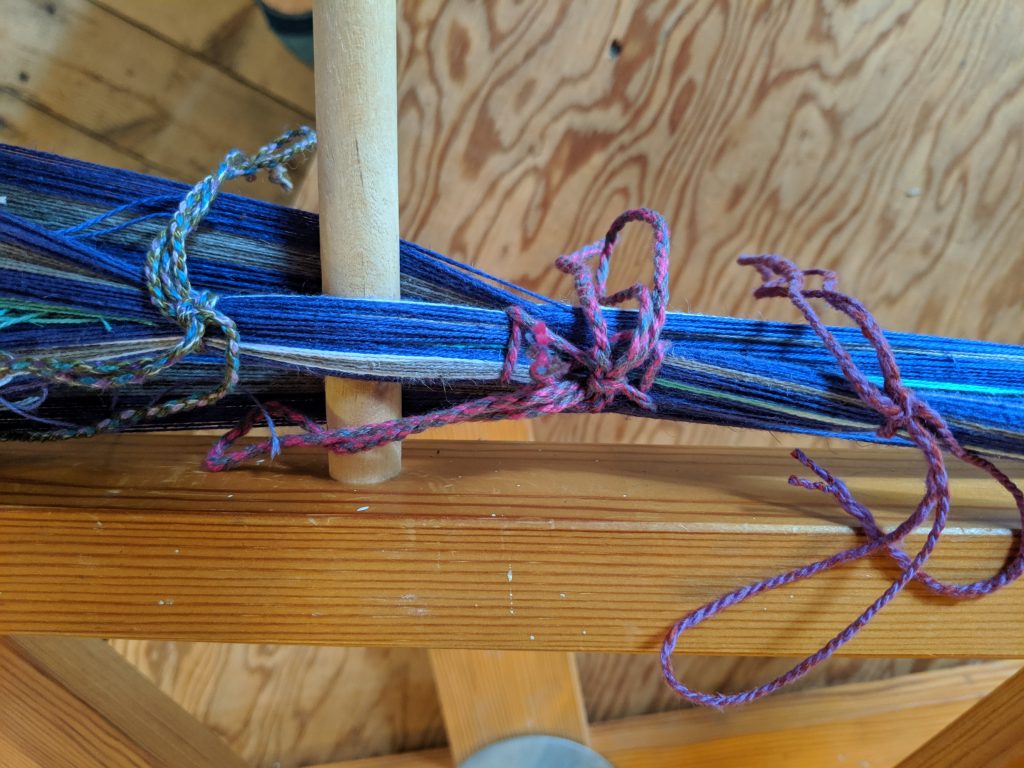
Anyone who has ever done a craft that uses yarn knows that if yarn is not kept organized, it very quickly becomes a giant mess. The secret to keeping the warp organized is a special technique called the weaver’s cross. The threads are crossed in a specific way that doesn’t allow them to get mixed up.
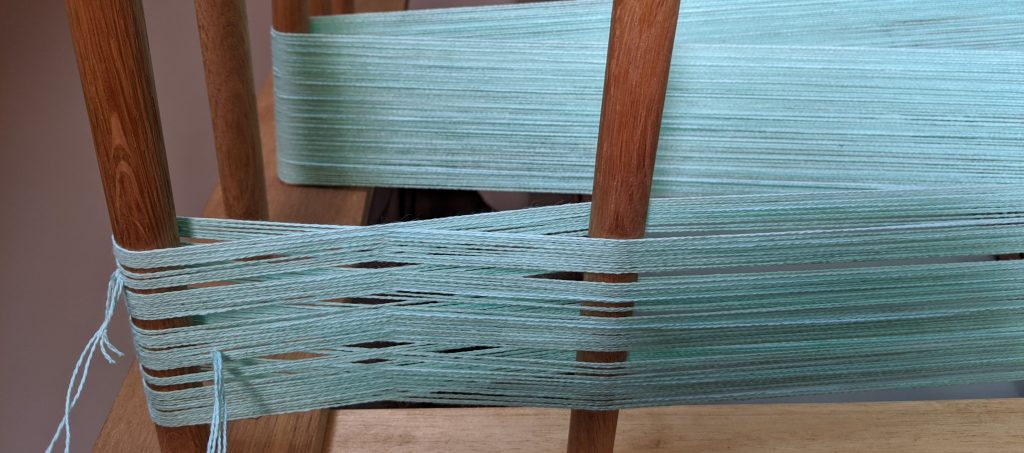
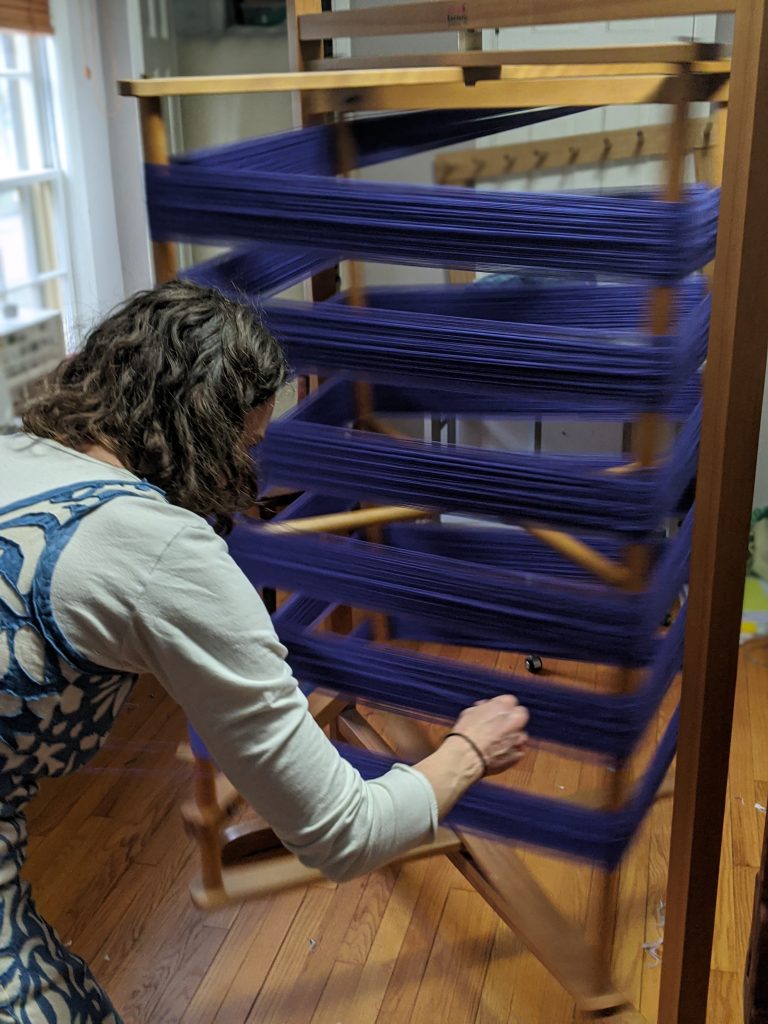
The other key to successfully winding the warp is to keep even tension throughout the process. This ensures that the threads will have even tension on the loom. There are two main tools that are used for winding warps, warping mills and warping boards.
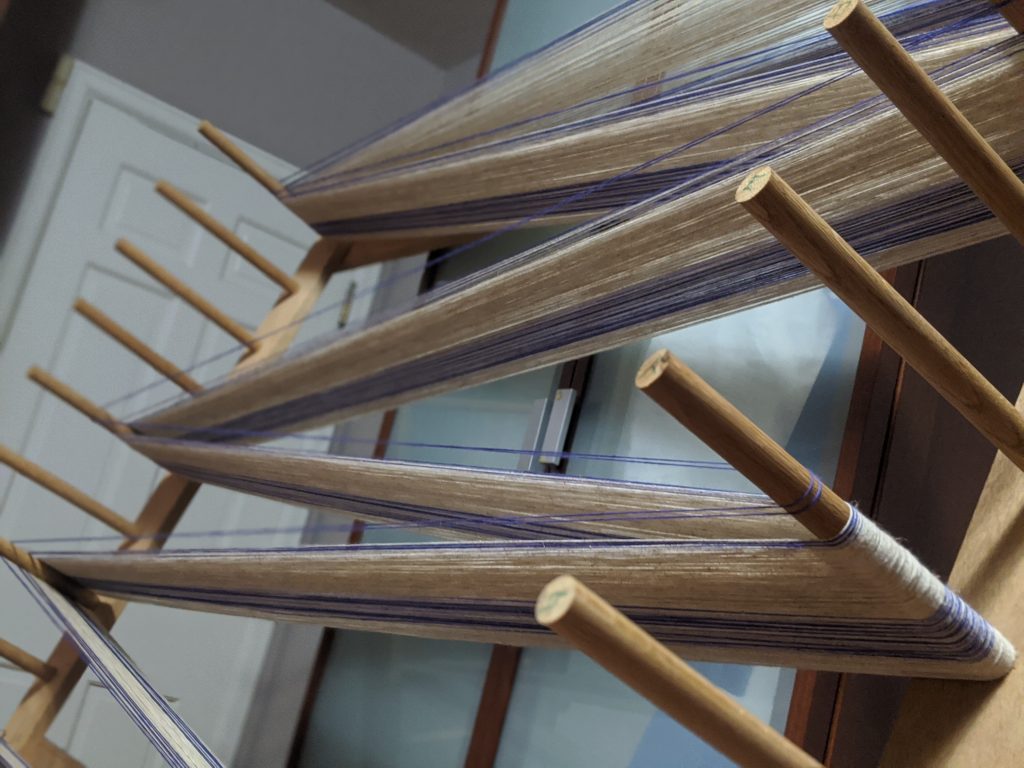
Once all the threads are wound, the cross and warp are tied with choke ties, and the warp is chained off. This keeps the cross intact and helps the threads to stay under even tension. At this point, the warp is ready to be beamed, which I will talk about next week.
