I am writing a series of posts describing the process of weaving, from thread to cloth. The first post discusses how woven fabric differs from knitted fabric. Last time I talked about winding a warp. This week, I start showing how to put the warp on the loom. (If you want to see beaming in action in action, the video version of this post is on YouTube.)
So, what on earth is “beaming the warp”? On most floor and table looms, the warp is wrapped around rotating beams and then unwound as you weave. The process of wrapping the warp around the beam is called beaming. It sounds simple, but the evenness of the tension as you beam in large part determines the evenness of the tension as you weave.
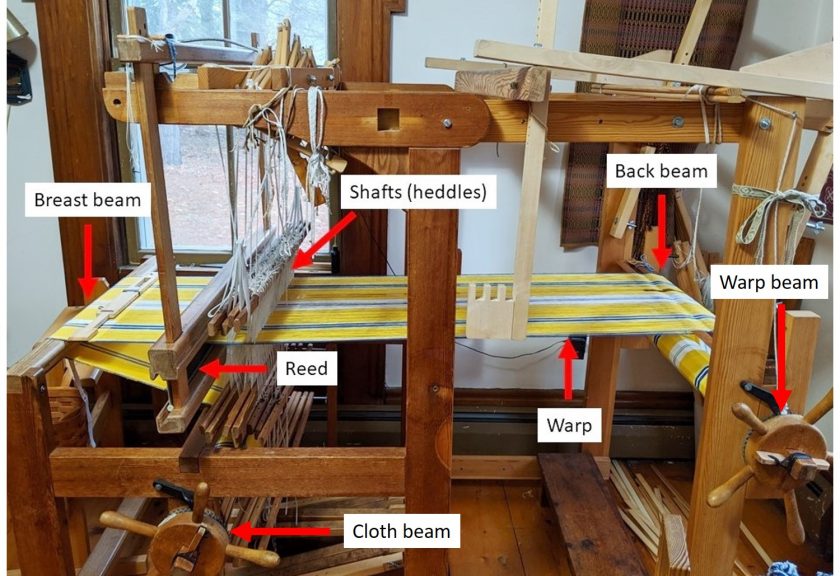
There are many different processes that weavers use to beam. Some weavers use a front to back method, in which they actually sley (put the threads through a reed to space them correctly) and thread (putting the threads through the heddles on the shafts) first and then beam with the warp running through the reed and heddles. I always beam back to front, so I beam first and then thread and sley.

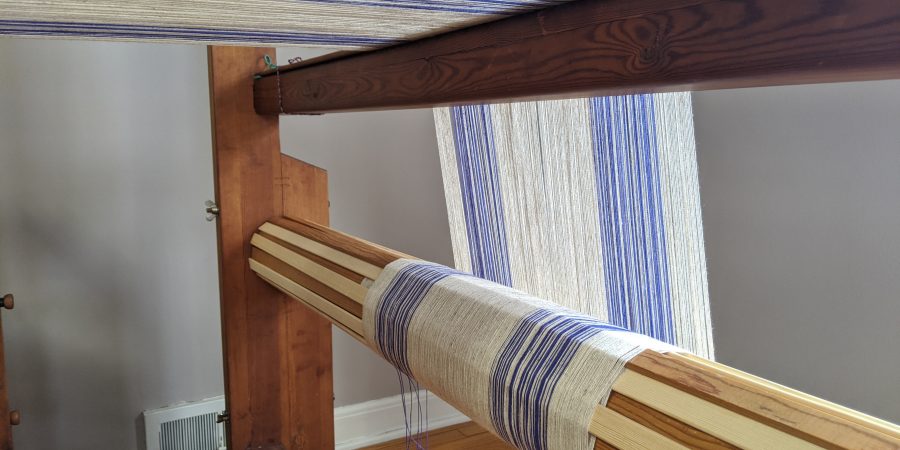
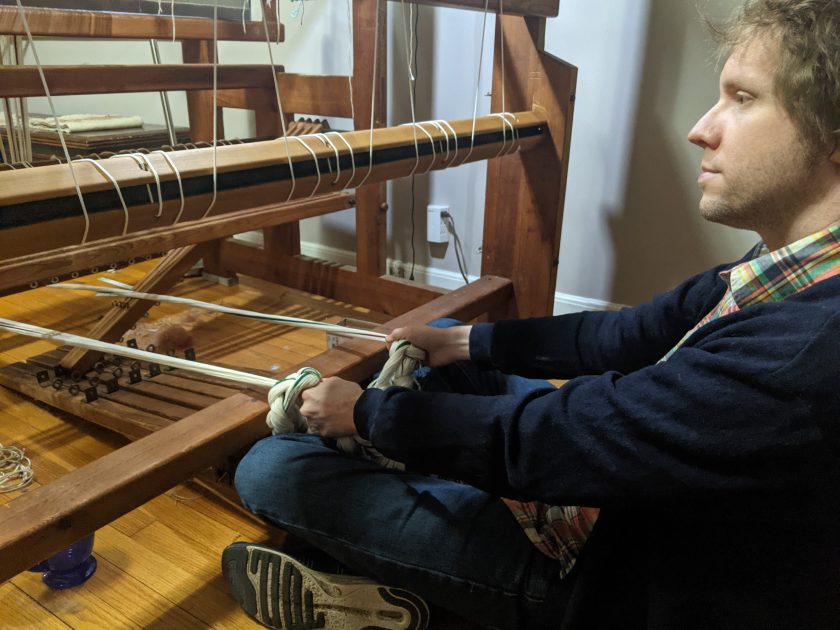
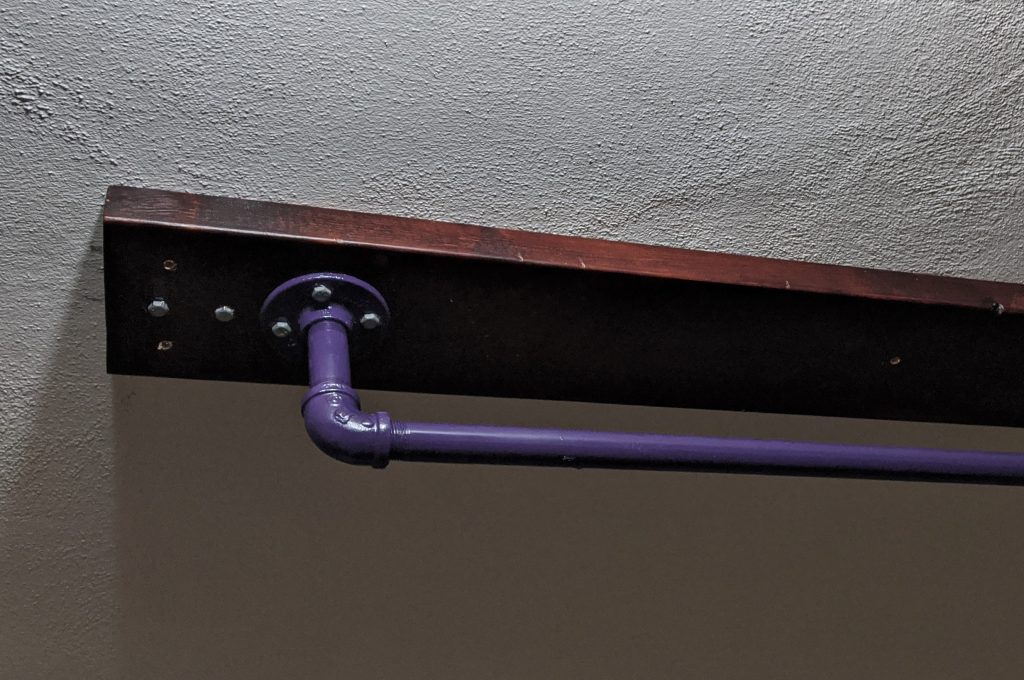
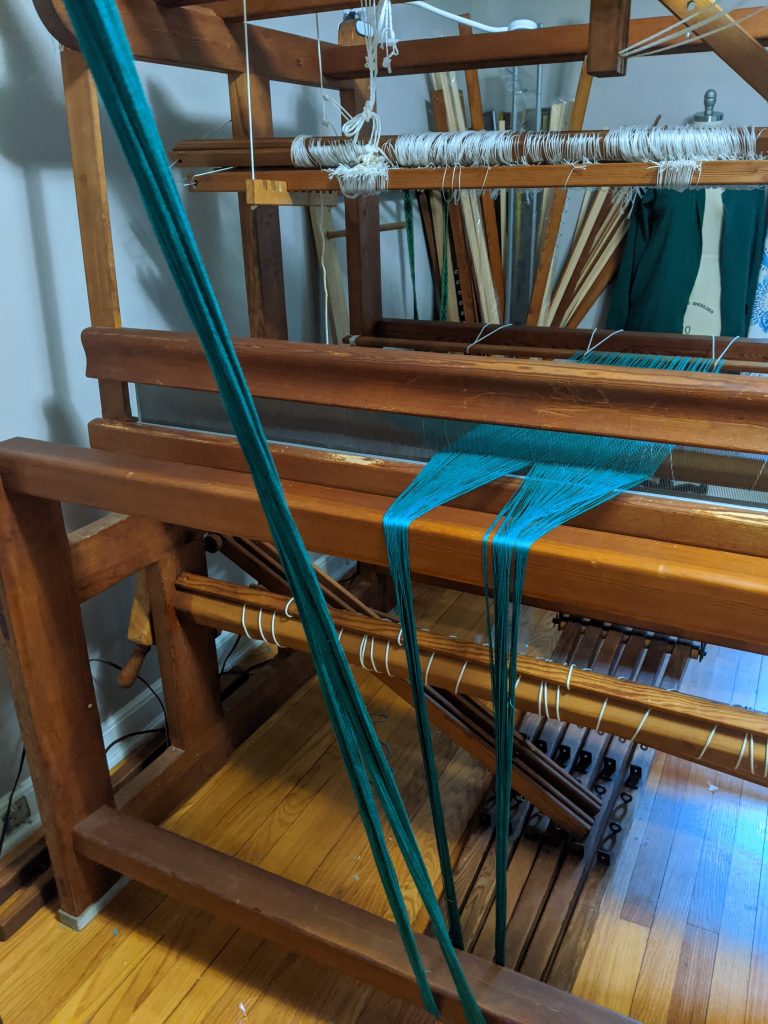
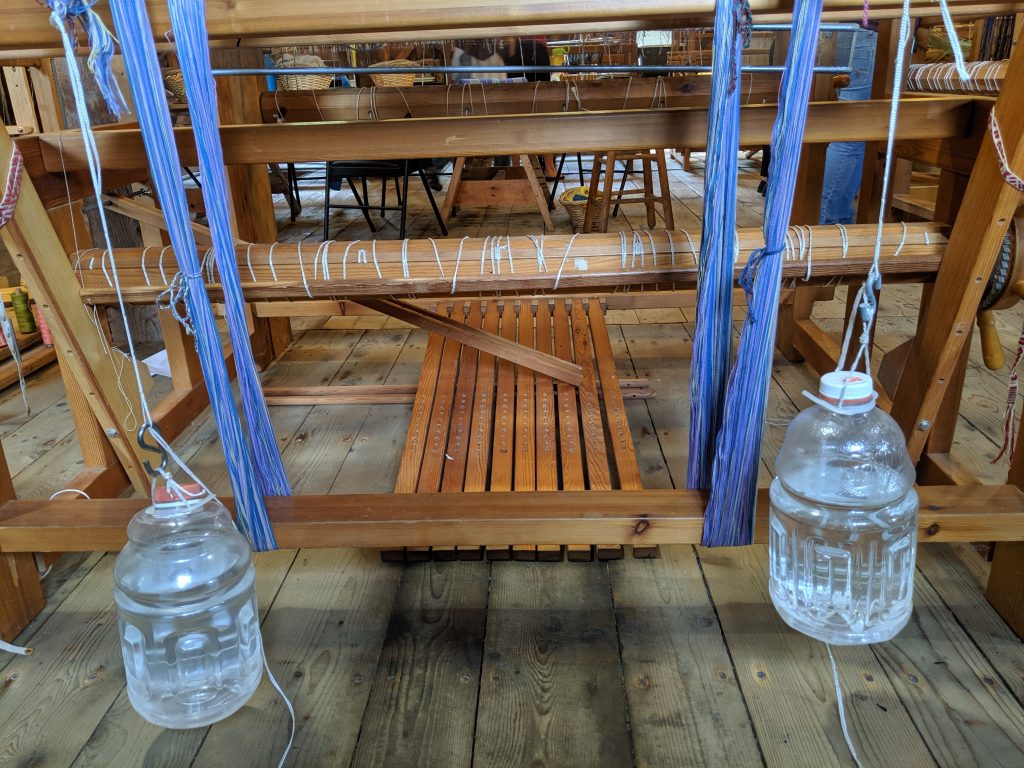
I learned two different methods for beaming. The first step in both of them is to spread the warp to the correct width using a reed. Most people use a raddle for this, but I prefer to use the reed. This spreads the warp to the correct width and evenly spaces the threads. Once the warp is spread for beaming, if I have an extra person, I have that person put tension on the warp as I turn. Alternatively, if I am beaming by myself, I use weights. I have a bar attached to my ceiling, and I hang the warp over the bar and then hang weights on the warp.
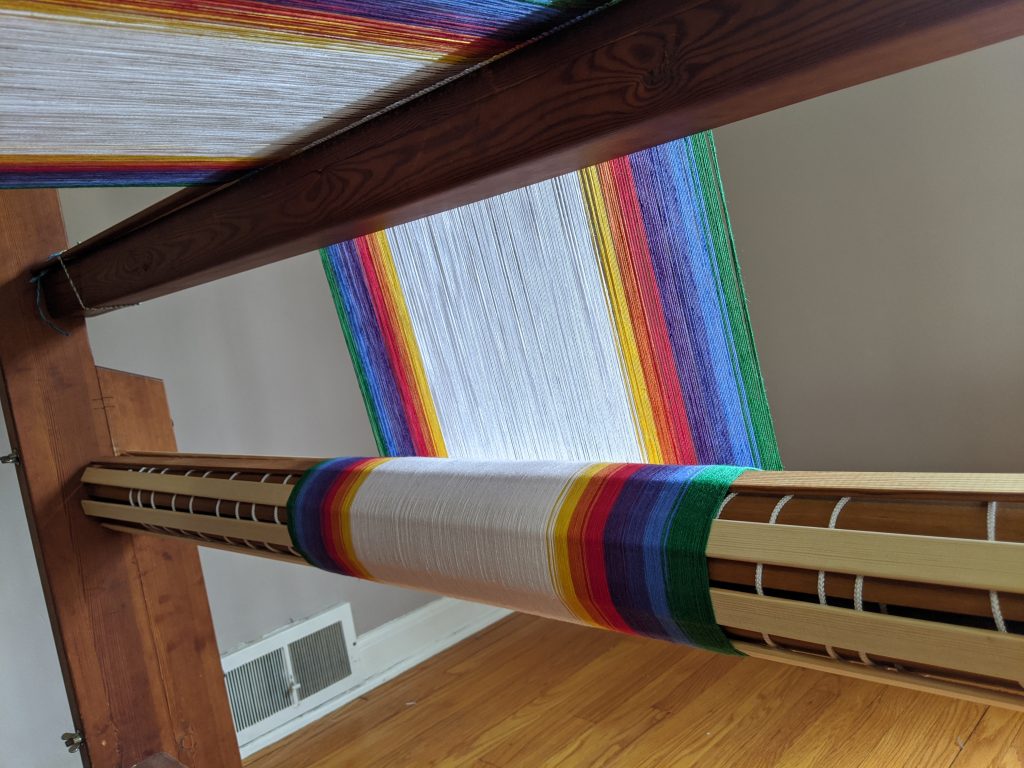
As I wrap the warp around the beam, I add sticks. Because yarn has a thickness, the threads will start to pile up on each other unevenly. The sticks prevent this by creating a new, flat surface for the yarn. Many people layer cloth or paper between their warp threads to achieve the same purpose, but I have learned that I hate dealing with paper, so I much prefer sticks.
That’s all there is to beaming; it is not complicated, but doing it right is critical to have good tension, and therefore good quality cloth. Tune in next week to learn about the next steps in dressing the loom!