I am writing a series of posts describing the process of weaving, from thread to cloth. The first post discusses how woven fabric differs from knitted fabric. Last time I talked about beaming a warp. This week, I talk about getting the loom set-up to weave, which is sometimes called dressing the loom. (If you want to see more of what the process looks like, the video version of this post is on YouTube.)
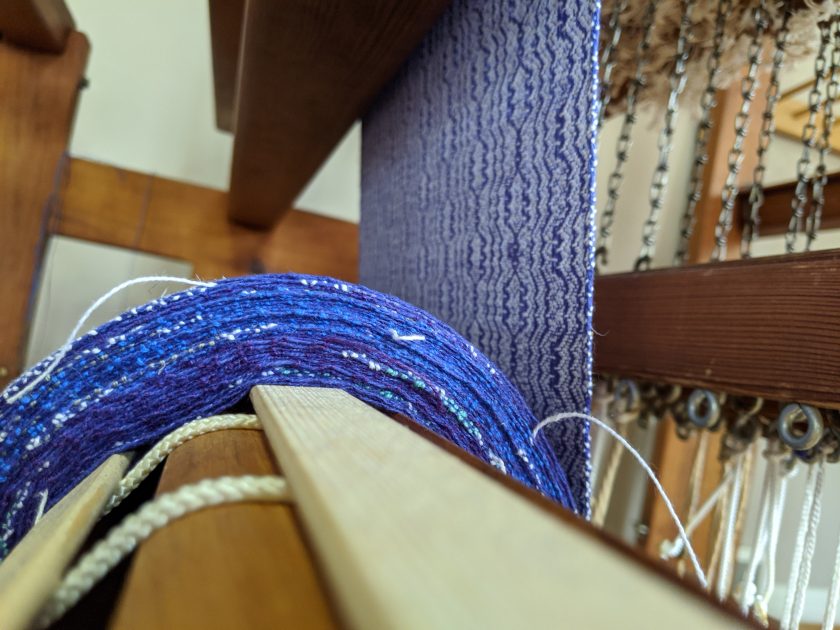
Once the warp is beamed, it’s time to really get into the magic of weaving. To create cloth, I must be able to control what threads are up and down to create a pattern. The way the I do that is by threading the ends onto shafts. All a shaft is is a harness for holding heddles. Heddles can be made of metal or string, and they slide along the shaft. They have a hole in the middle into which the end can be threaded.
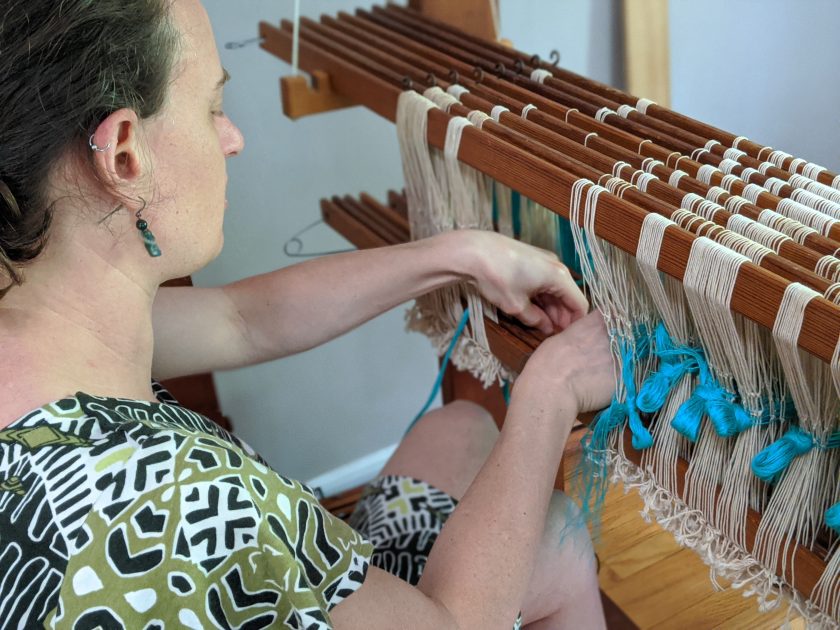
To weave the simplest weave, plain weave, I need a minimum of two shafts. If I were threading for plain weave, I would thread one end on shaft one, then the next on shaft two, then one end on one, then one on two, and so on. The result is that when I raise shaft one, every other thread is lifted. Lifting shaft two lifts the ends that were down when I raised the first shaft. By passing a weft in between the two sets of threads, I start to create the cloth. To create a more complex pattern, I can use more shafts and thread them as described by the draft.
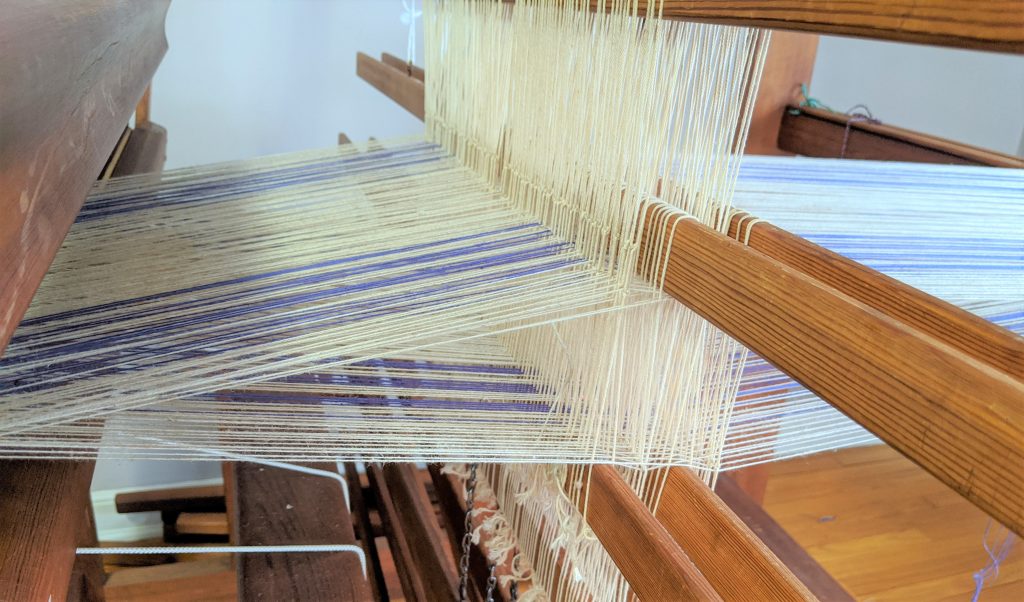
Once all the ends have been threaded onto the correct shafts, the next step is to put the ends through the reed. A reed is made of metal slats (originally the slats were made out of actual reed, hence the name) that are spaced at a regular interval. The act of putting the threads through the reed is called sleying. The distance between the slats determines how far apart the threads are as they are turned into cloth. Additionally, the reed is placed in the beater, which allows me to beat in the wefts.
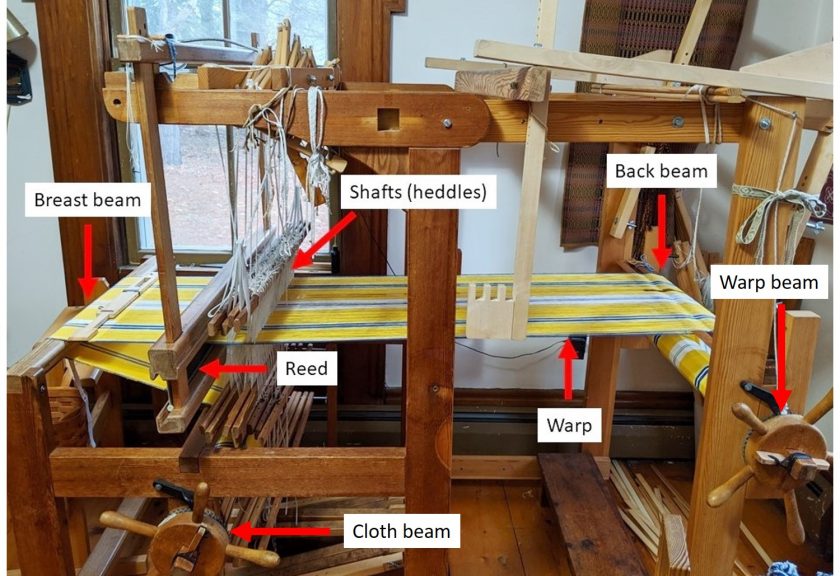
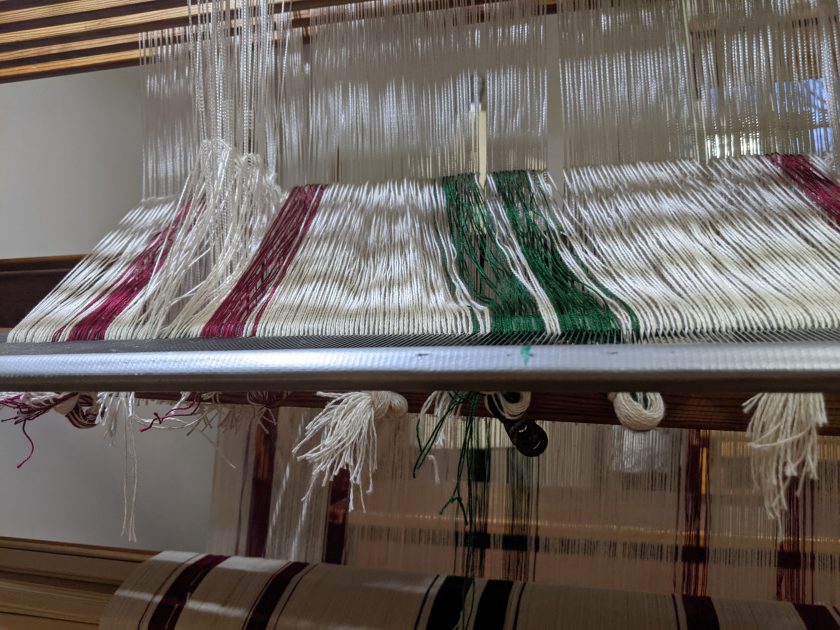
Once threading and sleying are complete, the next step is to tie-on to the cloth beam. Like the warp beam, the cloth beam rotates. As I weave the warp, I unwind from the the warp beam and then wind the cloth onto the cloth beam. The warp must be stretched between the two beams to have the proper tension to create cloth.
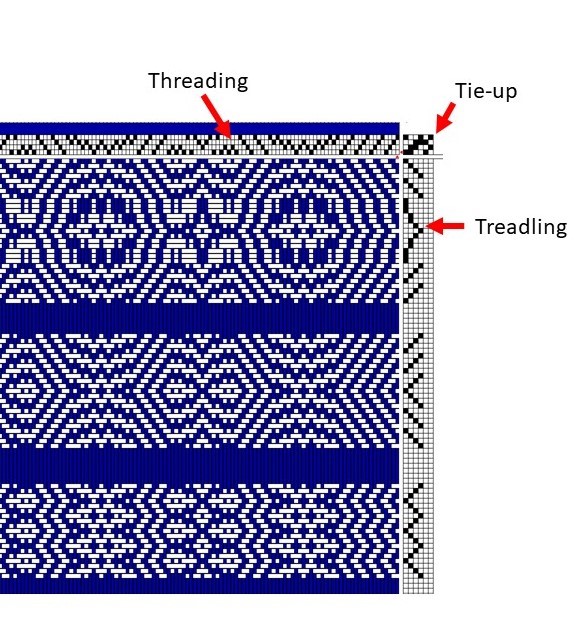
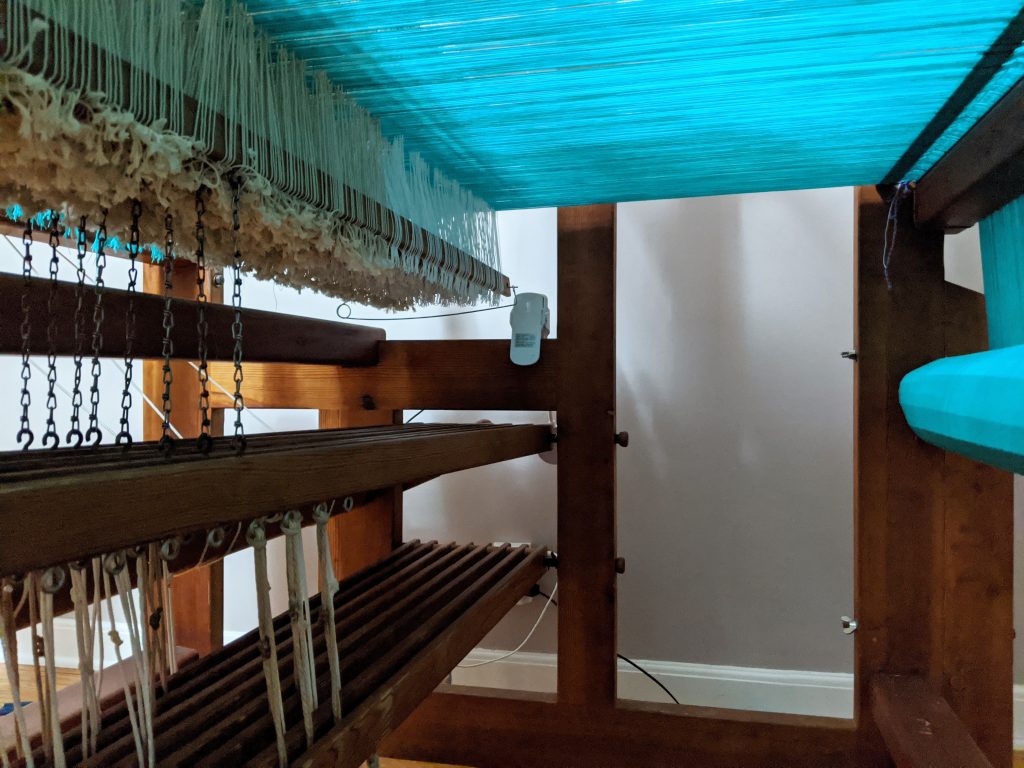
The final step before weaving on a floor loom is to tie-up the treadles to the shafts. Table looms don’t have treadles, but instead have levers that lift each shaft directly. Different floor looms have different mechanisms to lift the shafts, so they require different steps to be tied up. Jack looms are the easiest and quickest while countermarch and counterbalance looms require more knowledge to tie-up. In the end, they all accomplish the same thing, connecting the treadles to the shafts so that I can use my feet to lift the shafts, freeing up my hands to place the weft.
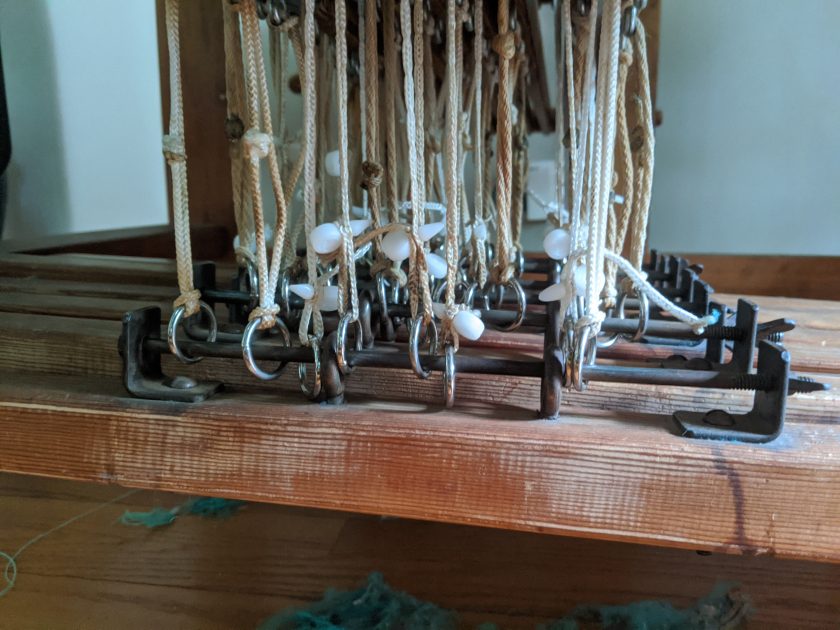
We are now through the process of dressing the loom. It is definitely time consuming and worth doing right because fixing mistakes later on is really annoying. However, the nice thing about weaving is that whether the warp is 5 yards or 50 yards long threading, sleying, and tying up take the same amount of time. Weaving, unlike some other crafts such as knitting, has economies of scale. Now that the loom is dressed, next week we get to talk about creating cloth!
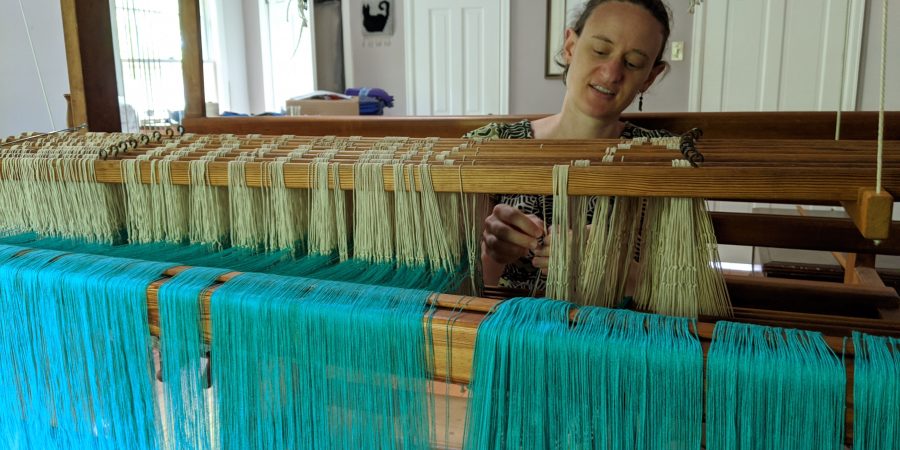
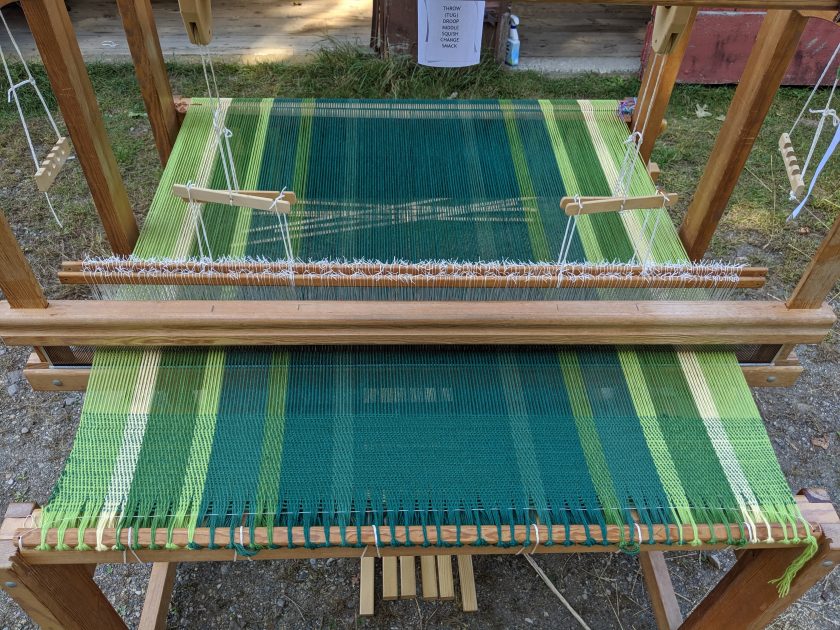
That is a lot of warp ends in the first picture. I salute you!
Thanks, it is the most I’ve ever done.