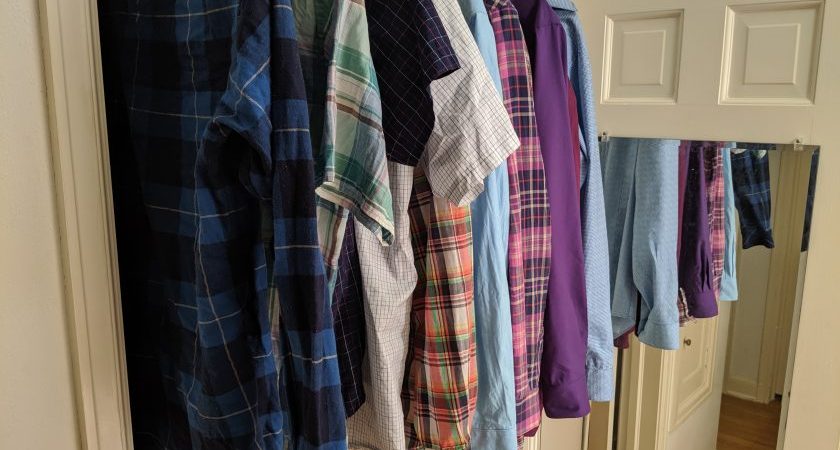
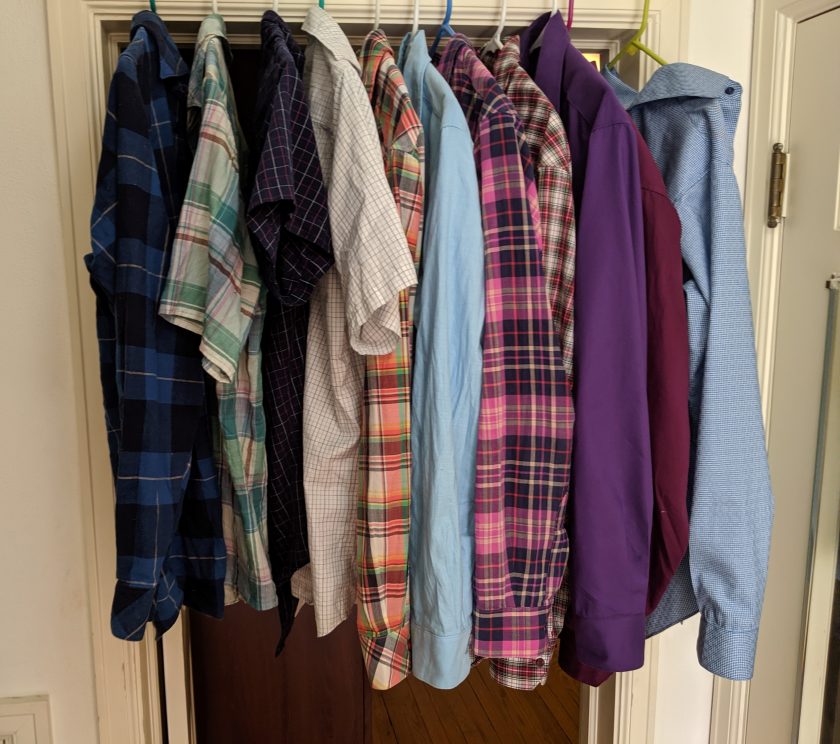
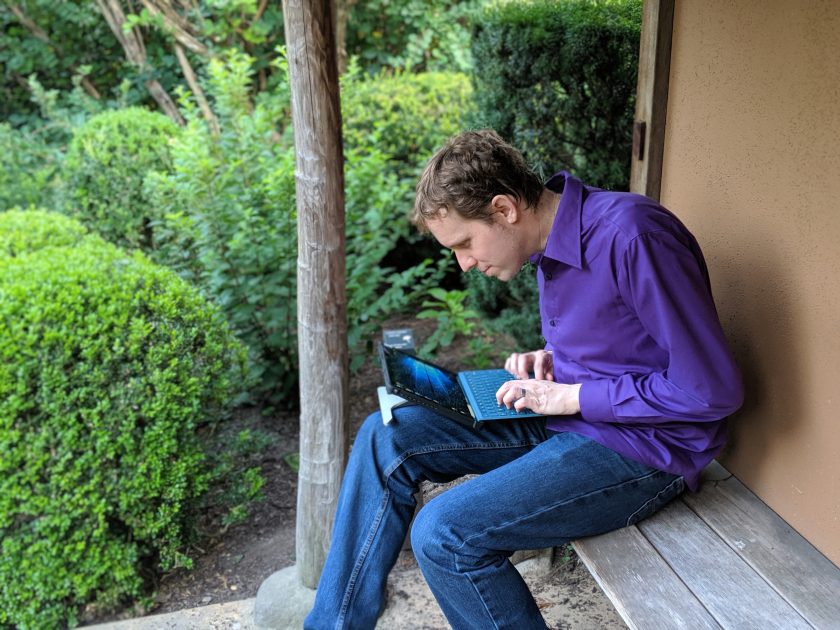
As I have recently completed my 11th men’s collared shirt, I decided to reflect about everything that I have learned. I finally feel like I am happy with most of my techniques, but I am definitely not at the end of my journey; I still have more to learn!

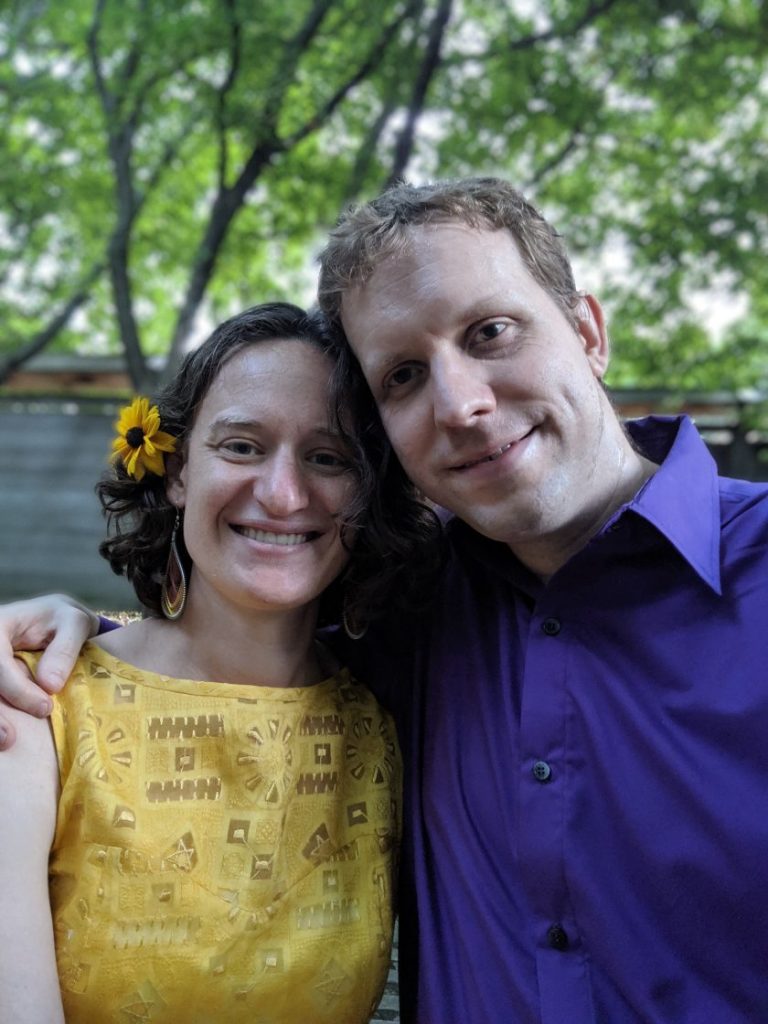
This whole journey started a couple of yeas ago with this short sleeved shirt. It was quickly followed by a flannel shirt, and then two more summer shirts. At first, I focused mainly on the fit, as my muse/model has several fitting issues. I discuss a little bit of that here.
One thing that I had to work out was interfacing. When I first started, I was using a non-woven interfacing, which is totally wrong for a shirt. Next, I tried the shirt-crisp woven interfacing from Fashion Sewing Supply. I found that it was too stiff for the yoke and button band, but I like it for the collar and cuffs. For the yoke and button band, I now use light-crisp interfacing, also from Fashion Sewing Supply. I have found that when it is humid, I sometimes have trouble getting these interfacings to fuse, so at some point I may explore other options.
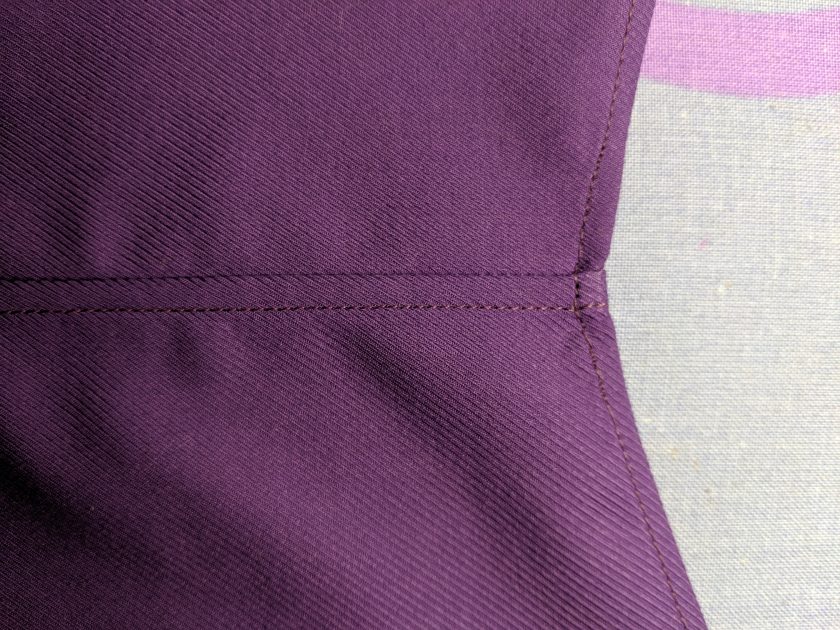
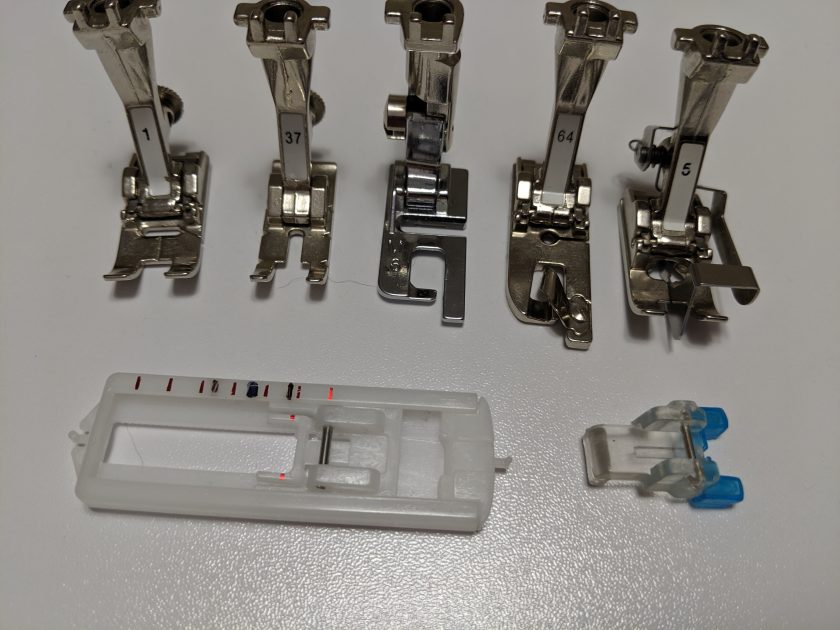
Concurrently with working out the fit and materials, I started trying to refine my techniques. My biggest help with this was Shirtmaking by David Coffin. I now use his techniques for my collars and cuffs, and I get much better results than I did with other techniques. One of the biggest game changers for me was getting proper feet. I got a flat-felling foot and a hemming foot, which immediately gave me much better results than doing it by hand– and saved me a lot of burned fingertips! I have subsequently added even more feet to my repertoire, so that I now use seven different feet when making a shirt.
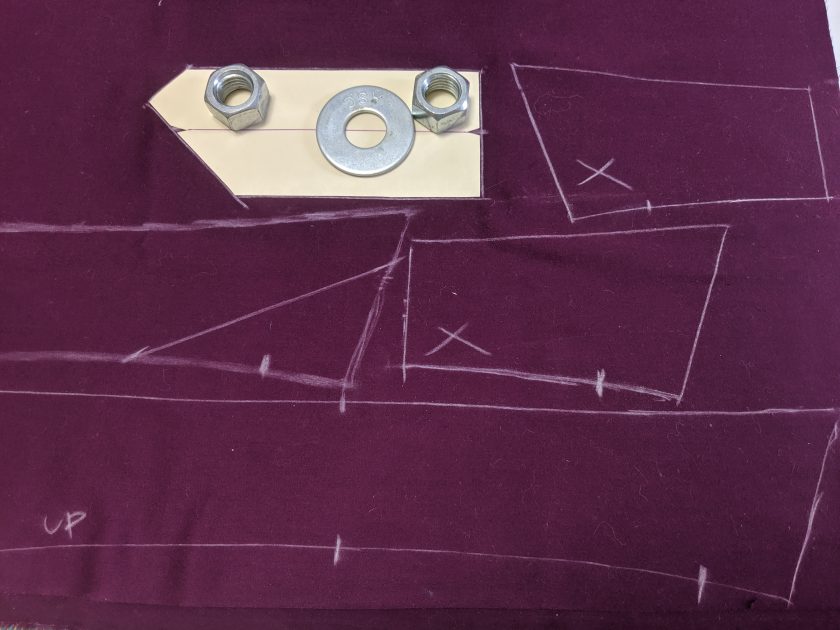
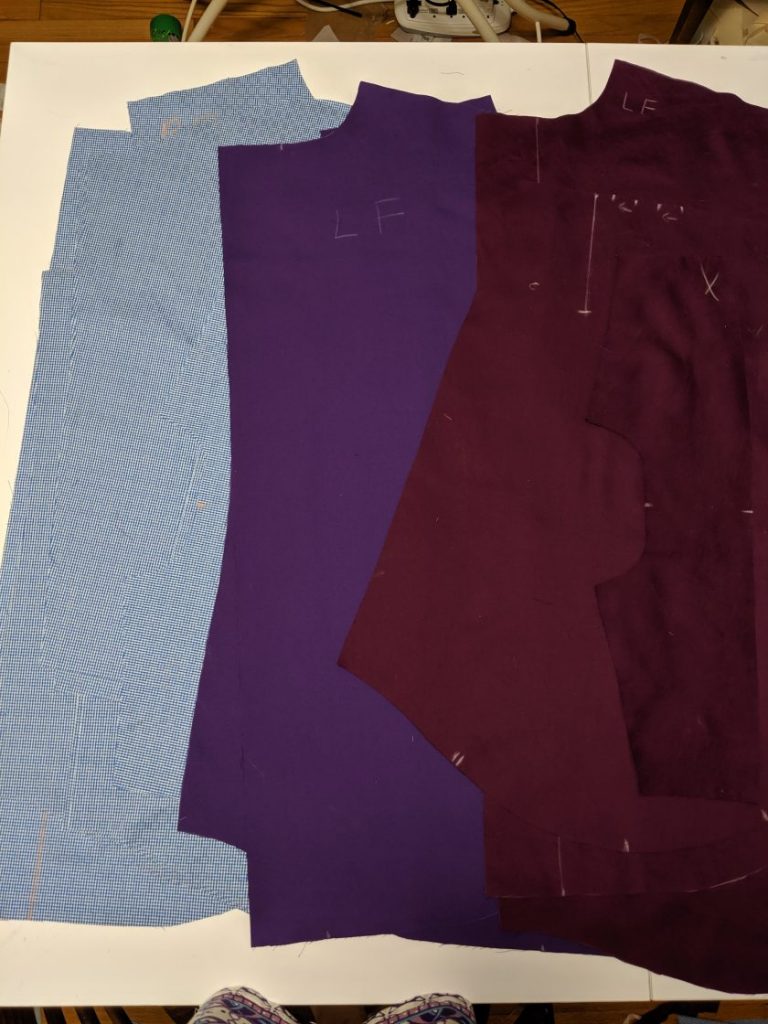
Once I felt like I had the fit where I wanted it, I decided to copy my pattern onto tagboard. The advantage of this is that it is sturdy enough to trace around it. So, instead of pinning the tissue pattern to your fabric
(which slightly distorts the pattern), you can just weigh the pattern down and trace. Using my new pattern, I was able to cut out my last three shirts in record time.
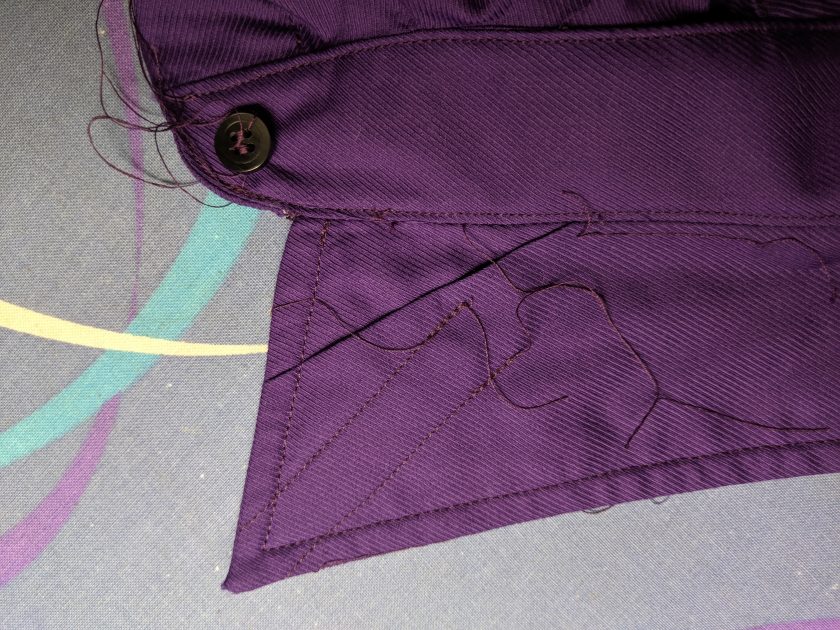
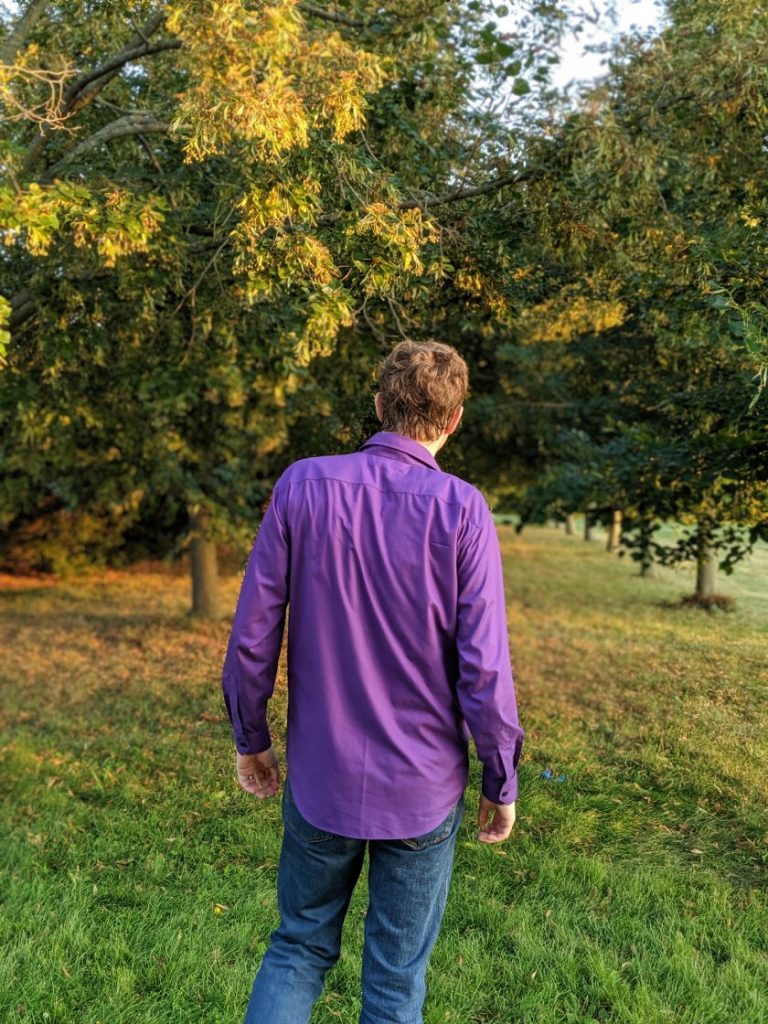
I am definitely still on my journey. In the last couple shirts, I started adding collar points to the collar. I am still perfecting that, but next I plan to re-work the placket for the sleeve, as I am not satisfied with my current technique. After making over ten shirts, I am definitely starting to get better, and I am more and more pleased with each shirt. I will definitely continue to make more shirts, but they may not show up on the blog as they get repetitive after awhile.