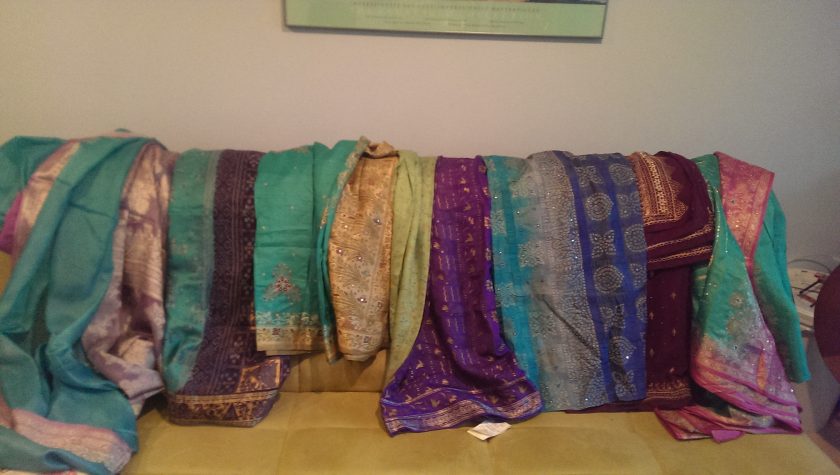
A couple years ago, I went on a sari-buying binge. I have slowly been turning them into garments, first some dresses, then a skirt, and finally a top made from the scraps. This summer I took advantage of the warm weather and washed all of the saris I have left and hung them outside to dry. They were pretty musty smelling, and now they are clean and ready to be cut into.
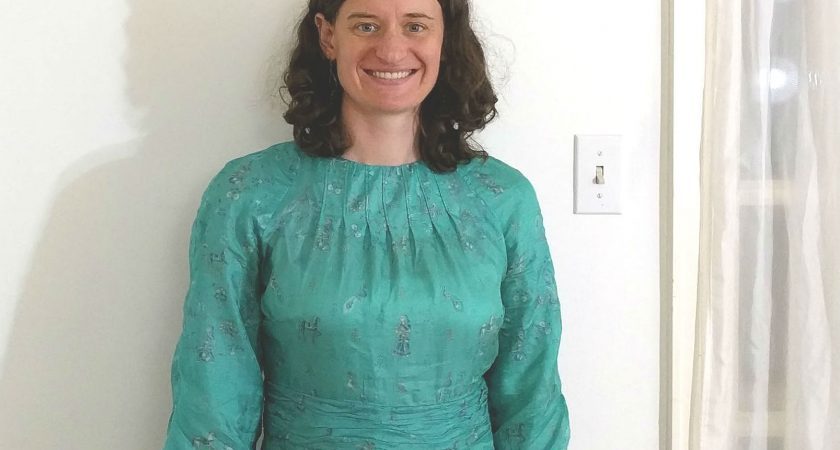
I wanted to make a top since I like the top that I made from sari scraps so much. The silk is really light and, if is long-sleeved, I have found that by layering it over either a tank top or a long-sleeved t-shirt I can wear it for many types of weather. I looked through my collection of Burdastyle magazines because I figured they were bound to have a suitable pattern. I decided on 11-2016-122.
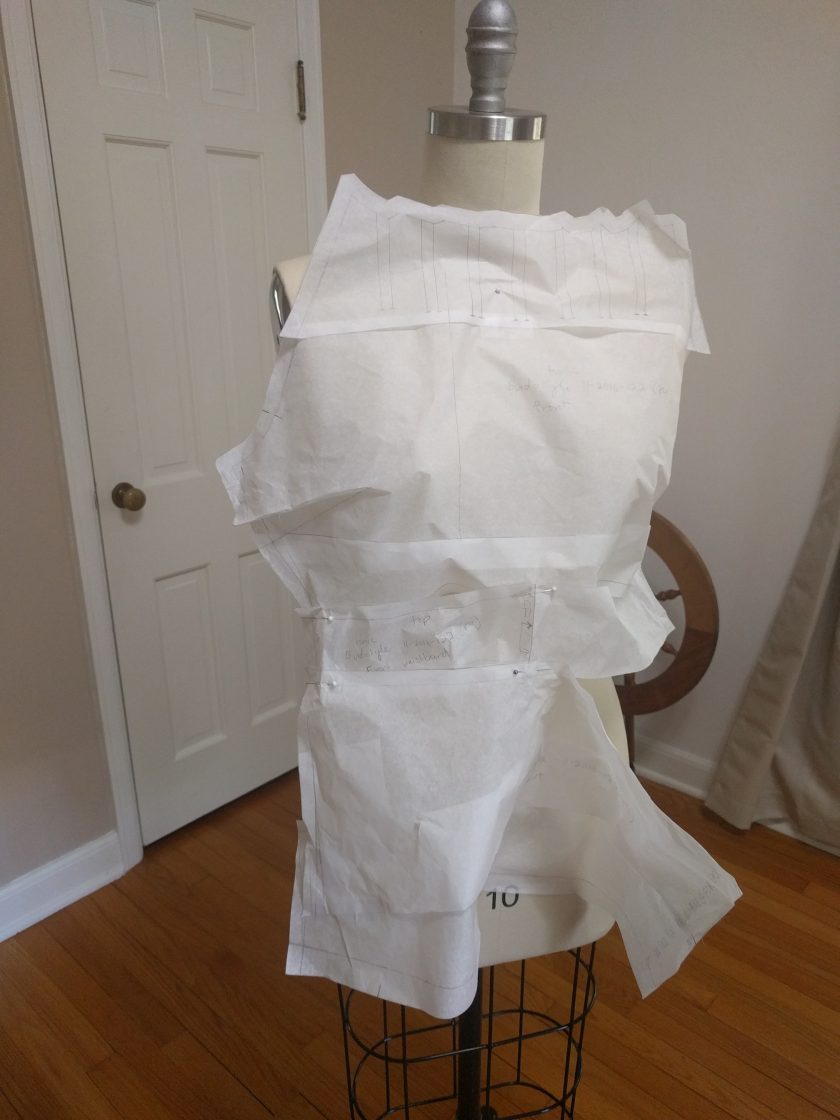
Apparently I have a thing for tall Burda patterns because this was one of three patterns I’ve picked recently that have been in tall sizes. They have like 20 patterns per magazine and only 1 is usually in tall sizes, so why do I only like the tall ones? I am decidedly not tall (5’4″). I have to shorten regular sizes, which I think are drafted for 5’6″ or 5’7″ in Burda. Shortening the tall sizes is really annoying. I think I took out about 5 inches from the bodice and another 5 from the sleeve (that was actually a little too much because I forgot to take into account that the sleeve was raglan and therefore goes over the shoulder). To help me get the length right, I used my dress form to tissue fit the pattern. I wish there was another top I liked equally well, because adjusting the tall sizes is almost not worth it.
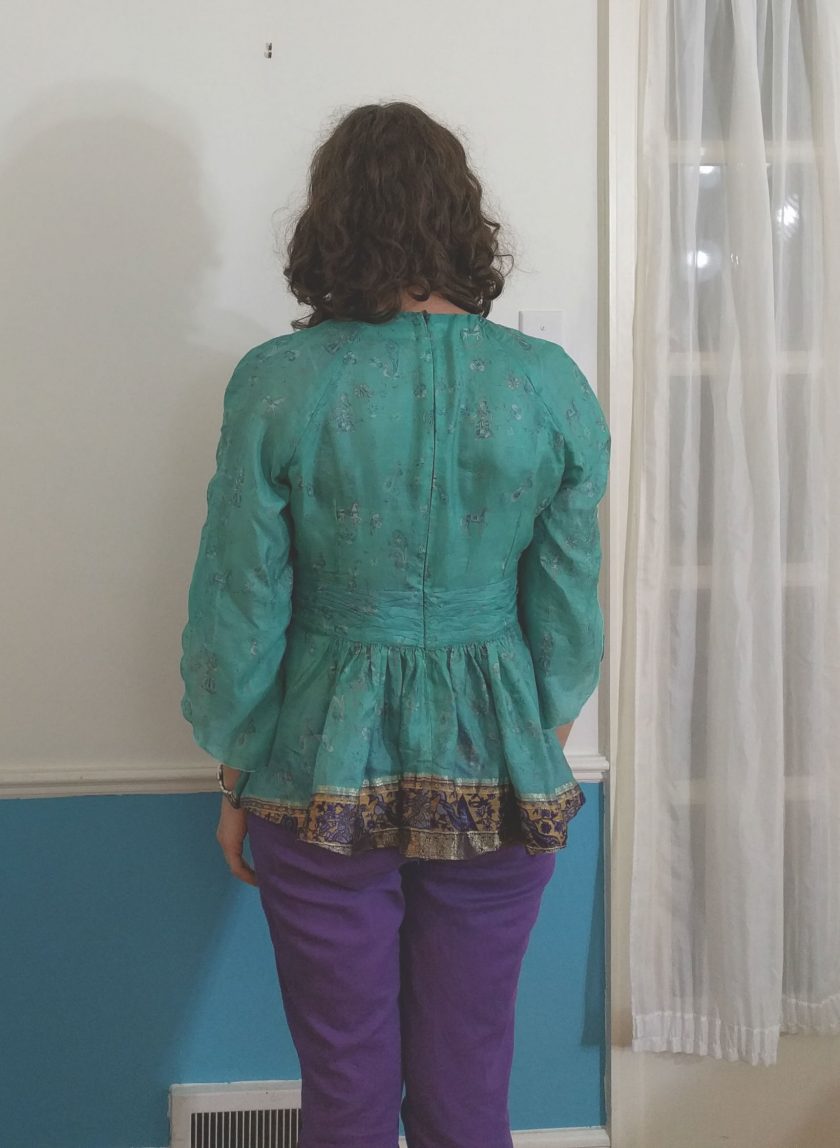
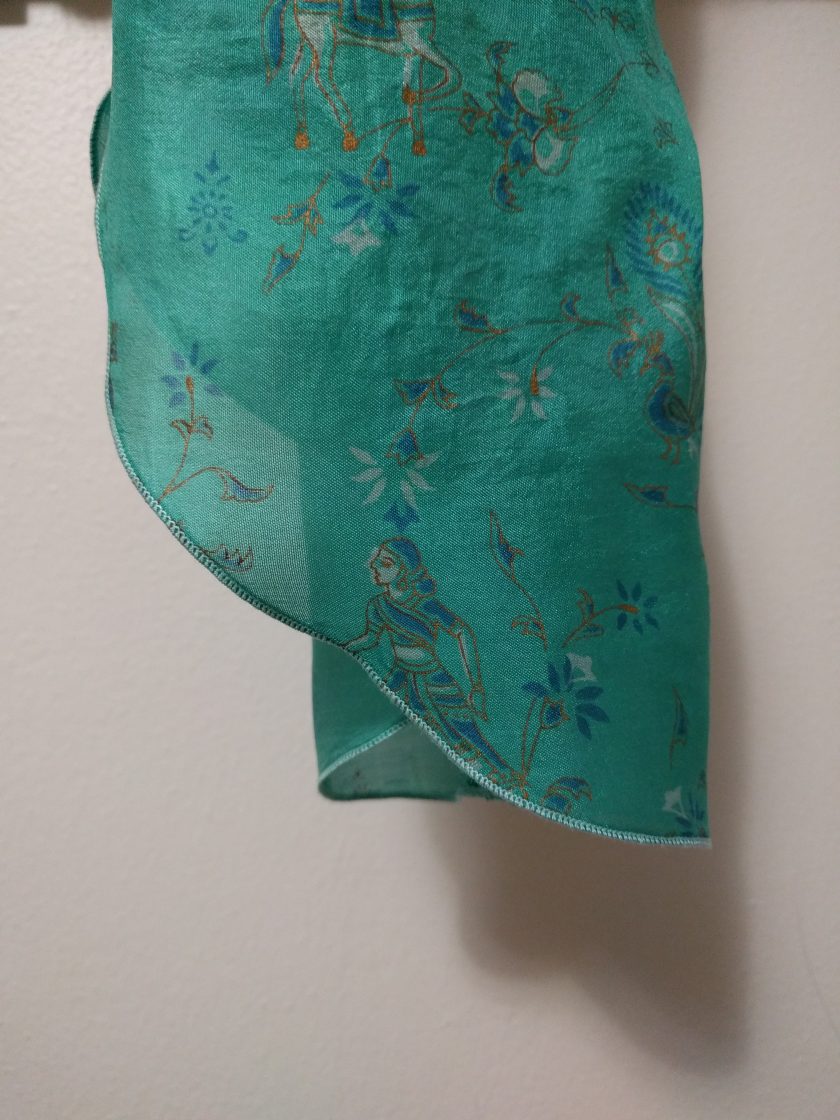
Once the pattern was adjusted, most of the construction went smoothly. The waistband is lined and the inner waistband hides the seam allowances; the other seams are serged. I used my favorite foot, my rolled hem foot, to hem the bottom. It did not handle the thin silk as well as it works on cotton shirting. I think for this light of a fabric I might need the smaller hem foot (2 mm vs. 4 mm). Since the hem foot has a harder time with curves, and the sleeves are quite curved, I decided not to used the hem foot on the sleeves. I also didn’t really want to press a narrow hem by hand, so I decided to use my serger to make a rolled hem instead. As I discussed in my previous post on rolled hems, it’s good to have options. I’m pretty happy with how the hems turned out, although one came out a little wavy. I used the same settings on both sleeves, and one sleeve is fine, so I’m stumped as to what happened. I can live with it, though.
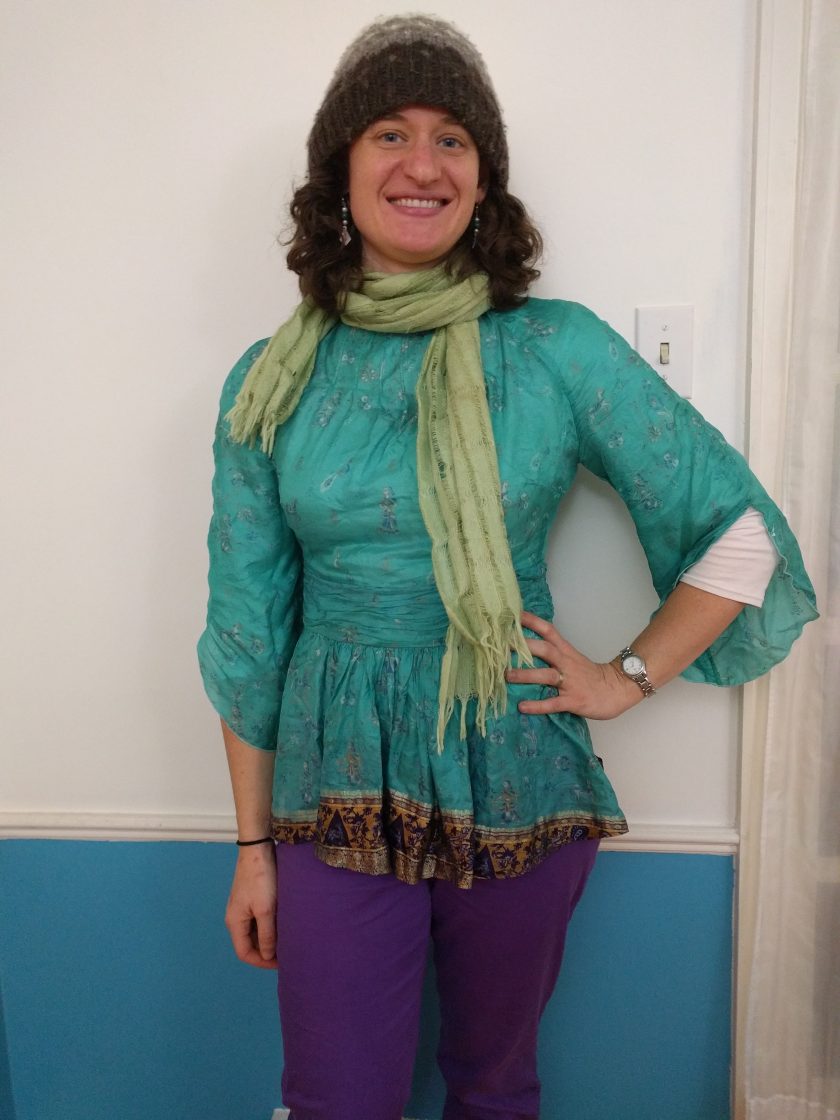
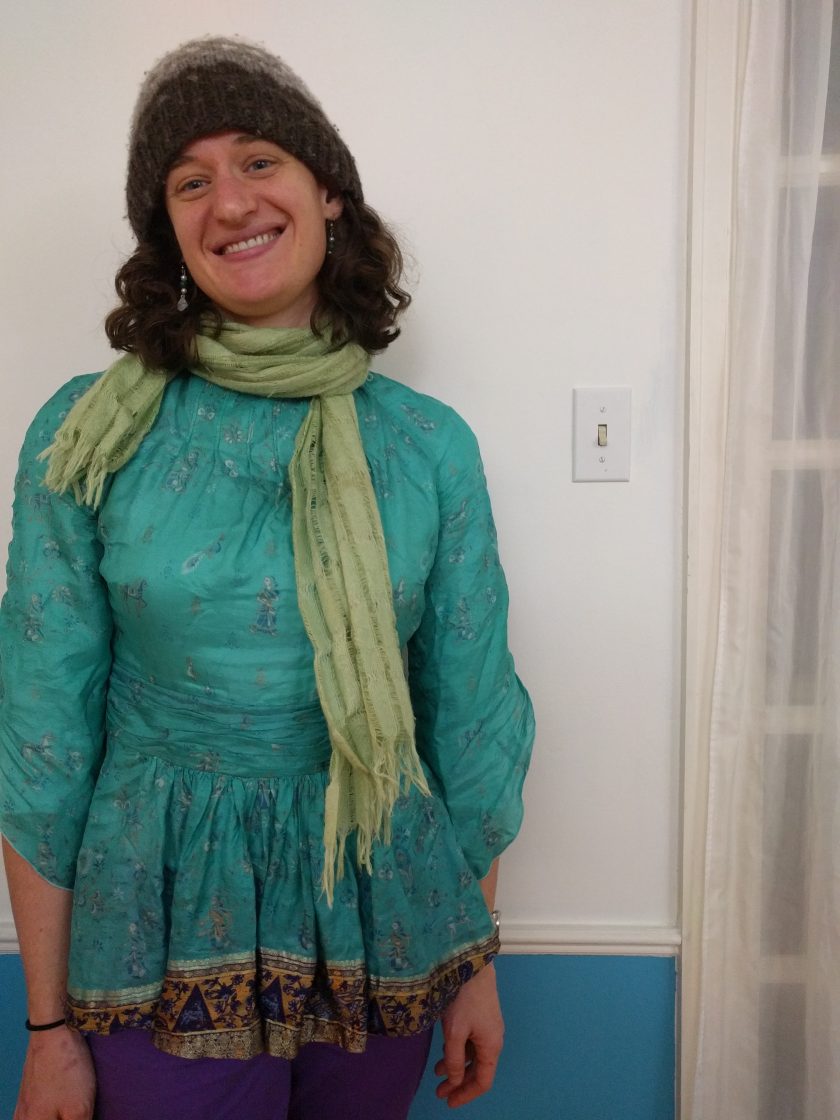
Overall, I’m happy with this top. It’s a little different and colorful, which is pretty much my style, so I’m sure I will wear it all the time. I wish that I had cut the bottom peplum so that the purple went all the way around. I would have had to adjust how it was attached so it stayed the same length all the way around, but I think it would have been worth the extra effort. I’m actually happy with how the sleeve length worked out because the wide fluttery sleeve would be in the way if they were much longer. Now that I’ve done all of the adjustments, I quite like this pattern; I’m definitely thinking about making the dress version of it. I also have about half the sari left, so I will have to think about that to do with that.
