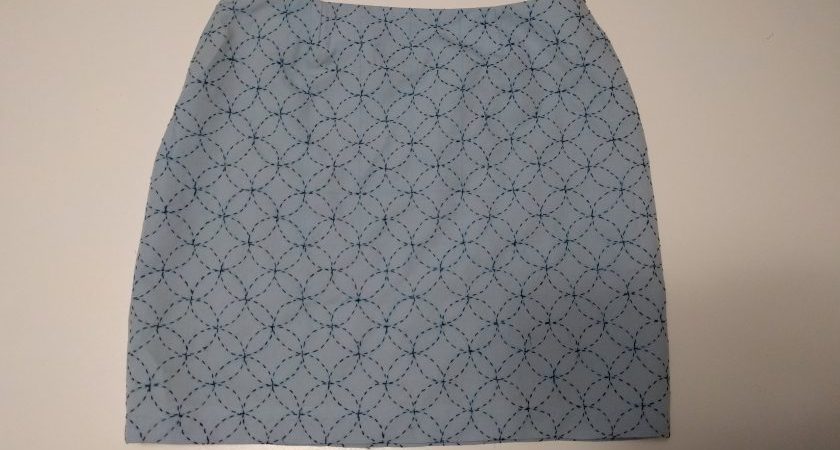
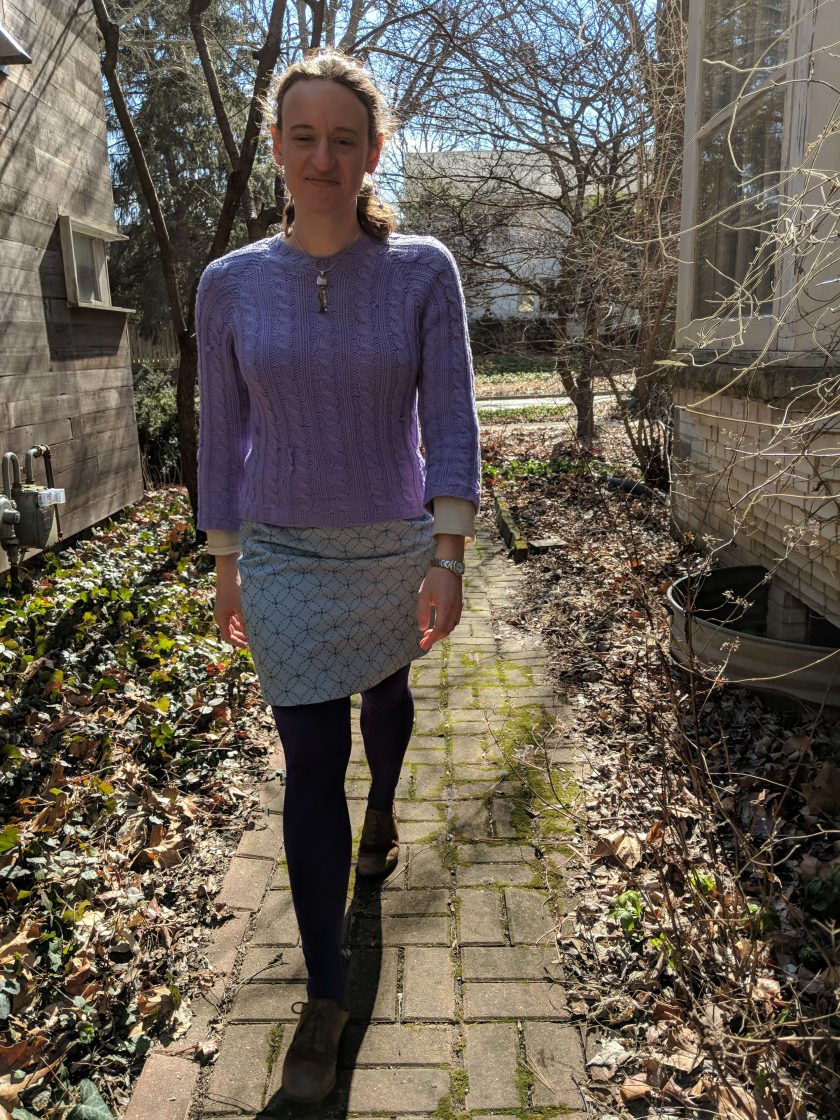
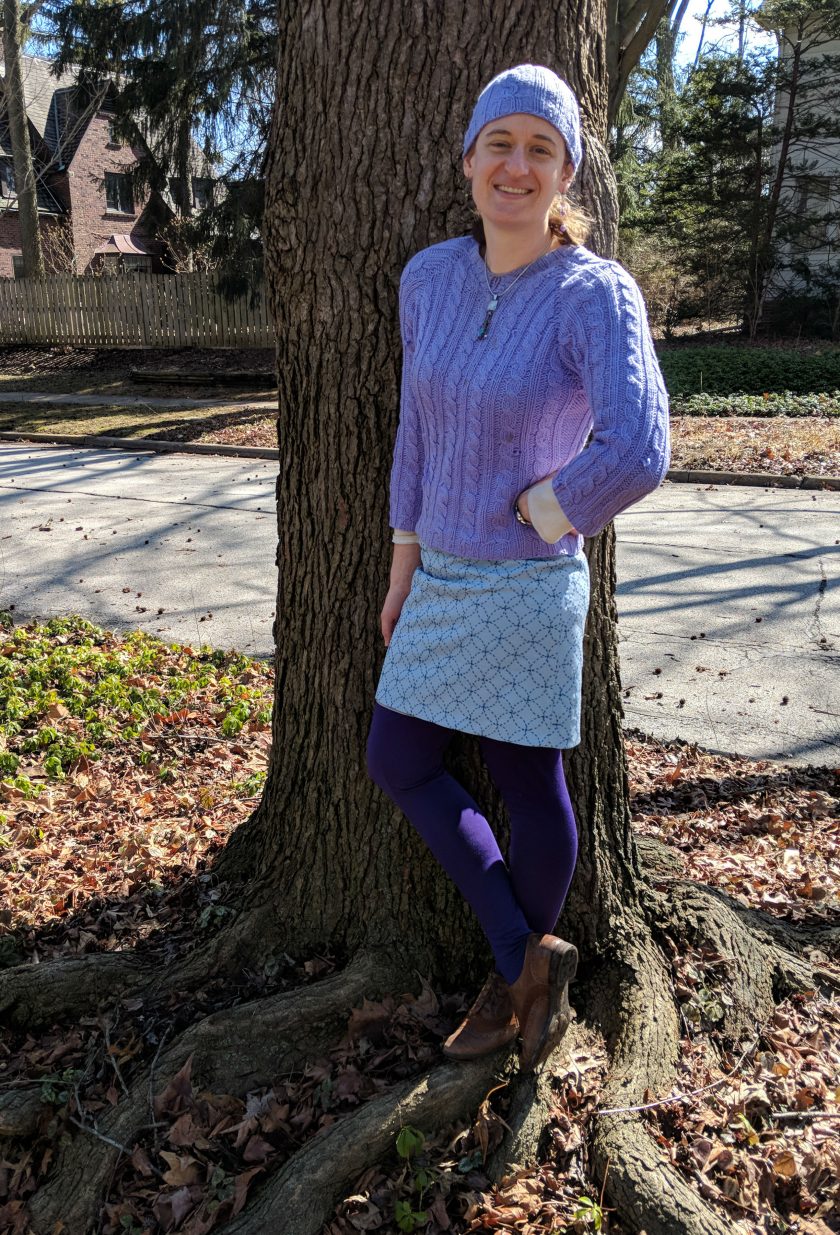
This project came about because I had been wanting to do more sashiko embroidery and because this wool twill seemed boring. Sashiko is a Japanese style of embroidery that uses a running stitch to make geometric designs. I had done a tiny bit of sashiko when mending some jeans. This wool fabric was leftover from a dress, and I wanted to make a short skirt to wear over tights, but the fabric just seemed plain. I decided it would make the perfect canvas for some sashiko.
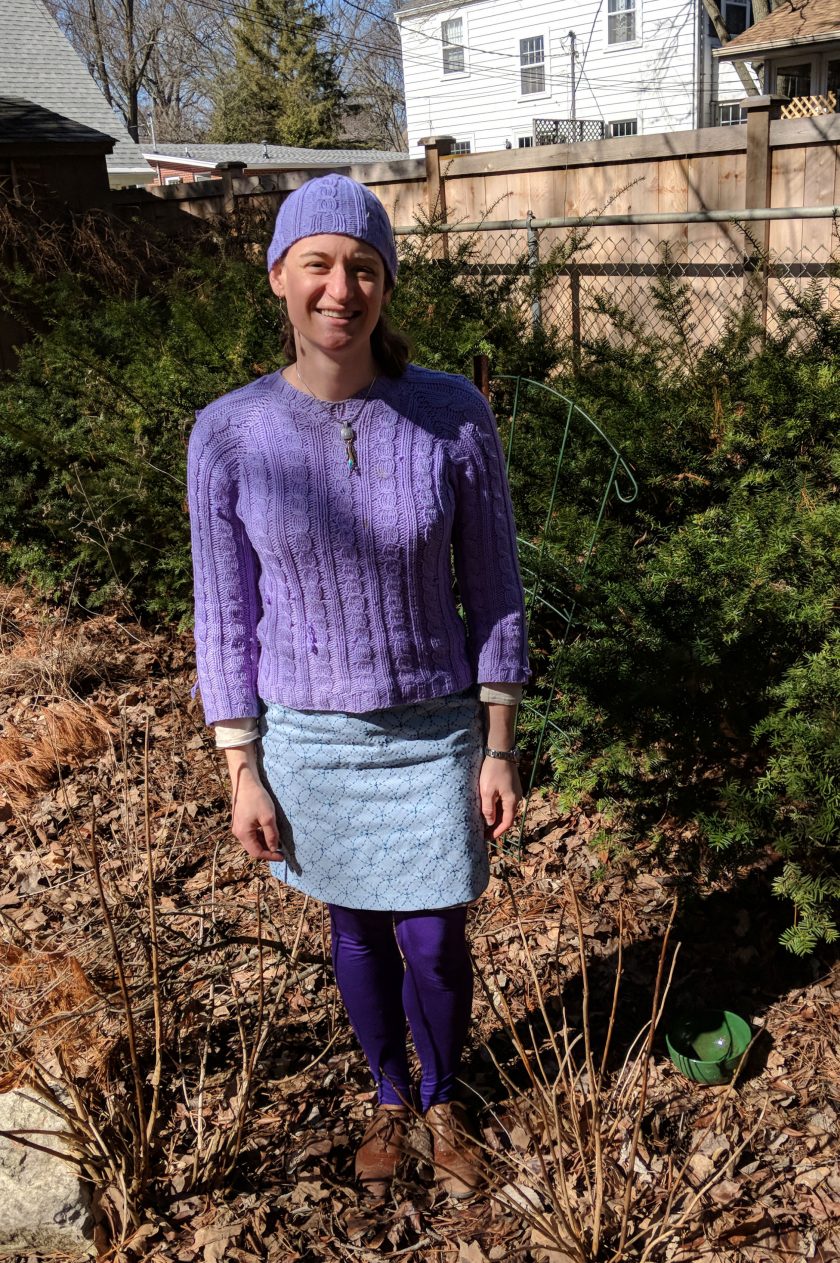
The pattern for this skirt is the second iteration of a self-drafted pattern. This time round, I took in the waist, let out the hip, and added a facing and lining. I sewed the dart before I did the embroidery because I wanted the pattern to be continuous. I should have added extra to the seam allowances, because I ended up having to let it out as much as I could and it is still a big snugger around the hip than I would like. You can see the wrinkling on the front which is a result of being too tight in the hop. But at least now the pattern is correct.
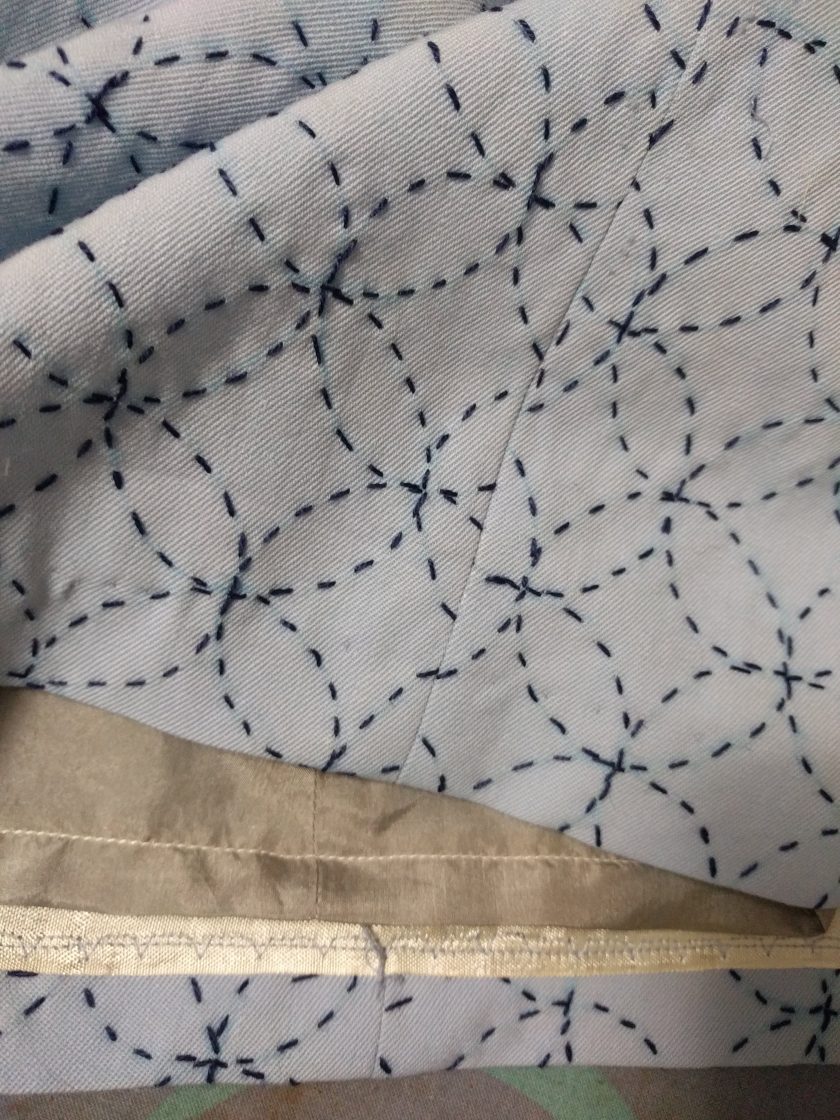
The thread is #8 pearl cotton in navy blue. There is a special cotton thread used specifically for sashiko, but the pearl cotton was available at JoAnn’s and I wanted to see the color in person. This thread seems to work great, but I think the thicker #5 thread (which I considered) would have been too thick.
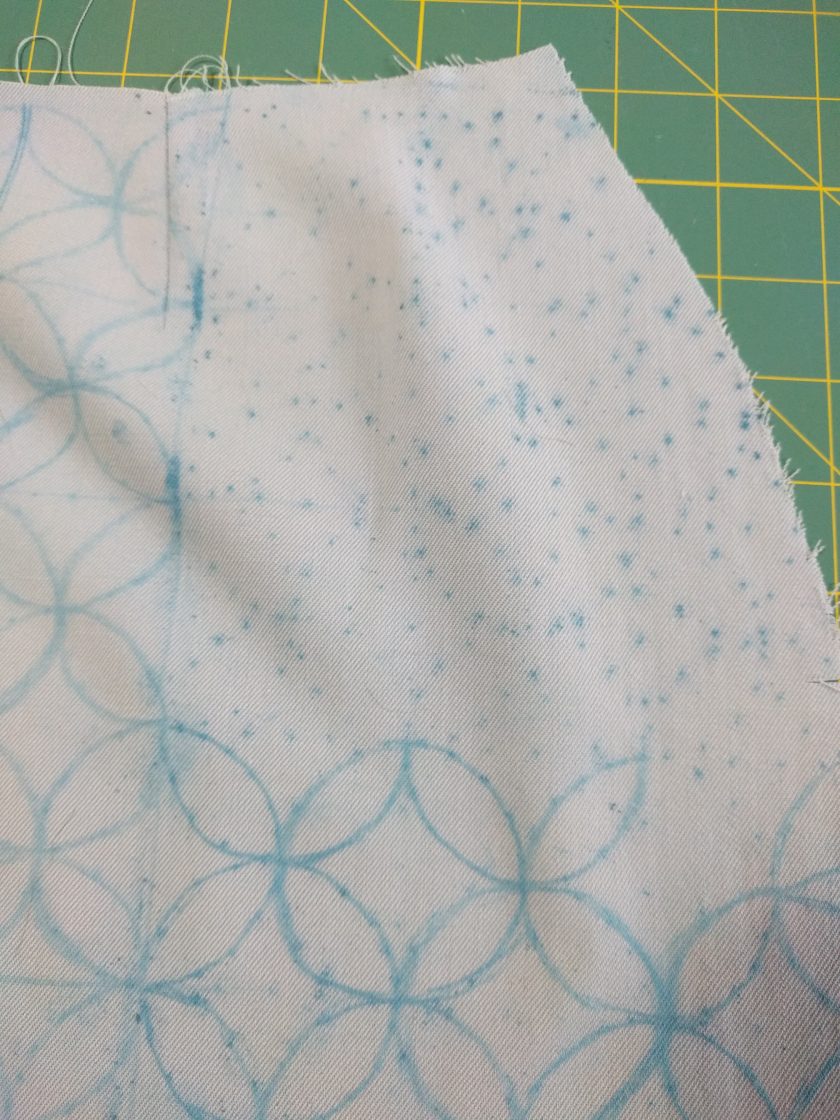
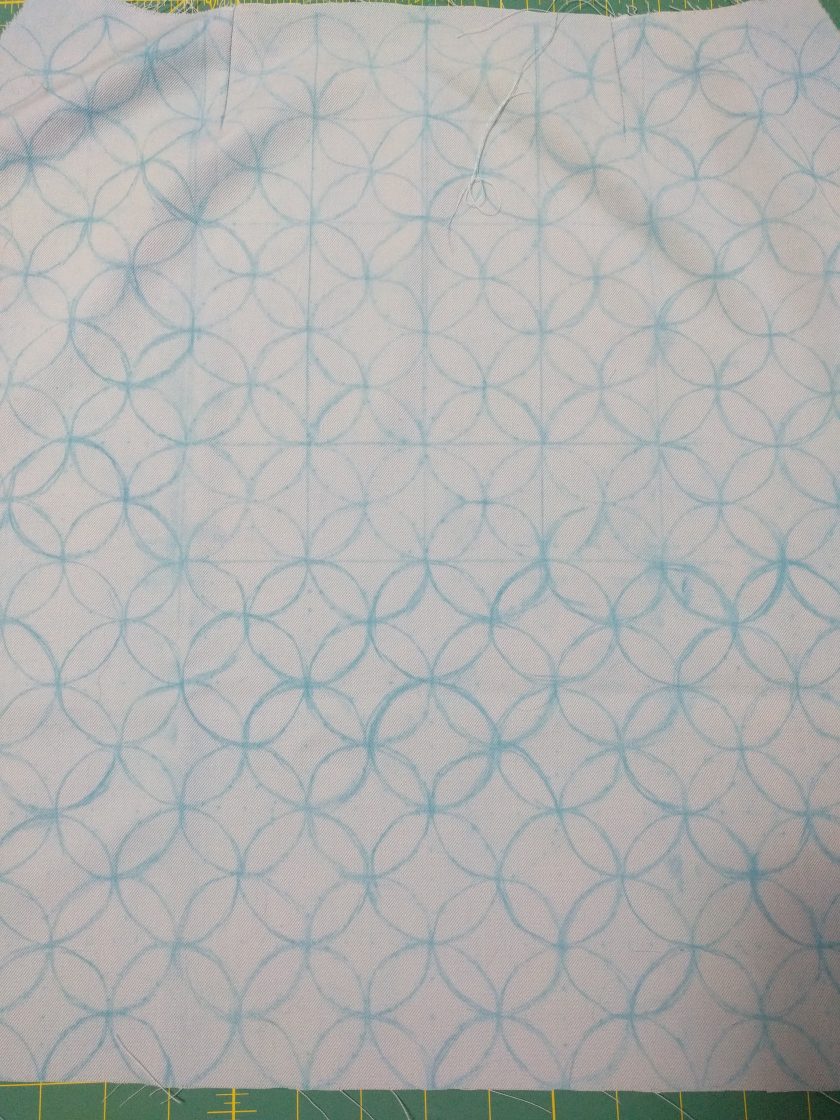
The trickiest part of the embroidery was transferring the design. I printed out the design (which is a traditional geometric one) and used a T-pin to poke holes. I then used a knife to scrape a piece of chalk to create chalk dust. I rubbed the chalk dust through the holes to transfer the design. The dots left by the holes ended up being hard to follow, so I used them as a guide to draw the lines with the chalk.
Once I had the lines to follow, the embroidery was easy. The running stitch used in sashiko is the same stitch the I used to create the reverse applique design on my recent Alabama Chanin dress, so it felt familiar. I followed a single line in a row across the skirt rather than go around individual motifs as that allowed me to stitch continuously.

Once the embroidery was done, the construction was easy. The darts were already done, so it was just a matter of sewing up the side seams and inserting a zipper. The hem is machine blindstitched with seam binding to cover the raw edge. I sewed the china silk lining to the facing, hemmed the lining, and then sewed the lining/facing to the skirt.